9 New Awesome Mobile Apps From Adobe
“Bring the power of desktop apps like Photoshop CC and Illustrator CC to your phone or tablet with all-new connected mobile apps. Capture colors and other inspiration, sketch and draw, and edit photos and videos — all on the go. Your Creative Profile lets you bring those assets into companion desktop and mobile apps, so you have everything you need to do your best work anywhere.”
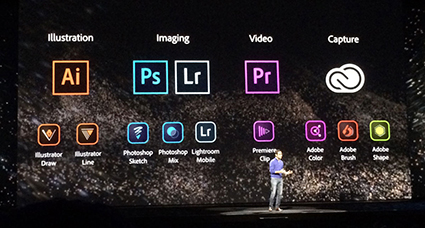
Adobe just released 9 new mobile apps. Six of them are extensions of its major desktop apps. Photoshop Mix and Photoshop Sketch and Lightroom Mobile are for photographers; Illustrator Draw and Illustrator Line are for graphic artists; and Premiere Clip is for videographers. The other three allow you to capture content from the real world and quickly turn it into assets for use within the Creative Cloud; Adobe Brush and Adobe Color (formerly Kuler) and Adobe Shape.
My favorite? Adobe Illustrator Draw (formerly Ideas). I use it all the time!
Find out about these new Adobe Apps here.
Watch the demo for Adobe Photoshop Mix here.
Watch the demo for Adobe Lightroom Mobile here.
Find out about Adobe Photoshop Sketch here.
Watch the demo for Adobe Brush here.
Watch the demo for Adobe Illustrator Draw here.
Watch the demo for Adobe Illustrator Line here.
Watch the demo for Adobe Shape here.
Watch the demo for Adobe Color here.
Watch the demo for Adobe Voice here.
Watch the demo for Adobe Clip here.
Find out about Adobe Ink & Slide drawing tools.
