The Big Overview – The Key Reasons Why Your Tools Matter When Printing
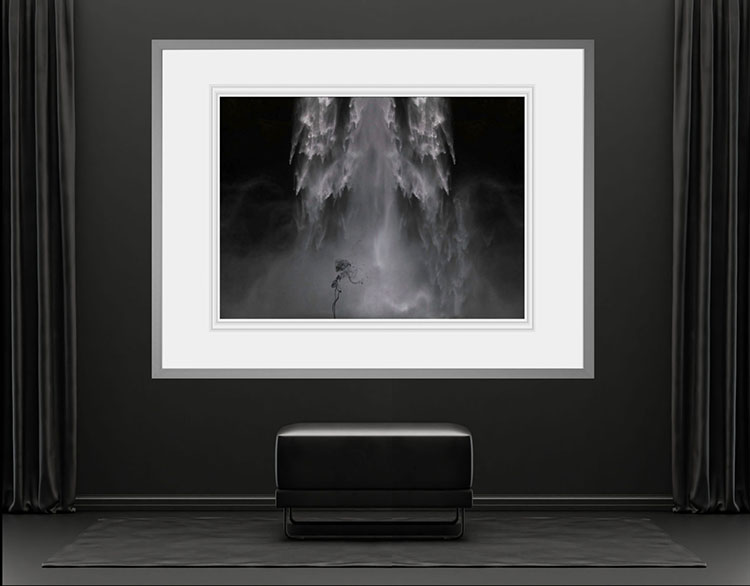
Prints are produced by not one but many things – a system.  You can make better prints if you understand how each of the tools you use to make them influences quality. In addition, you’ll be able to identify and come up with solutions for problems you run into, now or in the future.

I’ve written whole articles on each one of these components (Follow this article with the individual ones you’d like more clarity on.), nevertheless, rather than having to piece all of that information together, I find it’s also useful to have a broad overview of how the whole system works.

Here’s a quick survey of why each element of a printing system matters.


Camera                        resolution – dynamic range – bit depth

Lens                              sharpness – low distortion – few artifacts

Editing Space             saturation

Bit Depth                     gradation

Software                      color – detail – composition

Monitor                        accurate preview – saturation – brightness of white

Printer                          ink – size

Ink                                 black – saturation – longevity

Paper                            whites – materials

Printer Profile           accurate color – graybalance

Light                              how well you can see
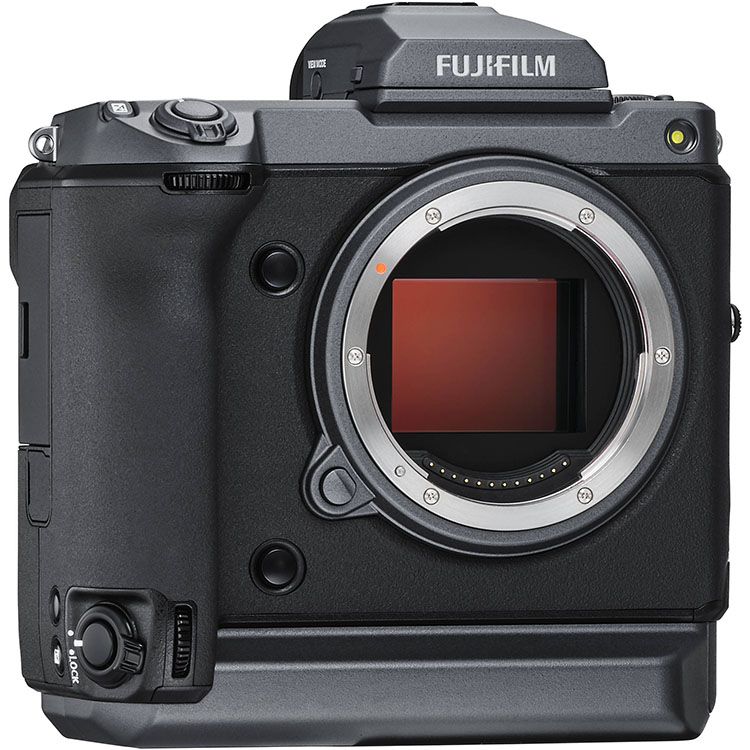


I’m currently testing the Fuji GFX 100

100 mp / 14 bit / ISO 12,800 expandable to 102,400

Camera

resolution – dynamic range – bit depth

A camera’s chip determines how much detail it can render with three primary characteristics – resolution (sharpness), dynamic range (shadows and highlights), and bit depth (gradation). More is better. It’s easier to throw away what you don’t need than create it.
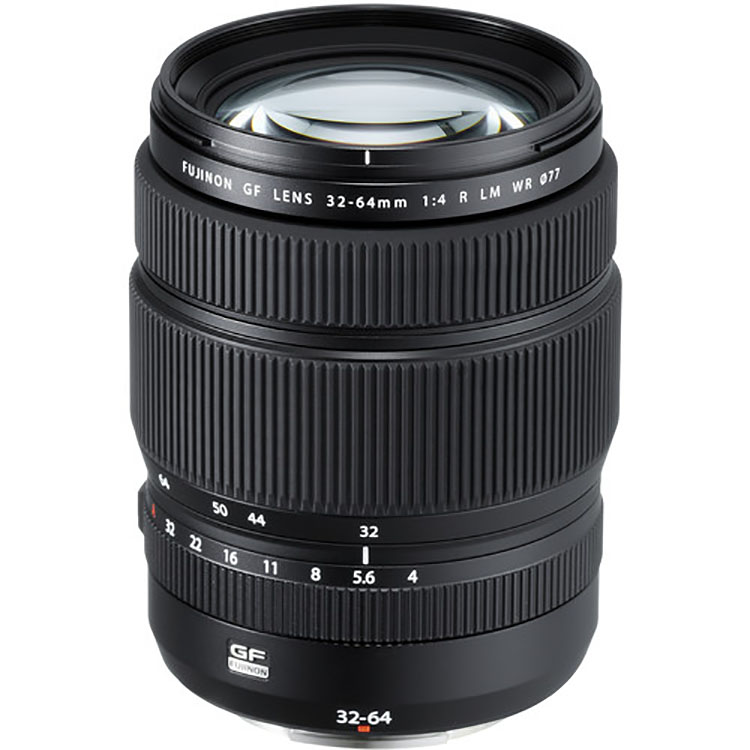
Among several lenses, I favor the Fuji 32-64mm

Lens

sharpness – low distortion – few artifacts

Good lenses are sharper, better lenses maintain that sharpness edge to edge, while the best lenses also produce beautiful bokeh (depth of field blur). Good lenses are also free of distortion and artifacts like chromatic aberration. Fixing these things in post-production can sometimes be arduous and at a certain point impossible.
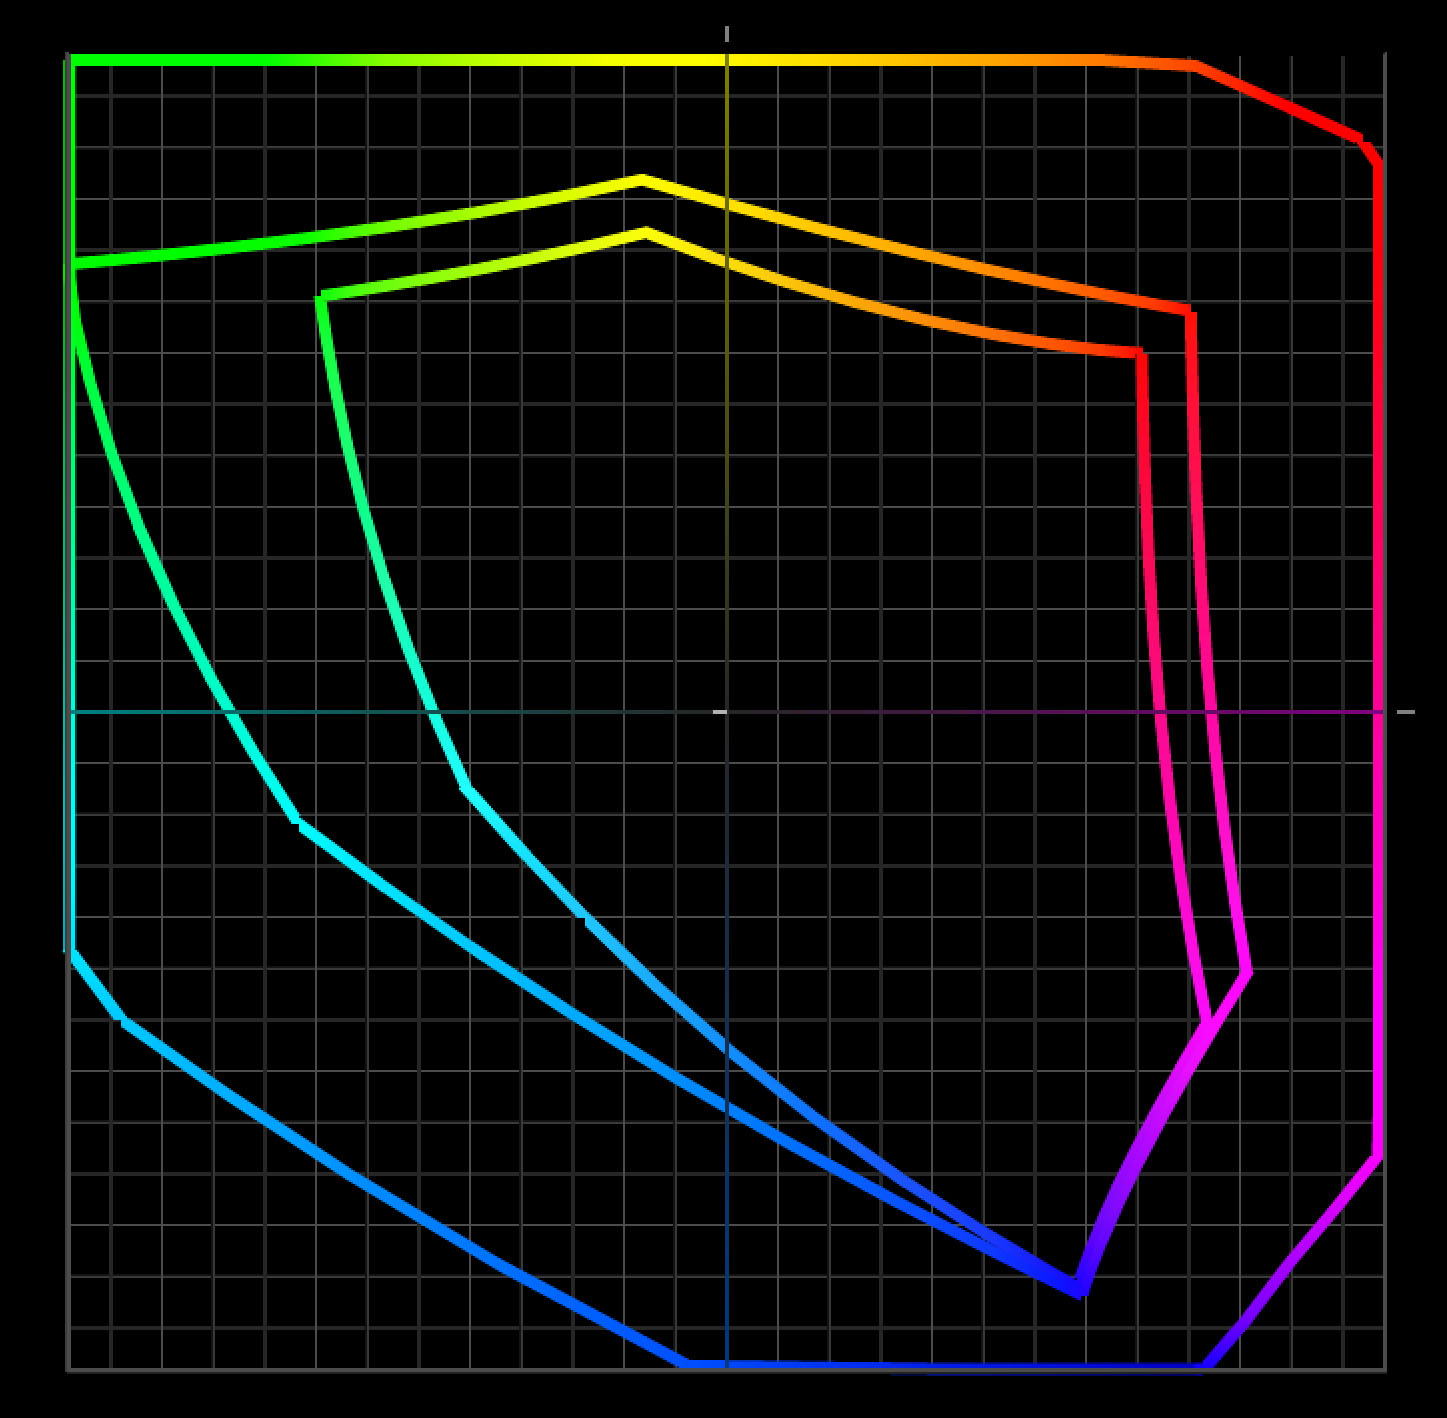
Prophoto is bigger than Adobe RGB and sRGB

I edit in ProPhoto RGB

Editing Space

saturation

Pro-Photo RGB can hold all of the saturation your camera can capture while other standard editing spaces cannot. If you use one of the smaller spaces (like Adobe RGB or sRGB) you may lose and not be able to produce that saturation.
Read more here.

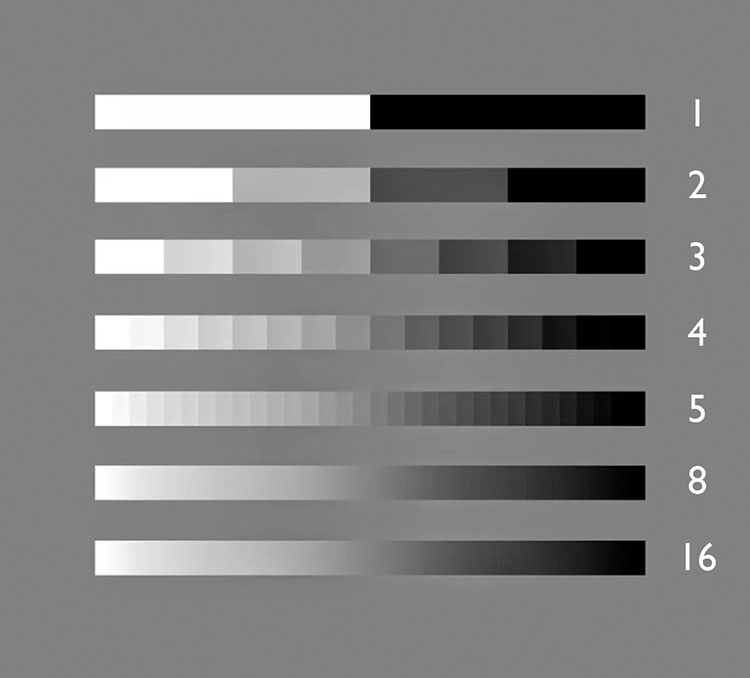
I edit in 16-bit

Bit Depth

gradation

16 bit’s thousands of shades of gray don’t give you more separation in prints. Printers can take 16-bit data but they can only print 256 shades of gray. Editing in16-bit eliminates the possibility of producing posterization (which can produce harsh graphic transitions and/or noise).
Read more here.

I use Adobe Lightroom Classic and Photoshop together.

Software

color – detail – composition

You can pretty much change anything about the way your images look … for better or worse.

Good software lets you be more precise and go further. Better software does it more easily without cutting corners.

For traditionalists, it’s shadow and highlight detail, midtone contrast, color clarity, sharpness and reduced noise.

For non-traditionalists, it’s the ability to produce unique color palettes, special effects, and composites.

Read more on color here.

Read more on detail here.

Read more on composition here.

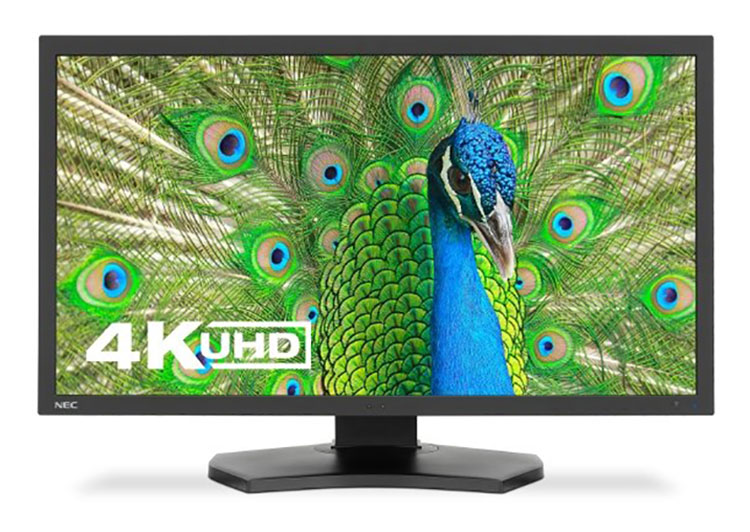
I use an NEC PA311D

Monitor

accurate preview – saturation – brightness of white

What could be more important than seeing your images accurately while you’re editing them? Good monitors can be calibrated to a device neutral standard that shows you what your images truly look like now and in the future (when you replace your current monitor). 

Better monitors render more saturation. (Currently, the best monitors can show you almost all of the values in Adobe RGB.) 

The best monitors can be tuned to show you the white of your print more accurately.
Read more here.

I use Epson’s P900 and 9000

Printer

ink – size

A printers manufacturer determines which ink set you’ll use. 

A printer’s series determines which of the manufacturer’s inkset you’ll use.

A printer’s model determines how big you can print.

Additionally, a printer’s head also impacts speed.


I use Epson’s Ultrachrome HDX ink

Ink

black – saturation – longevity

The ink you use has a huge impact on print quality and longevity … but to see what it can do you need paper.

Read more here.

Ink & Paper

black – saturation – longevity

Together, ink and paper determine … 

Black

The black of the ink and the white of the paper set the limits of a print’s contrast ratio. 

No matter how much ink you put down on some substrates you won’t get a blacker black and each substrate has an ink limit, which is the maximum amount of ink that can be put down before detail starts being lost.

Saturation

Good inks and paper coatings produce more saturation in all colors.

Longevity & Durability

Some are more archival than others. (Visit Wilhelm Research for reliable data.)

I use Epson’s Legacy Fibre and Legacy Platine papers

Paper or Substrate

whites – materials

Substrates determine an image’s white (where the ink doesn’t go) and so contrast ratio. A brighter, bluer white is more versatile, but may or may not be as archival.

Only paper (or substrate if it’s canvas, plastic, metal, wood, etc) can give your images a look and feel. It’s first and foremost about the physical characteristics of materials including things like reflectivity and texture.
Read more here.

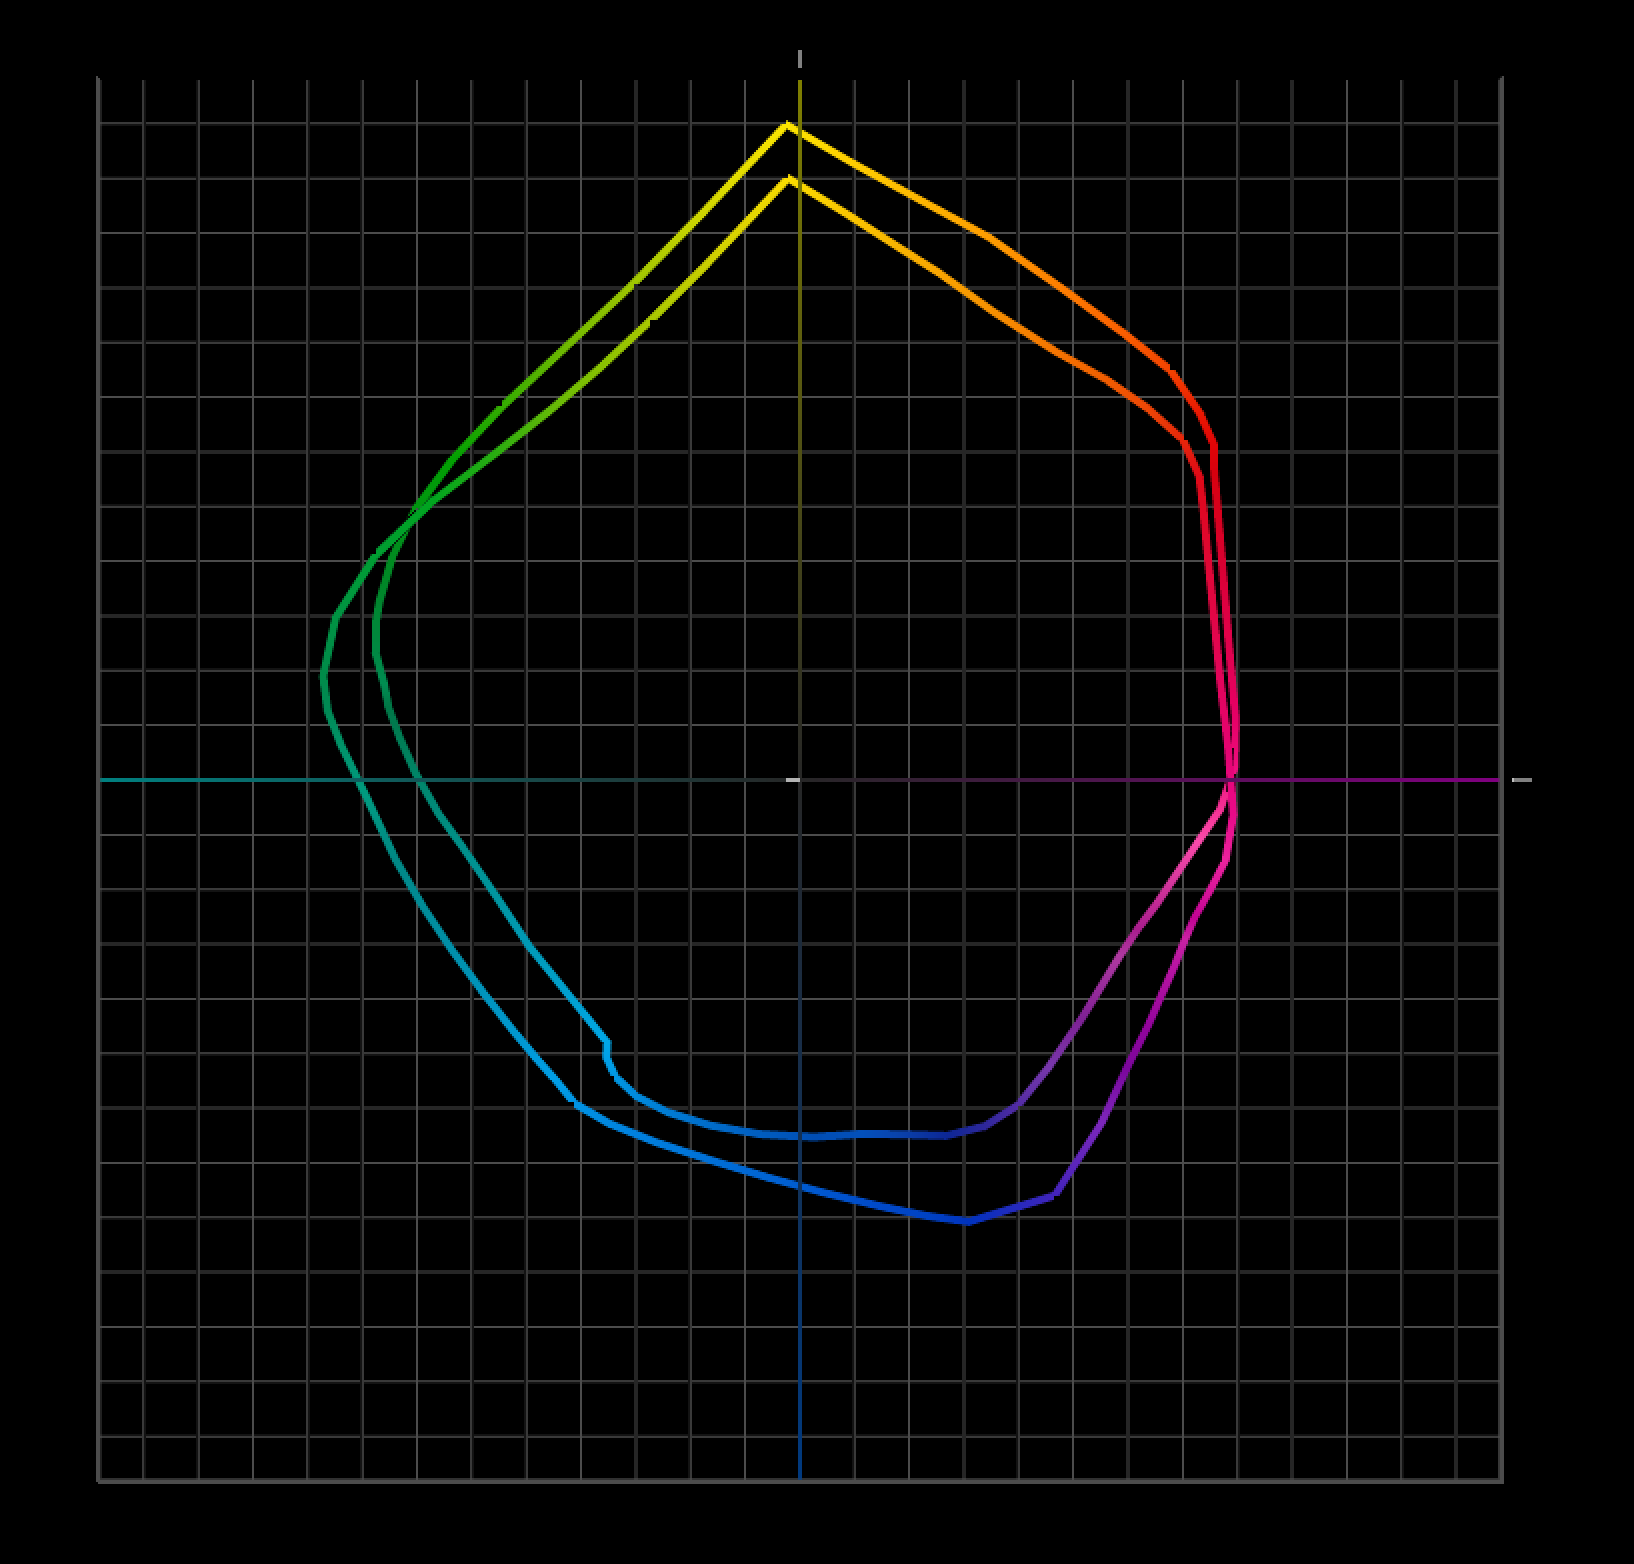
Photo papers have greater gamuts than matte because of their blacker blacks.

I use Epson’s profiles

Printer Profile

accurate color – graybalance – gradation – shadow and highlight detail

A good profile can be more than getting a good match with your screen. But it can be more. Poor profiles can cause color shifts, reduce saturation, produce posterization, and even lose shadow and highlight detail.

If you’re using Epson profiles for Epson papers, you’re in good shape. Epson makes great profiles for their papers. But if you’re using a third-party or hand-made substrate you need a good profile. Don’t assume that the profiles you download from websites are good. Test them. If they’re not great, get a professional to build one for you. Or, build your own.
Read more here.

I use Solux 3500K lights

Light

how well you can see good results

Event the best print can’t be seen in the dark. To be seen well, good prints need good light. 

Think about three things …

1 Use a generous amount of light. Not so much light that it creates eye strain but use a lot. Good prints glow when they reflect light but they need enough light to create that glow.

2 Use the right color temperature. If you can’t control the light people view your prints in, assume it’s warmer than 5000K (most people prefer warmer light, like 3500K) and make your prints look good in a similar light.

3 If you really want to dial in the color for your exhibits (or your clients) recommend a full spectrum light source (like Solux) that doesn’t make one color look more saturated than another and so preserves the color relationships you produced in your prints.

Read more here.

It takes some initial research and testing to find the tools that are best for you but once you settle on a system of your own you only occasionally have to repeat this and only for specific components. It gets easier because you have a baseline. All you have to do is ask how much better can the new gear do and is it worth the cost and effort?

Meanwhile, if you run into issues (like my blacks aren’t black enough or my colors aren’t saturated enough or I’m losing detail) you’ll know which pieces of your system to tweak to get better results.


Read more on Color Management here.

Read more on digital Printing here.

Learn more in my digital photography and digital printing workshops.

$1700 of Educational Photography Tools for $89!

5daydeal425 5DayDeal2
Check out The Complete Photography Bundle.
This amazing deal for ebooks, videos, presets/actions, software and more by great contributors including Lindsey Adler, Martin Bailey, Alister Benn, Richard Bernabe, Jim Goldstein, Joel Grimes, Karen Hutton, Eddie Tapp and many others.
Plus you can enter to win prizes free!
Offer ends Jan 10th. (It’s available for 5 days only.)
See all of the content included here now.

NIK Software Discount – 15% Off


Get %15 off all NIK software products with this code – JPCNIK.
HDR Efex Pro
Color Efex Pro
Silver Efex Pro
Sharpener Pro
Dfine
Viveza
Capture NX
NIK software is among the best of the best in the digital imaging industry.
Just look at all the awards it’s won.

It makes complicated tasks easy. How?
“Photoshop plug-ins take away some of the most labour-intensive photo manipulations and replace them with an easier to use “script”, or presets. Nik plug-ins go one step further and provide the user with a unique ‘U-Point’ technology, allowing for customisation of individual image parameters. And all presets can be further customized to each photographer’s taste.”
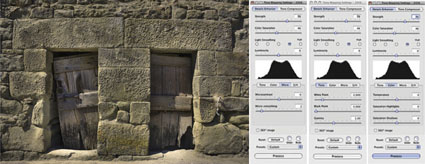
With so many great choices, where do you start? I recommend you look very closely at HDR Efex Pro (the most visual and intuitive HDR interface available) and at Tonal Contrast in Viveza or Structure in Sharpener Pro (Clarity or High Pass sharpening on steroids).
Find NIK Software products here.

Save 15% On Photomatix HDR Software


Get 15% off Photomatix with this code – johnpaulcaponigro.
Beyond Photoshop, there are a number of HDR software options, both plug-ins and stand-alones. Some of the better-known programs include Artizen HDR, easyHDR, FDRTools, pfstools, HDR Efex Pro, and Photomatix. HDRsoft’s Photomatix is the longest standing and perhaps most robust and sophisticated solution.
Photomatix can be used either as a Photoshop plug-in or as a stand-alone product. It offers a variety of ways of combining exposures, including some non-HDR options. Photomatix offers impressive controls over essential image elements affected by HDR merges. Chief among these are control over halos, micro-contrast accentuation, micro-smoothing and control of saturation in highlights and shadows (areas that tend to need aggressive tone mapping).
With a little care and attention, the effect you produce with these tools can be one of your choosing. If used aggressively, you can produce a contemporary HDR effect that can give your images a new look. If used conservatively, you can produce a classic effect that’s virtually unnoticeable.
Every photographer can benefit from learning HDR techniques …
Read my review of Photomatix here. Stay tuned for the update.
Read more about HDR techniques here.
View more about HDR in my DVD Extending Dynamic Range – HDR Imaging.
Learn more in my digital photography workshops.

Save 15% On Pixel Genius – PhotoKit & PhotoKit Sharpener


Get 15% off of Pixel Genius products with this code – JPC15CPN.
The people at Pixel Genius (Martin Evening, the late Bruce Fraser, Mac Holbert, Andrew Rodney, Seth Resnick and Jeff Schewe) produce terrific production tools for use within Photoshop – PhotoKit, Photo Kit Color, and Photo Kit Sharpener.
PhotoKit automates a variety of tasks including color correction, color to black and white conversion, toning, and basic sharpening. PhotoKit Sharpener automates some of the most sophisticated sharpening routines ever devised. They’re so sophisticated they were licensed and modified for Adobe’s Lightroom.
Read More

Save 20% On Imagenomic's Noiseware Pro


Get 20% off Imagenomic products with this discount code JPC2007.
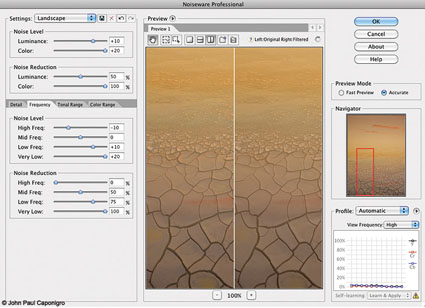
Noiseware is the most robust noise-reduction software available. Ironically, while it offers the most sophisticated feature set, very often the default settings when you first open an image are all you’re likely to need. In many cases, very little, if any, additional tweaking is necessary.
In part, this is because Noiseware analyzes the images you process and creates “profiles” or saved settings that it uses every time you open a new image. It intelligently learns your needs by tracking your past images and analyzing your new images. You can also use Noiseware’s tools to create your own profiles, which can be saved and reused. You can save your own Preferences for how you’d like Noiseware to behave and learn. Noiseware also offers 13 default settings (like Landscape, Night Scene, Portrait, Stronger Noise, etc.) and allows you to save your own custom settings, which can be created from scratch or by modifying the provided presets.
Noiseware’s ability to target noise reduction to specific aspects of an image is what makes it unparalleled. You can adjust Noise Reduction based on Luminance or Chrominance; higher settings produce stronger noise reduction. You can target Noise Level based on Luminance or Chrominance; higher settings tell the software there’s more noise. You can target Color Range; Noise Reduction and Noise Level can be customized by hue—reds, yellows, greens, cyans, blues, magentas, neutrals. You can target Tonal Range; Noise Reduction and Noise Level can be customized for shadows, midtones and highlights. You can target image areas based on Frequency (or amount of detail); Noise Reduction and Noise Level can be customized to High, Mid, Low and Very Low frequencies. Finally, you can enhance detail, first, by using Detail Protection to reduce the effect based on Luminance or Color, and second, by using Detail Enhancement, which provides Sharpening, Contrast and Edge Smoothening.
Noiseware’s ability to provide this level of selectivity is extraordinary. It allows you to easily customize noise reduction for separate areas of an image without making complex masks. You’ll want to do this. Here’s just one example, among many, of why you want to do this. Smooth image areas reveal noise much more readily and they support more noise reduction, while highly textured image areas hide noise, but don’t support as much noise reduction without compromising apparent image sharpness.
Read my full review on Digital Photo Pro.
Find Imagenomic’s Noiseware here.
Read more in my digital photography resources.
Learn more in my digital printing workshops.
PhotoQuote Pro – Stock / Assignment Photo Price Guide


Looking for information on how to price licensing and assignment work?
PhotoQuote Pro is the software I use.
“When someone wants to use one of your photos, you don’t need a number pulled out of a hat, you need help to get paid fairly for your work. You need fotoQuote, the industry standard photo pricing guide for stock and assignment photography.
FotoQuote is the only source of photo pricing information for photographers that includes powerful coaching help for every category. FotoQuote not only helps you come up with a fair price for your image license, but it also gives you the negotiation information you need to help you close the sale.
FotoQuote Pro 6 has just been released and it’s our biggest upgrade in the almost twenty years since the original version of our photo pricing calculator was written. We’ve added 86 new categories bringing the total to 304. The new version now includes both still and video stock footage categories, assignment pricing, thumbnails, international currency and much more.”
Learn more about PhotoQuote here.
Find more business resources here.
Learn more in my Digital Printing and Pro Portfolio workshops.

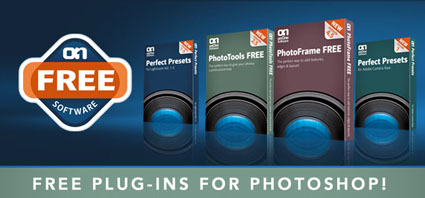
OnOne Free Plug Ins


Get 20% off OnOne products with this code – PRINT20 !
OnOne offers free Plug-Ins.
You can add professional photographic effects, frames and backgrounds in Photoshop with just a few clicks with PhotoTools 2.5 Free Edition and PhotoFrame 4.5 Free Edition from onOne. You can also download free Lightroom Presets and Camera Raw Presets to speed up your workflow and instantly add effects. These products are yours to keep (they don’t expire) and will save you hours of time enhancing images in Photoshop and Lightroom.
Learn more about OnOne here.
Learn more in my digital photography workshops.