

There’s More to Photoshop’s New Light Adjustment Than You Think
First, Colin Smith shows you …
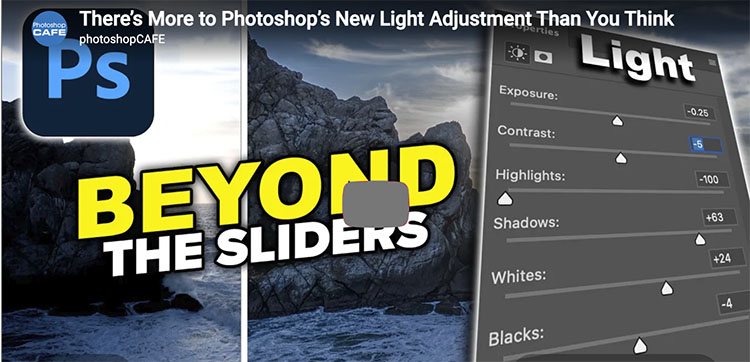
Photoshop’s new Light adjustment brings Exposure, Contrast, Highlights, Shadows, Whites and Blacks directly into an adjustment layer. But there’s more to it than just moving six sliders. In this deep dive, Colin Smith from PhotoshopCAFE shows how to use the new Light adjustment to recover highlight and shadow detail, control dynamic range, stack adjustments, use masks for targeted edits, and get more control than you might expect. I’ll also explain why Shadows and Highlights temporarily disappear when you edit layers underneath the Light adjustment.
Second, Jesus Ramirez shows you …
- How to use the Light adjustment layer in Photoshop
- How to bring back the Brightness/Contrast adjustment layer
- How to read a histogram to compare Brightness and Exposure
- How to stop the Light adjustment layer from pausing
- How to use clipping masks and layer masks with a Light adjustment layer
- How to use Blend If on an adjustment layer
- How to compare Photoshop’s Light sliders to Lightroom with a Difference blend
Find more from Colin Smith at the Photoshop Cafe.
Find more from Jesus Ramirez at the Photoshop Training Channel.
Learn more in my digital photography and digital printing workshops.