How To Upscale Your Photographs With Topaz Gigapixel In Lightroom
![]()
In this video, Glenn Dewis shows you how to use the new generative upscale feature in Lightroom version 9.2, which utilizes Topaz Gigapixel technology to significantly enlarge your images while maintaining sharpness and clarity.
Learn more in my digital photography and digital printing workshops.
The Recommended Order for AI Edits in Lightroom Classic

“In this video, Julieanne explains the recommended order for applying AI-powered edits in Lightroom Classic to help you work more efficiently and avoid unnecessary reprocessing. You’ll learn when to use Denoise, Remove, Lens Blur, and AI masking so your edits stay flexible, accurate, and frustration-free.”
Learn more on Julianne Kost’s blog.
Learn more in my digital photography and digital printing workshops.
Adjustment Brush Mastery (Beginner to Pro Guide for ACR and Lightroom)
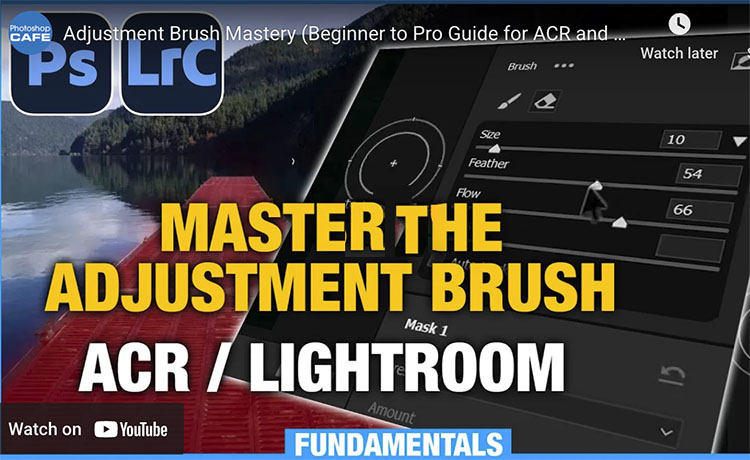
“Learn how to use the adjustment brush in Adobe Camera Raw and Lightroom. Colin Smith shows you how to use all the features in the powerful adjustment brush for paint-on edits in LR and ACR in Photoshop. The brush is powerful and moist, people barely use the features.”
Find out more from Colin Smith at Photoshop Cafe.
Learn more in my digital photography and digital printing workshops.
A Roundup Of All The Great New Features In Lightroom & Photoshop 2026


New features in Lightroom & Photoshop 2026 keep changing the game.
Get up to speed with these great videos from trusted mavens.
All The New Lightroom Features
All The New Photoshop Features
Photoshop’s New Hue/Saturation Invert Button
If you’re thinking, “Hey, this list doesn’t include the new AI image generators.” You’re right. More on that later.
Find out more from Colin Smith at Photoshop Cafe.
Find more from Jesus Ramirez’s Photoshop Training Channel.
Learn more in my digital photography and digital printing workshops.
Lightroom 2026’s New Features Showcased By 3 Digital Gurus

Tour Lightroom’s 2026’s new features with three digital gurus.
First, Colin Smith shows you how to use new features in Lightroom.
00:00 Intro
00:26 Assisted Culling
07:21 Shadow and reflection in Remove Object
08:18 Dust Removal
09:27 Updated Reflection Removal
10:28 Point Color Variance With landscape photos
11:49 Color Variance with Portrait photos
12:49 Snow in Landscape Masks
13:13 New Color Spaces
13:46 Video and Slideshows in 4K
14:06 Outro
Second, Julianne Kost shows 15 new features.
Third, Matt Koslowski shows his favorite new features.
Find out more from Colin Smith at Photoshop Cafe.
Watch more from Matt Kloskowski here.
Learn more in my digital photography and digital printing workshops.
Remove Distracting People and Reflections With Lightroom Classic
“In this video, Julieanne demonstrates how easy it is to remove unwanted reflections and distracting people in photos using the new Distraction Removal tools in Lightroom Classic.”
For more check out Julieanne’s blog.
Learn more in my digital photography and digital printing workshops.
Colin Smith Details How To Use Lightroom & Photoshop’s New Landscape Masks
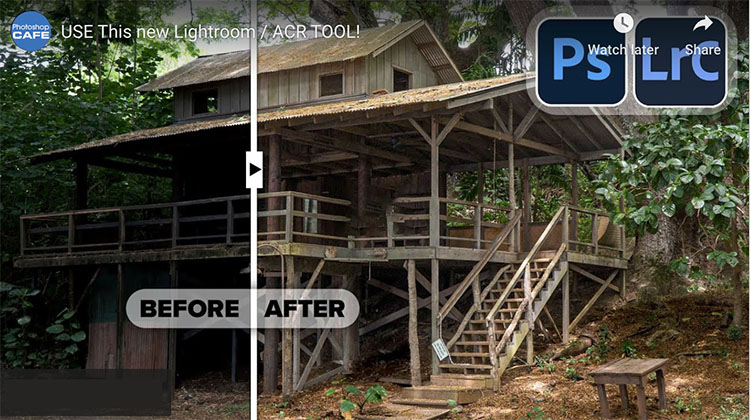
Colin Smith (PhotoshopCafe) details “How to use Landscape masks in Photoshop ACR and Lightroom. Make awesome edits on landscape photos easily and quickly to make them pop in Lightroom and ACR.”
Find out more from Colin Smith at Photoshop Cafe.
Learn more in my digital photography and digital printing workshops.
Hot Features In The New Lightoom 2025 Update
“The June 2025 update of Lightroom, brings mostly features we have seen before in ACR and beta releases, but brings them to Lightroom and implements them nicely into a finished release. There are a couple of things that we haven’t seen.”
Auto Remove People, Reflection Removal, AI Denoise, and Super Resolution are the big hits.
Find out more from Colin Smith at Photoshop Cafe.
Learn more in my digital photography and digital printing workshops.
New Adobe Lightroom & Camera Raw AI Auto Landscape Masks
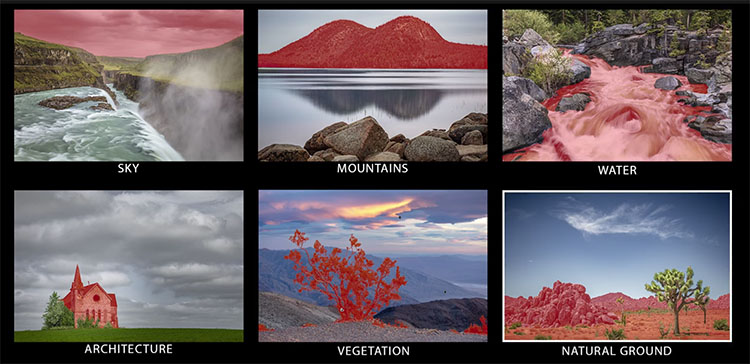
Julieanne Kost demonstrates how to use Lightroom Classic’s new Select Landscape masking tools to automatically select different regions in photographs, including sky, mountains, water, architecture, vegetation, natural ground, and artificial ground.
Learn more from Julianne Kost here.
Colin Smith shows you how to use the new masks in Lightroom / Camera Raw with tips and tricks to help you get better results faster.
Find out more from Colin Smith at Photoshop Cafe.
Learn more in my digital photography and digital printing workshops.


