The Quickest Way To Get 200% Or More From Lightroom’s Adjustment Sliders
Did you ever wish you could get more out of a slider in Lightroom (or Adobe Camera Raw)?

Here’s how to go beyond the maximum amount a slider allows.

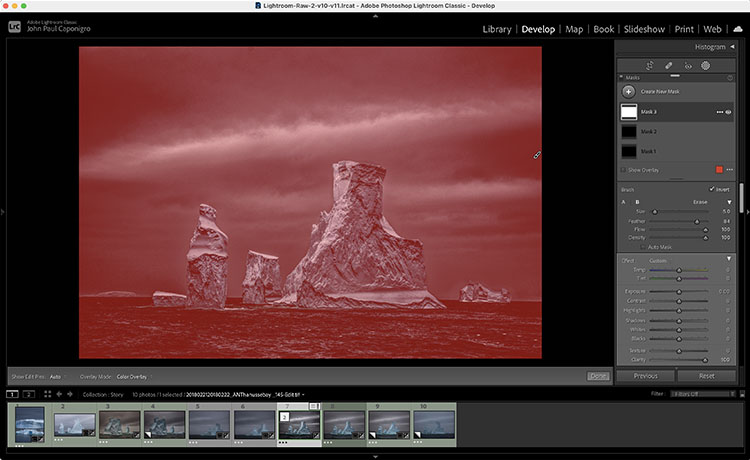
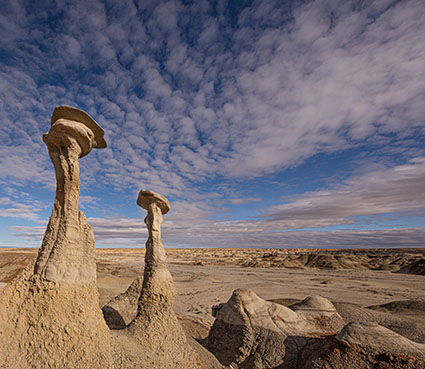
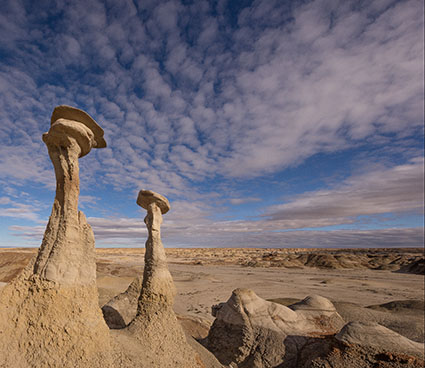
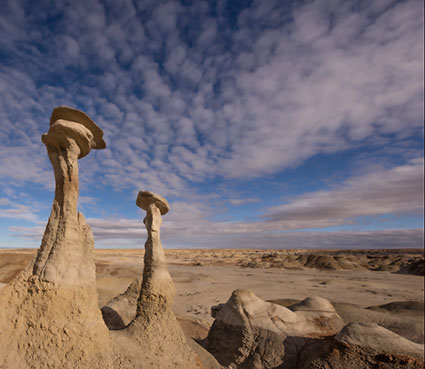
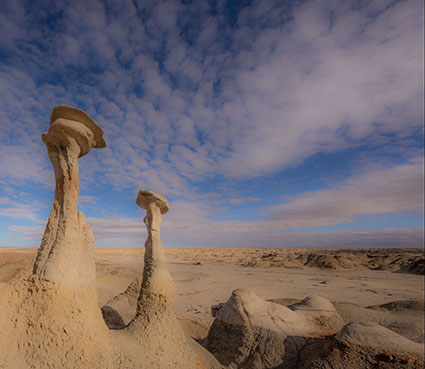
Use Create New Mask and make a Gradient or Brush … outside the image area. Click the gradient outside the border and drag away from it. Or, click the brush outside the border and check the Invert box. Then use one or more sliders to go beyond their maximums. 

You can do this as many times as you like. 150%, 200%, 300%, 400%, 500% … there’s no limit.

This is faster and more uniform (less uneven) than brushing the entire frame.
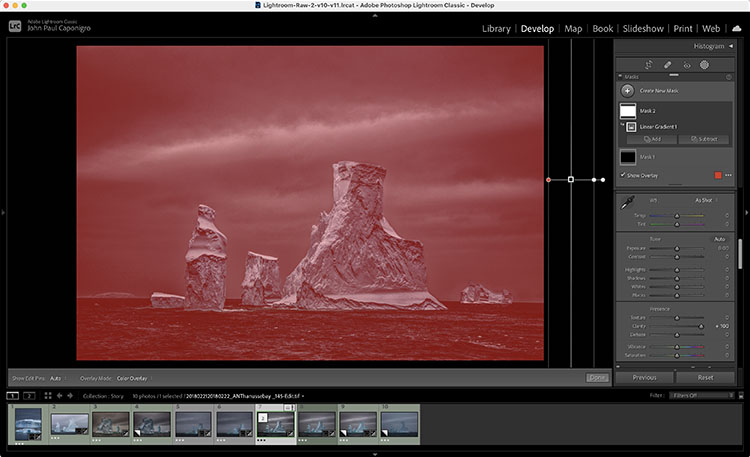
This only works with the sliders available in the Masking panel.

If you want to do this with sliders that aren’t in the Masking panel, open the file in Photoshop and apply the Camera Raw filter.
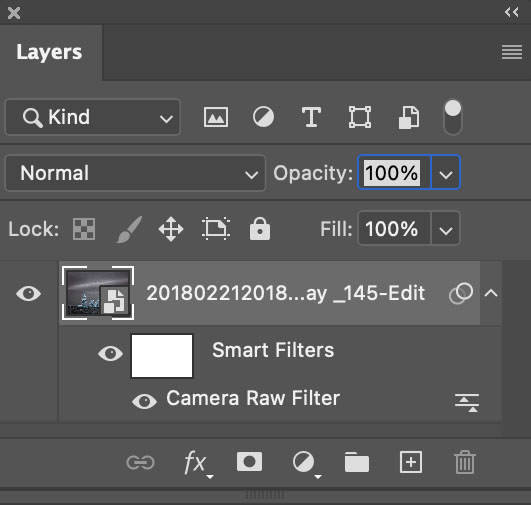
But wait, there’s more. You can apply this principle selectively too. If you’re in Lightroom or Camera Raw use a brush to add more. If you’re in Photoshop, use a Camera Raw smart filter with a mask. There are no limits.

Find more resources on Raw processing here.
Learn more in my digital photography workshops.

Get Optimum Image Quality – Shoot & Process Raw Files

Download your free copy now!


Get the best image quality by optimally exposing and processing Raw files.


What In The World Are Raw Files?
Dive in to the strange and wonderful world of Raw files.

Why You Should Shoot Raw
Get highest quality images from your digital camera.

Why You Should Profile Your Camera
Improve the clarity and saturation of the color your digital camera creates.

How To Get More Than The Maximum A Slider Allows
Get 150%,  200%, 500% or more out of sliders.


Sign up for Insights for news of new content!

How Does Lightroom’s New Texture Slider Compare To Clarity and Sharpness ?

01_Dehaze_Maximum

Maximum Dehaze

02_Clarity_Maximum

Maximum Clarity

03_Texture_Maximum

Maximum Texture

04_Sharpening_Maximum

Maximum Sharpening

05_Texture_Negative

Negative Texture

06_Clarity_Negative

Negative Clarity

Think of Adobe Lightroom Classic and Camera Raw’s new Texture slider as producing an effect that lies somewhere between the Clarity and Sharpness sliders.

It’s closer to Sharpness so when you apply it, rather than looking at the full image, zoom in to 100% to evaluate the detail accentuation it produces. So, use it more for detail enhancement than contrast.


Insights Members can login to read the full article.
Email:
or Sign up

Use Adobe Lens Profiles To Improve Your Image Quality

LensProfiles_Profile_425
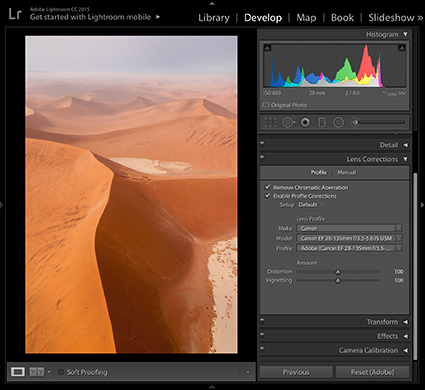
Do you wish you could improve the quality of the images your lenses deliver after exposure? You can, using software. Adobe’s Lens Corrections feature uses a digital image file’s EXIF metadata about camera and lens to automate cures for standard lens distortions, including geometric distortion, chromatic aberration, and vignetting.


Insights Members can login to read the full article.
Email:
or Sign up

What In The World Are Raw Files?

RAWvsJPEG
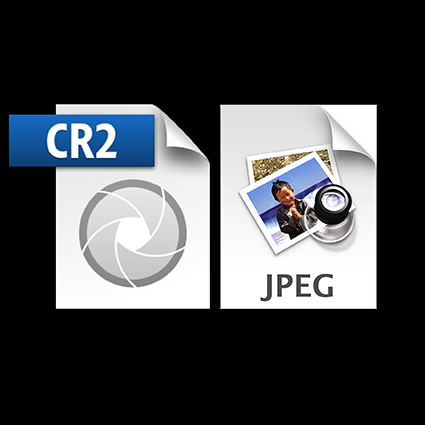
Your digital camera can produce two types of files – Raw and JPEG.
One can be seen instantly, because it is already processed – JPEG. The other, needs to be processed to be seen – Raw.
Few people have actually seen what an unprocessed Raw file looks like. To be seen properly Raw files need to be rendered or changed. What you see on your camera’s LCD is a JPEG produced on the fly by your camera. What you see in programs like Adobe Lightroom or Bridge are previews made with their default renderings.
Raw files are curious things. They contain color, but not a color image – yet.


Insights Members can login to read the full article.
Email:
or Sign up

Why You Should Profile Your Camera

xritecolorcheckerpassport
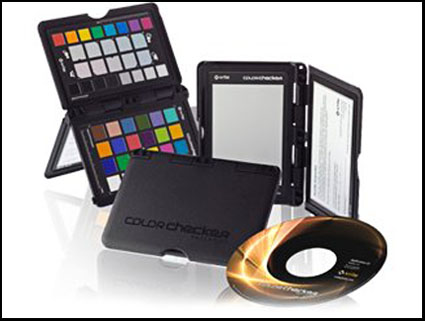
You can significantly improve the clarity and saturation of the color you digital camera creates by creating a custom profile for it. The defaults manufacturer's provide and most people use are fine, but a custom profile built for your camera is better.
X-Rites’ Color Checker Passport can be used to quickly deliver more accurate color in a variety of ways.


Insights Members can login to read the full article.
Email:
or Sign up

Why You Should Shoot Raw

jpegraw
If you want to create digital photographs with the highest quality, set your camera to create Raw files.
What are the upsides to shooting in Raw? Raw files contain the widest color gamut (saturation), highest bit depth (gradation), have flexible white balance (color temperature), offer the greatest opportunities for rendering highlight and shadow detail, are free of compression artifacts, and can be reprocessed indefinitely (even with tomorrow’s software) with no loss in quality. There are some downsides to shooting in Raw. Raw files are larger and require post-processing before presentation. They take up more room and they take longer to use. But the higher quality they offer are worth the effort.


Insights Members can login to read the full article.
Email:
or Sign up