The Quickest Way To Get 200% Or More From Lightroom’s Adjustment Sliders
Did you ever wish you could get more out of a slider in Lightroom (or Adobe Camera Raw)?
Here’s how to go beyond the maximum amount a slider allows.
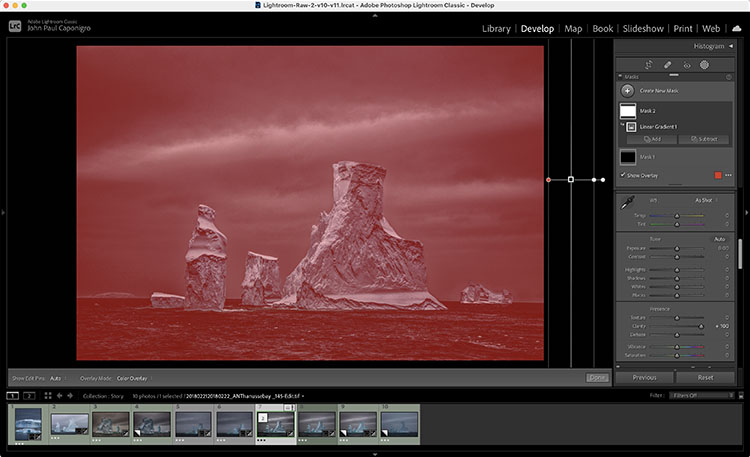
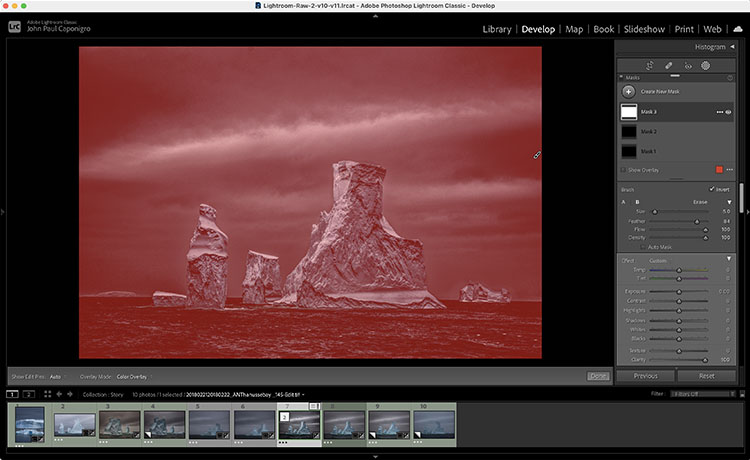
Use Create New Mask and make a Gradient or Brush … outside the image area. Click the gradient outside the border and drag away from it. Or, click the brush outside the border and check the Invert box. Then use one or more sliders to go beyond their maximums.
You can do this as many times as you like. 150%, 200%, 300%, 400%, 500% … there’s no limit.
This is faster and more uniform (less uneven) than brushing the entire frame.
This only works with the sliders available in the Masking panel.
If you want to do this with sliders that aren’t in the Masking panel, open the file in Photoshop and apply the Camera Raw filter.
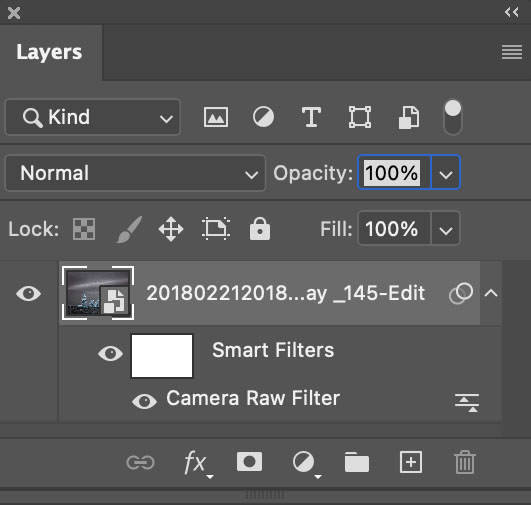
But wait, there’s more. You can apply this principle selectively too. If you’re in Lightroom or Camera Raw use a brush to add more. If you’re in Photoshop, use a Camera Raw smart filter with a mask. There are no limits.
Find more resources on Raw processing here.
Learn more in my digital photography workshops.
No Comments