“In this video, Julieanne walks through the new features in Adobe Camera Raw 18.3. You’ll learn how to make depth-based selections, correct anamorphic images, reduce wide-angle distortion, and apply film-inspired presets. These updates provide more control for both technical corrections and creative adjustments.”
“Join Julieanne Kost for an in-depth look at the latest innovations in Adobe Camera Raw 18.4. Discover how the next-generation Select Subject technology delivers dramatically improved mask accuracy for challenging subjects, explore the new bidirectional Linear Gradient for more flexible local adjustments, learn how the powerful new Vectorscope provides an objective way to evaluate and refine color, and more! Along the way, Julieanne demonstrates advanced masking refinements, improved background selections, enhanced Lens Blur accuracy, natural skin-tone correction workflows, Generative AI-powered removal of transparent areas, HDR workflow improvements, and significant performance gains for Denoise on Apple Silicon systems. Whether you’re a photographer, retoucher, or creative professional, this comprehensive overview will help you take full advantage of Camera Raw 18.4’s latest tools and AI-powered enhancements to achieve faster, more precise, and more creative results.”
Most photographers don’t realize this, but Lightroom and Adobe Camera Raw both support LUTs. In this tutorial, Colin Smith breaks down what LUTs are, where they live in Lightroom and Camera Raw, and how to use them properly for real-world color grading.
You’ll learn:
Where LUTs actually fit into the Lightroom / ACR workflow
How to use LUTS to match the color fo your videos and other photos perfectly.
How to get consistent, realistic color results
00:00 Intro
00:20 What is a LUT?
00:46 Why should you use it Lightroom and ACR?
01:20 Making a Profile in ACR
02:24 Adding a LUT to the Profile
02:50 Get a free LUT pack
03:55 Using the LUT in ACR
04:40 How to access the Hidden LUTS that ship with Photoshop
06:09 resetting a Profile
06:27 How to set the lower and upper amount of a Profile
07:15 Using the Profiles in Lightroom
08:25 How to Make LUTS in Photoshop
“Learn how to use the adjustment brush in Adobe Camera Raw and Lightroom. Colin Smith shows you how to use all the features in the powerful adjustment brush for paint-on edits in LR and ACR in Photoshop. The brush is powerful and moist, people barely use the features.”
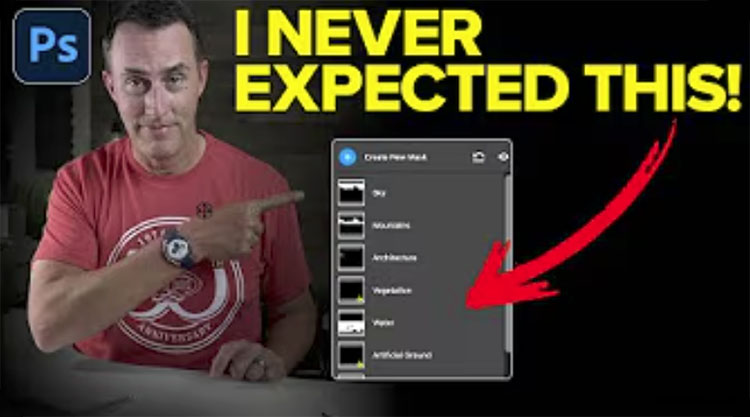
“In this video, Julieanne walks through the new features in Camera Raw v18, including automatic dust removal, improved reflection removal, better object detection, new landscape masking options, and an update for editing images to be displayed on HDR displays.”
“In this video, Julieanne demonstrates the Point Color controls in Adobe Camera Raw, including the new Variance slider, offering simple yet powerful control over color contrast. You’ll learn how to accentuate or diminish specific color ranges—either globally or selectively using masking.”
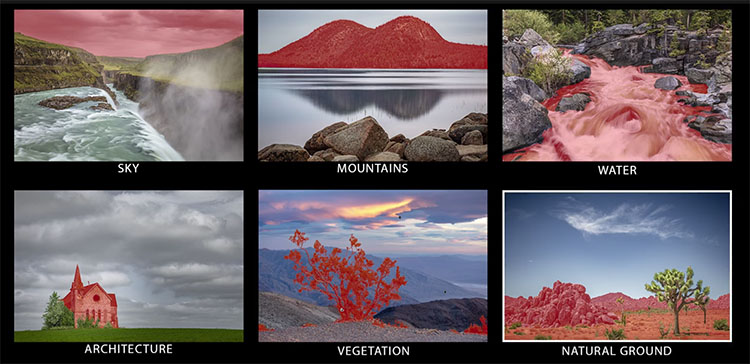
Julieanne Kost demonstrates how to use Lightroom Classic’s new Select Landscape masking tools to automatically select different regions in photographs, including sky, mountains, water, architecture, vegetation, natural ground, and artificial ground.
“In this video, Julieanne demonstrates the new non-destructive, re-editable, single-image Denoise, Raw Details, and Super Resolution technical preview in Adobe Camera Raw!”
How to make all the tool in ACR Adobe Camera RAW available. Where is the missing crop tool? Colin Smith shows launching ACR from Photoshop with full feature set.