3 Ways To Refine Adobe’s Select Subject Masking Results
.
Matt Kloskowski demonstrates 3 ways to refine the Select Subject masking that we get in Lightroom and Photoshop Camera Raw.
.

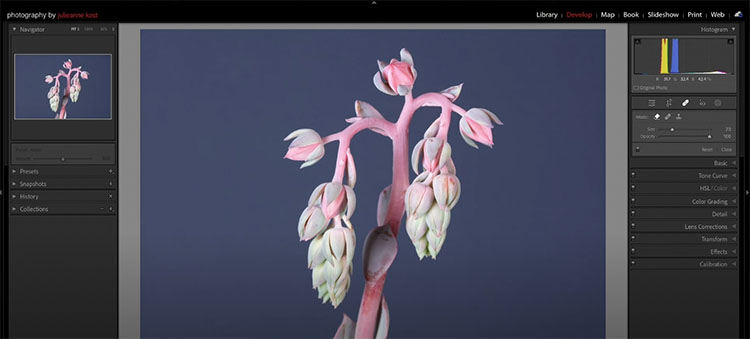
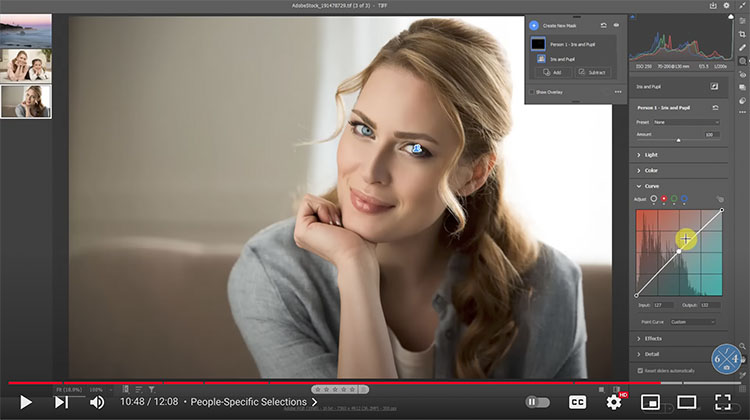
“Adobe added Curves to the masking tool in Adobe Camera Raw, but has yet to add the same feature to Lightroom Classic. Here’s how to cheat and apply Curves using the masking feature in Lightroom Classic.”
.
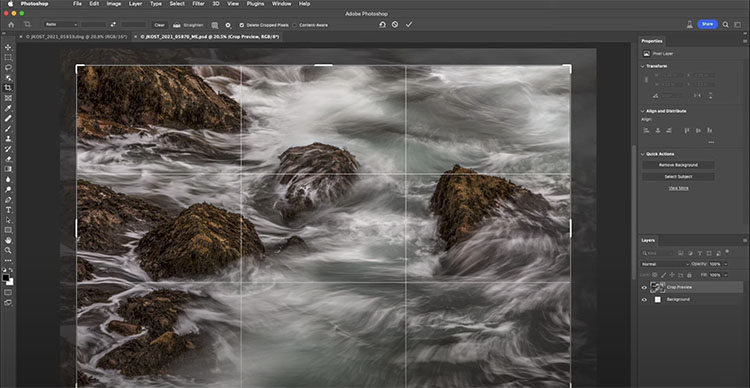
In this video you’ll discover how to use the Clone, Heal, and Content-Aware Remove healing modes in Lightroom Classic to quickly remove dust spots, imperfections and distracting elements in a photograph.
For more check out Julieanne’s blog.
Learn more in my digital photography and digital printing workshops..

.
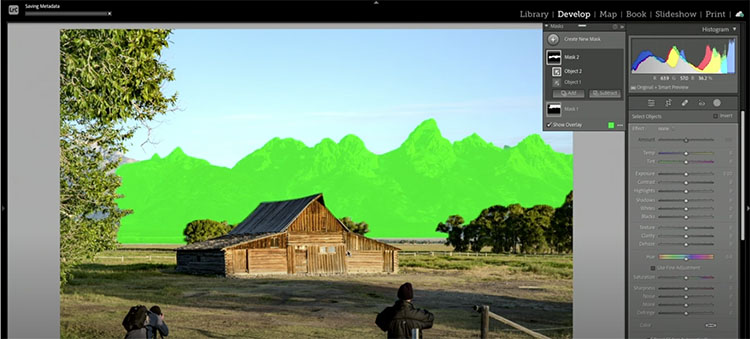
“Discover how to take your photographs to the next level using masking to enhance and adjust selective areas of an image. In this video, Julieanne Kost shares tips, tricks, and techniques for making the most out of Lightroom Classic’s masking tools, including new automated selections based on Adobe Sensei (Select Subject, Object, Sky, People, and Background), manual painting tools (brush, eraser, linear and radial gradients), and Range Masking (color, luminance, and depth). She also walks through Auto Sync, Copy/Paste, and using Adaptive Presets – all guaranteed to make your workflow more efficient.”
Learn more from Julieanne Kost here.
Learn more in my digital photography and digital printing workshops.

.
See the top new features in Camera Raw & Photoshop 2023.
Find out more from Colin Smith at Photoshop Cafe.
Learn more in my digital photography and digital printing workshops.

They’re here! The additions of content-aware retouching plus masking for Curves in Camera Raw and Lightroom are game changers. Stay tuned for more details.
Find out more at Adobe.
Learn more in my digital photography and digital printing workshops.
.
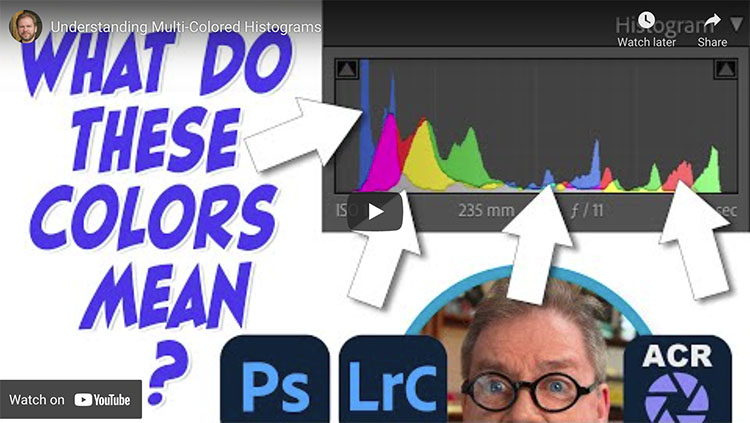
The colors that appear in Lightroom, ACR, and Photoshop’s histograms can be useful to detect color casts, determine if detail is being lost, and know more about the colors that make up an image. I start by blindly interpreting a bunch of histograms while I cannot see the image that it represents (but you can). I then explain how basic color works and how that relates to the colors that appear in the histogram.
Check out more of Ben Wilmore’s Digital Mastery here.
Learn more in my digital photography and digital printing workshops.