The Lightroom Brush Tool Is Smarter Than You Think
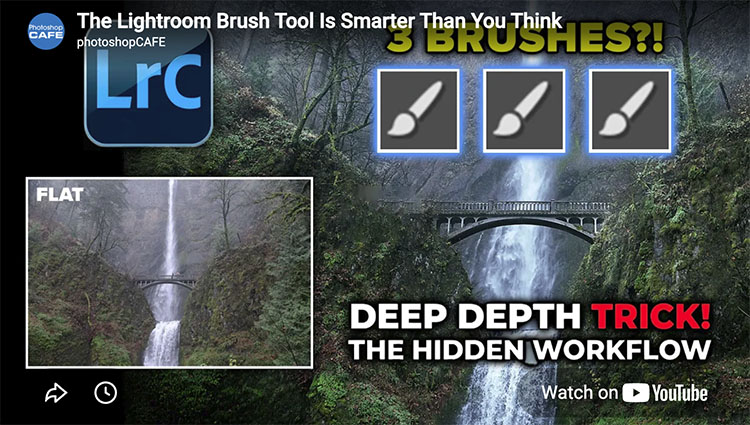
“Most Lightroom users don’t realize there are actually 3 different brush behaviors hiding inside Lightroom Classic—and they completely change how you dodge and burn a photo. In this tutorial, Colin Smith shows how to use Lightroom brushes to add depth, shape, and dimension while revealing some surprisingly overlooked brush features that make editing faster and more precise.”
Find more at Colin Smith at Photoshop Cafe.
Learn more in my digital photography and digital printing workshops.
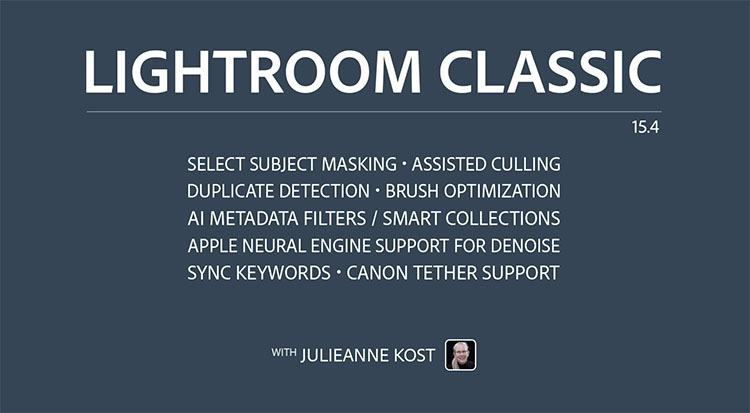 “Discover what’s new in Lightroom Classic 15.4 with Julieanne Kost. In this video, you’ll learn about eight new features and updates designed to improve your editing workflow.