Use Presets To Quickly Reveal The Extraordinary Possibilities Hidden In One Image
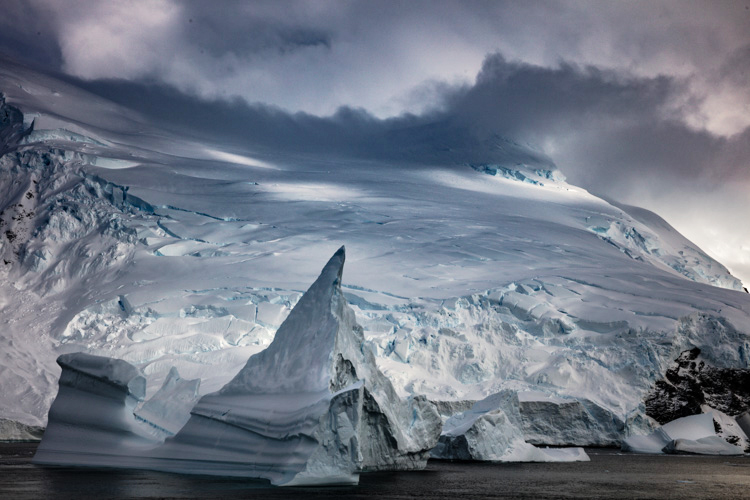
Rushing towards perfect, you might miss it. Previsualization (seeing with your mind) is a fine start, but I recommend you use Lightroom to go further and visualize (see with your eyes). After exploring your options fully, you can perfect those results.
You can level up and speed up your game by using Lightroom’s Presets.
(Note, Camera Raw offers Presets that are identical to Lightroom.)
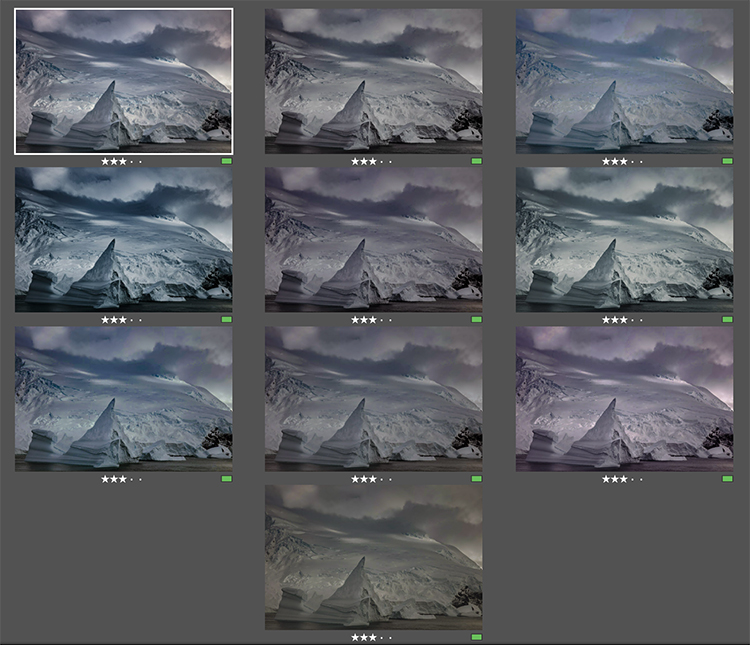
Virtual copies are the easiest way to make side-by-side comparisons.
Presets are the easiest way to preview the many possibilities one image contains.
Presets are also a great way to create a consistent look for two or more images. Once applied, you can tweak settings to optimize individual images while still preserving a unified style.
Presets can record any Edit setting(s) (one, many, or all) and apply them to any other image. A single click can produce results as subtle or dramatic as you like.
The many presets Adobe provides are a great starting point. You can make your own presets by customizing the defaults, by applying someone else’s, or by creating your own from scratch.

The Presets panel and the slider settings one preset produces.
How To Use Presets