Two Ways To Adjust Your Prints’ Lightness For Size
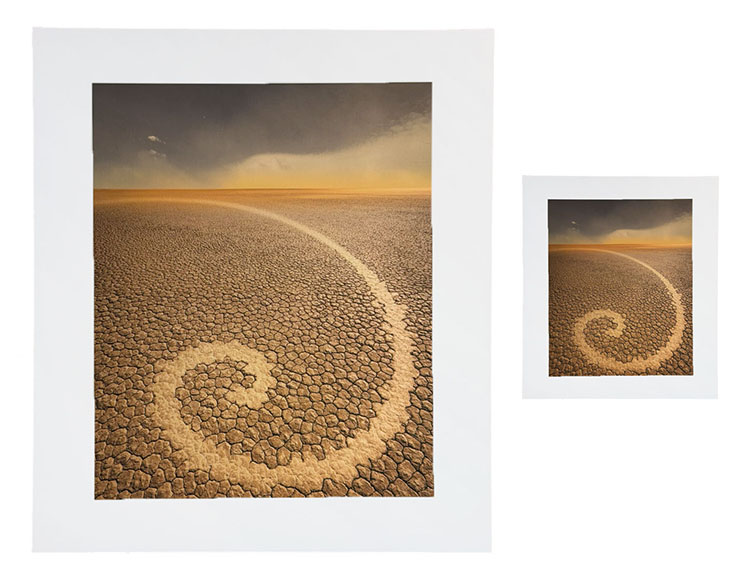
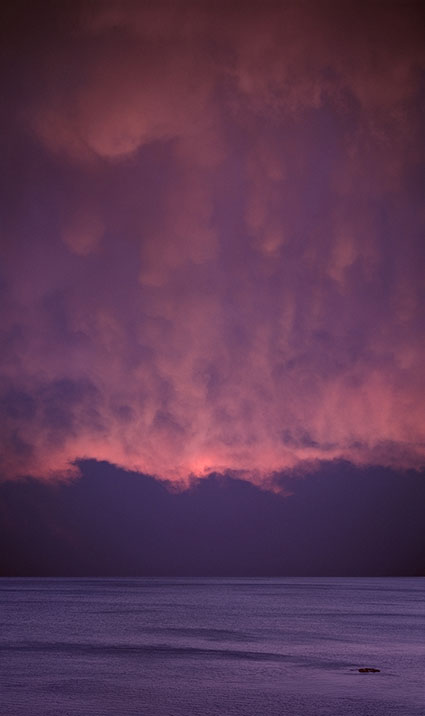
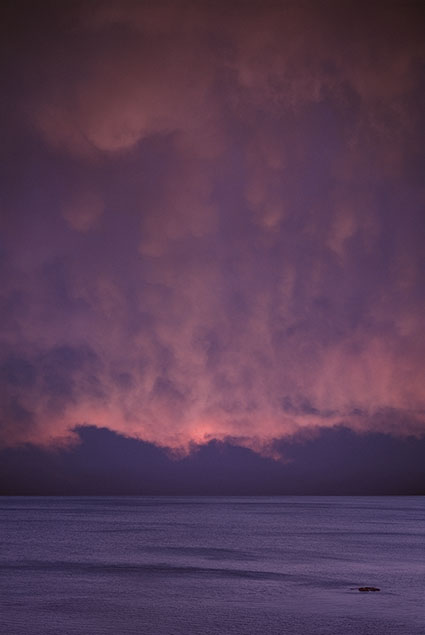
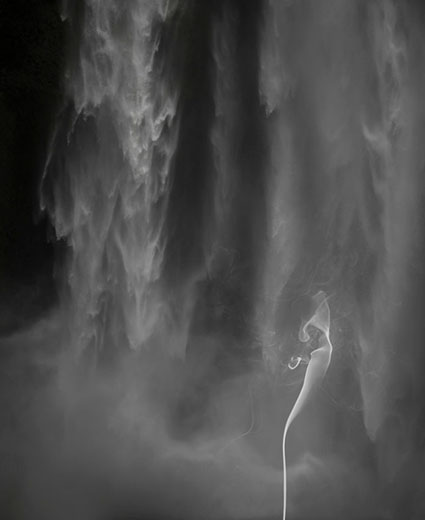
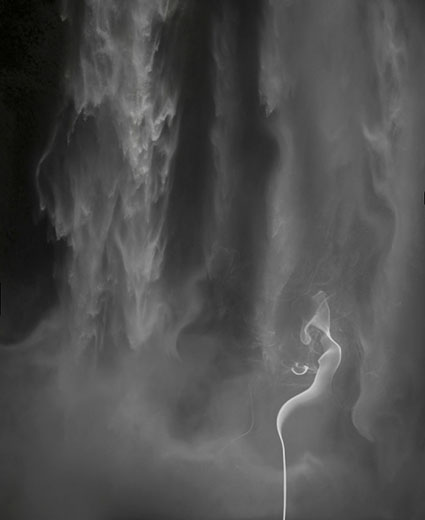
Larger images appear lighter than smaller images. It’s an optical effect, not a physical effect. It can’t be objectively measured with an instrument such as a densitometer. The effect is in the eye and the brain. Nonetheless, it affects the way we see images.
How does this impact printing? To compensate for this effect, darken larger prints and lighten smaller prints.
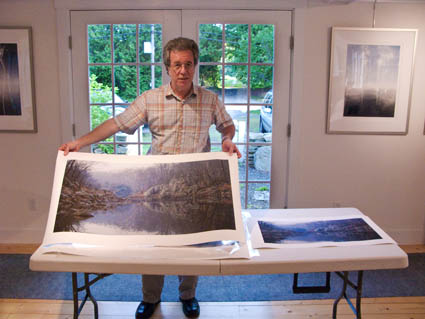
When do you do this? When you proof an image and when you make prints at different sizes. Often, proofing is done at a reduced size to save time and materials. Once an image has been resolved at the proof size, make an appropriate compensation to the image for the final print size. Make an additional correction when you make prints at other sizes.
How much? I recommend making a one-point shift in the midtones (using Curves) whenever the total area (height x width) is doubled (darken the print) or halved (lighten the print).
Test this yourself and see if you agree, but use an image that applies to as many cases as possible (full dynamic range with a variety of colors) and be as objective as you can. Don’t make the proofs look good; make them accurately match each other. The testing you need to do to determine these adjustments only needs to be done once, not every time you print.
As these are optical corrections, they can be applied to all substrates, inksets, and images.
Save these corrections. Then, you’ll be able to apply them quickly whenever you need to. Use a preset, an action, or an adjustment layer.
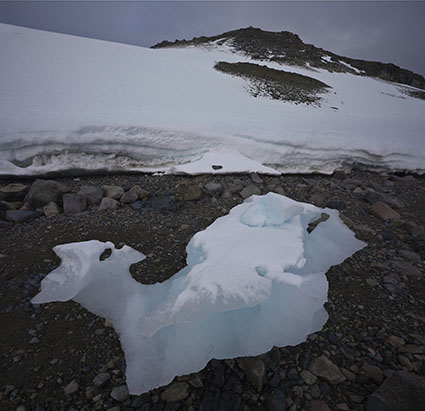
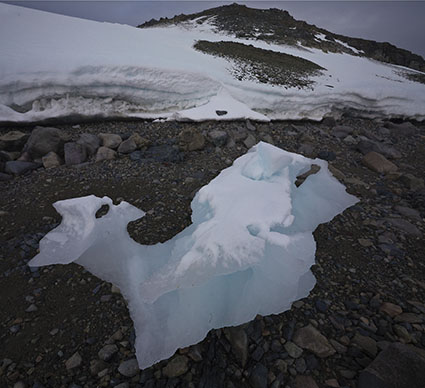
If you want to go further, consider contrast. Smaller images appear to contain more contrast, while larger images appear to have less contrast. This shift in contrast is less pronounced than the shift in brightness. Watch for it; you may or may not wish to compensate for it.
Here’s a list of typical print sizes, followed by the total area listed in inches.
4×5” = 20” sq
5×7” = 35” sq
8×10” = 80” sq
8.5×11” = 93.5” sq
11×14” = 154” sq
13×19” = 247” sq
20×24” = 480” sq
Explore more Printing resources here.
Learn more in my digital photography and digital printing workshops.