Easily Refine Any Photoshop Mask With A Brush

You can refine any mask in Photoshop with a brush. How? Choose any Brush tool and paint on it. The Brush, Healing Brush, Clone Stamp, Eraser, Gradient, Blur, Smudge, Dodge and Burn tools all have their uses. Whether simple or complex, layer masks are just black and white images; you can do anything to a mask that you can do to a black and white image.
It’s important to remember this because you might not realized just how much you can refine a selection or mask. Sometimes tools like Quick Selection do an amazingly fast job of selecting specific image areas, but their results can be improved further with a brush. Many times the sophisticated selections made with tools like Select By Color Range (which will allow you to quickly select Shadows, Highlights, or single colors like Red, etc) end up selecting too many areas and you may want to remove some of those areas from the selected regions in a mask. Painting over those areas with a black brush is one way to do this. (By contrast painting over areas with white will remove any gray values and let the effect of a layer pass through unimpeded.) While there are many brushes you can refine them with, more often than not you’ll find yourself using a simple soft-edged brush to paint black and/or white at varying opacities. It’s a simple but powerful technique, making it extraordinarily useful.
There are many times you’ll want to manually refine a mask with a brush.
Here are a few examples.
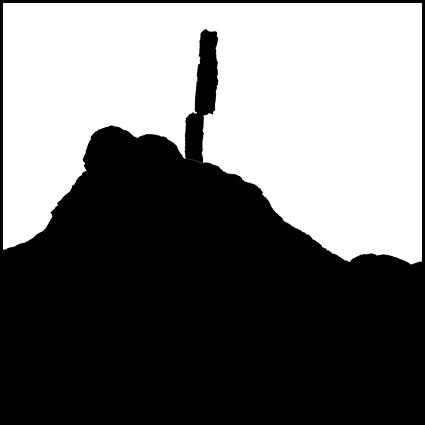
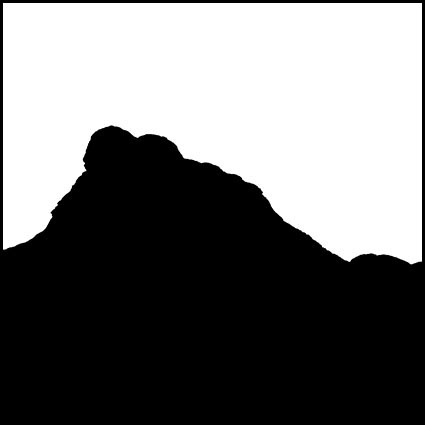
The edge of a contour made with the Quick Selection tool can be refined.

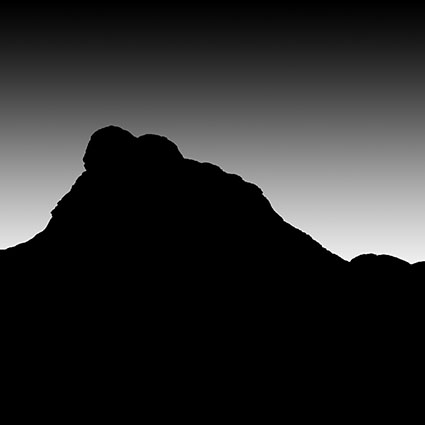
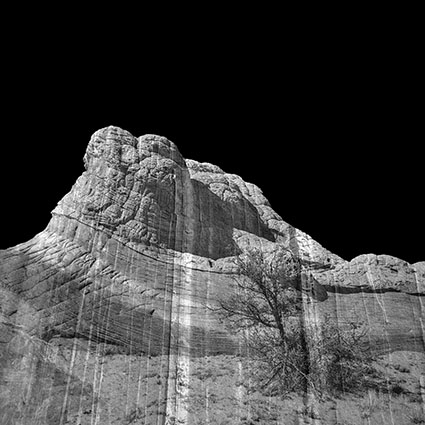
A gradient can be removed from an area.
Here a gradient only affects the sky but not the mountain.
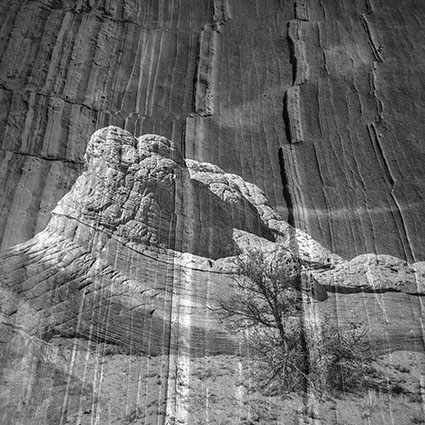
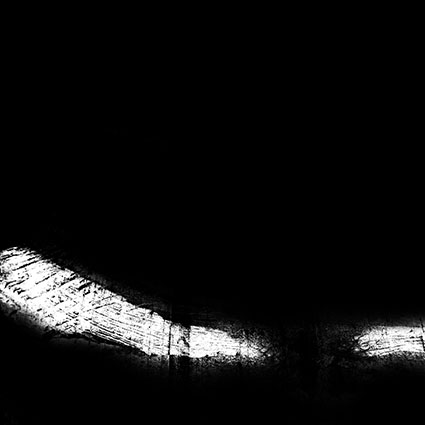
Specific areas of a luminance mask can be removed.
Only the highlights of the lower portion of this image are affected.
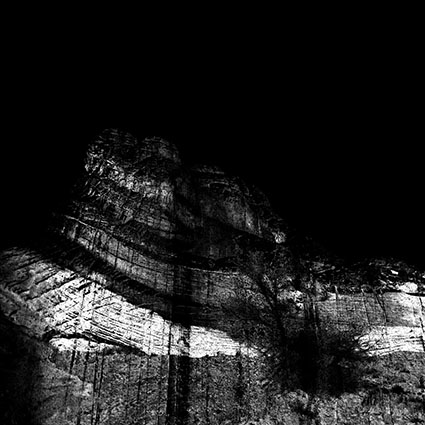
Specific areas of a selection made with Select By Color range can be removed.
One orange area is removed from the selection of other orange areas.
Read more about masking here.
View more in my DVD Drawing With Light.
Learn more in my digital photography and digital printing workshops.