The Top 5 Reasons To Blur Your Images

View more of Arduina Caponigro’s images here.

One of the best things about photography is that it records so much detail; one of the worst things about photography is that it records so much detail. The question becomes, “Is all of the detail in the frame significant?” and “Are the qualities of the information presented appropriate for the statement being made?” Photographers are obsessed with making sharp images and for good reason, if the main subject is out-of-focus it usually frustrates viewers – with a few notable exceptions. Sharp focus is often mistaken for good technique, when in fact it’s just a technique, sometimes better and sometimes worse. There is such a thing as too much of a good thing. Too much sharp information may become overstimulating. Overly sharp images grate on nerves, especially if digital sharpening artifacts draw attention to themselves and away from more important aspects of an image. So, it’s equally important to understand when to use blur, how much, what kind but most importantly why.

Here are five key reasons to use blur in images.
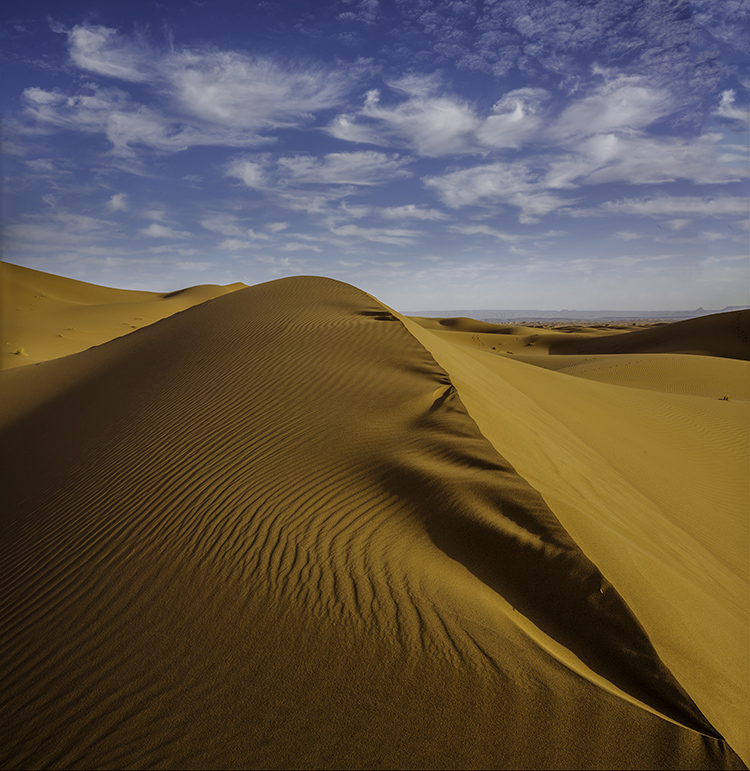
Focus Attention

You can make focussed areas seem even more focussed and important bey reducing the focus of other areas, a little or a lot. This is a classic move used frequently by portrait and street photographers when trying to emphasize people and reduce or even eliminate distracting background elements.
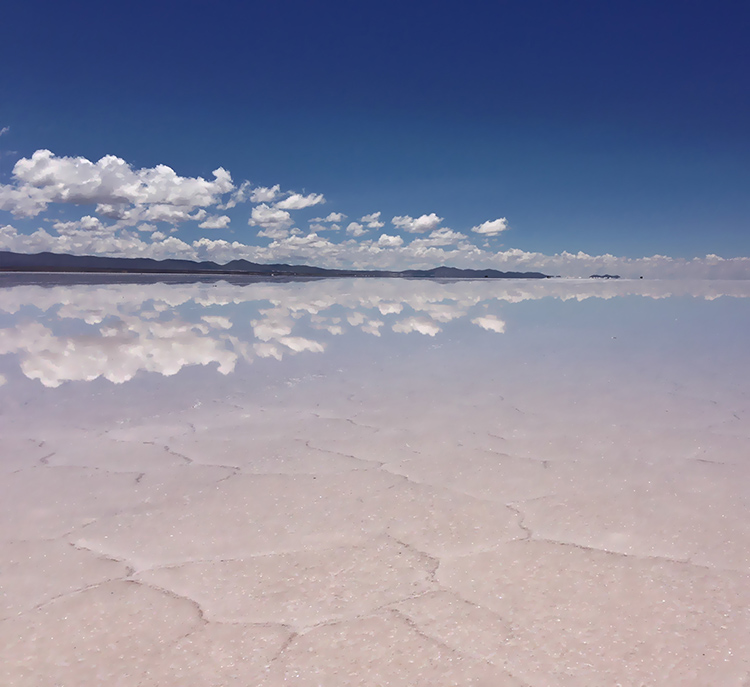
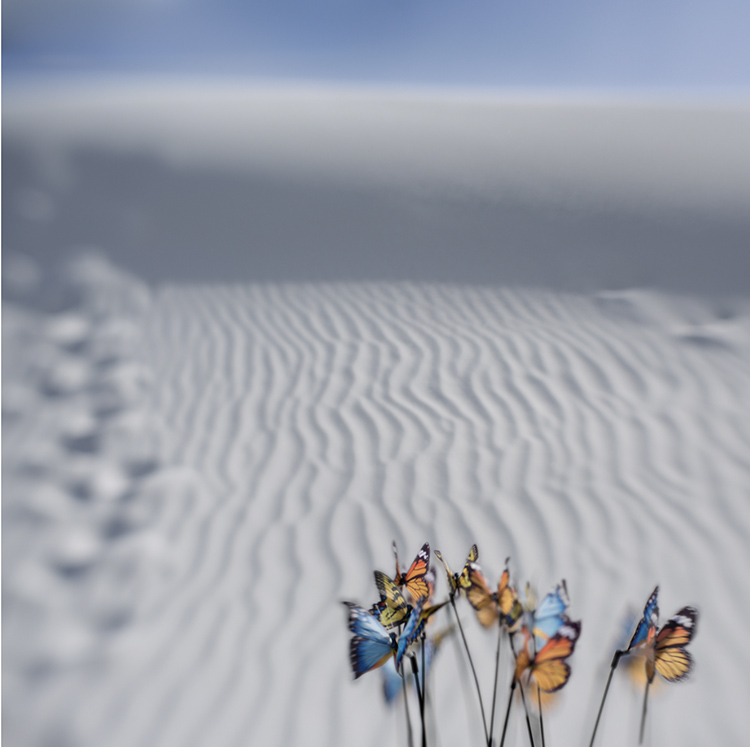
Accentuate Space

It’s not only focus but also its relationship to blur that gives us clues to depth-of-field or how deep a space we’re looking at. Increase the difference between the two and space within the frame is enhanced.
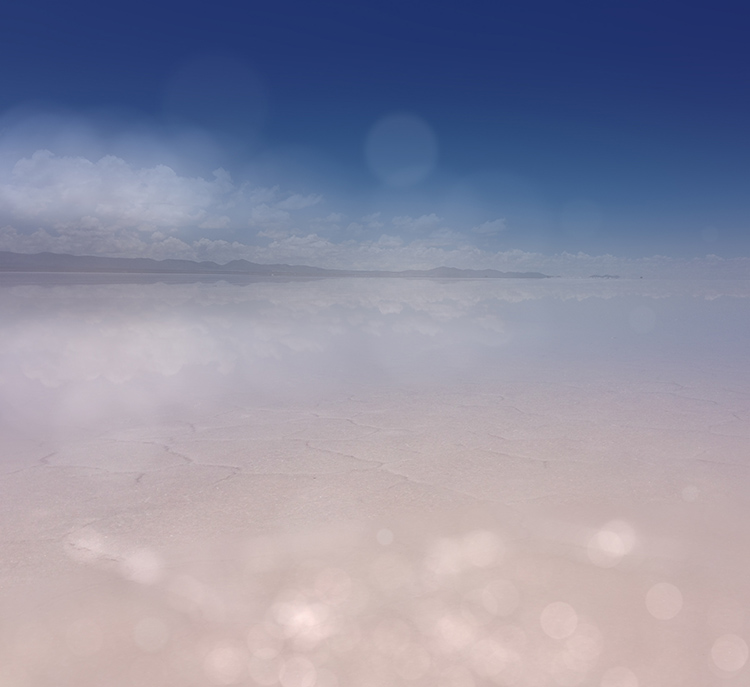
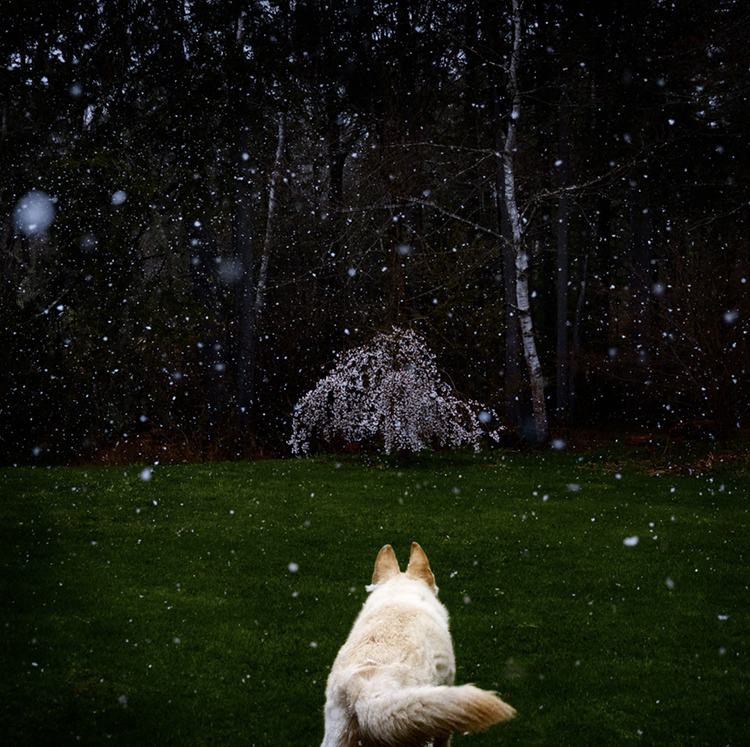
Enhance Mood

Texture has inherent aesthetic qualities like sharpness and softness that can greatly enhance an image’s mood. Just ask, how do you want an image to feel physically and emotionally?
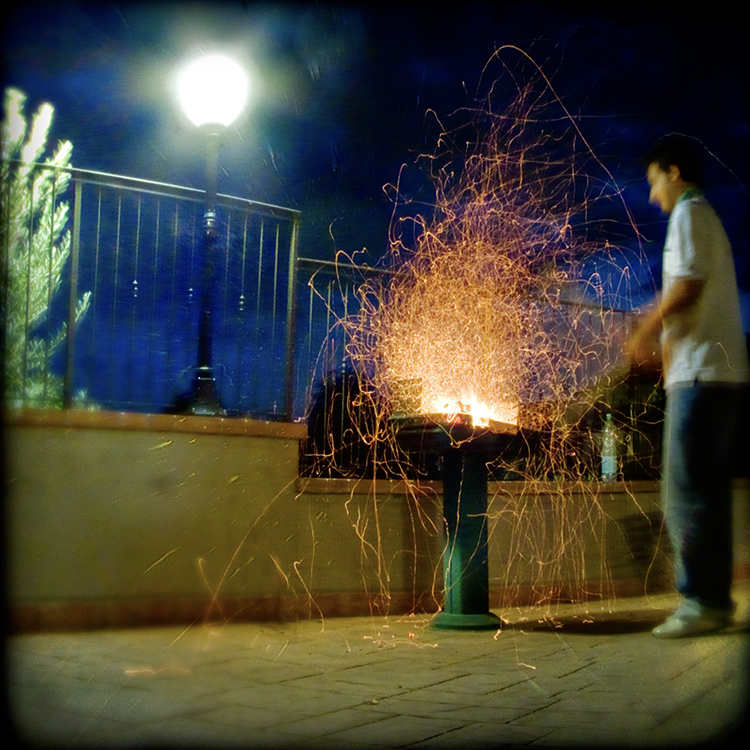
Show motion

While photographs are by their nature still, life is constantly in motion, and you may want to record that. While the artifacts cameras produce aren’t the same as our bodies visual experience of motion they provide a range of visual codes that can suggest motion and can even be fascinating visual experiences in and of themselves, at times providing us new windows into the world, whether it’s the subject or the camera that moves.

Create Abstractions

By deemphasizing details you can direct more attention to the foundations of images. Go further and you can produce simplifications that are virtually unrecognizable and become new aesthetic experiences.

Detail is an essential element in every image but there’s a wide range of ways to treat it and reasons to do so. If you’re not sure what you prefer, explore many ways before committing to a solution that feels right to you. As you find that you’re called towards certain treatments ask why and how that’s serving the statements you’re making with your images. You may become more conscious of what you’ve found your way to unconsciously and in so doing discover more about how your style reveals your vision and aspects of yourself. 

Don’t forget to explore your digital options. There’s a wealth of new exposure combinations and digital post-processing techniques that may serve you well. If you find you prefer analog processes and effects, ask yourself why. Your answer may be significant even revealing to you and your audiences. What you choose not to do can be just as revealing as what you do. Just make it intentional.

Read more about Blur.
Learn more in our digital photography and digital printing workshops.

A Grand Overview Of Photoshop’s Blur Filters

Photoshop Blur Filters

There are many reasons to explore blur in your images; remove distractions, direct attention, enhance space, modify mood, and add interesting visual artifacts are six among many. Blur can be controlled at the point of capture and in post-processing. Thoroughly understanding your post-processing options will help you make choices about when and how to control blur in your images before, during, and after exposure.

When it comes to post-processing blur, you’ve got options! Photoshop currently offers fourteen filters; Field Blur, Iris Blur, Tilt-Shift, Average, Blur, Blur More, Box Blur, Gaussian Blur, Lens Blur, Motion Blur, Radial Blur, Shape Blur, Smart Blur, Surface Blur - in order of appearance in the Filter: Blur drop-down menu.

At first glance, the list is overwhelming. Where do you start? Get started with this quick survey of available options.


Insights Members can login to read the full article.
Email:
or Sign up

How To Create Sophisticated Motion Effects With Photoshop’s Path Blur

Photoshop CC’s recent addition to its Blur Gallery, Path Blur offers a creative and flexible way to add directional motion to your images in post-production. It’s astonishing! You’ve got to try it to believe it – and to truly understand it.

The Blur Gallery now has five effects (Field Blur, Iris Blur, Tilt-Shift, Path Blur, and Spin Blur) that can be controlled from a single panel. Once you’ve accessed one, you can quickly access the others at the same time enabling you to create complex blur effects in a single stop. Path Blur alone is capable of delivering lots of complex motion effects with one simple path.

Before applying Path Blur, consider using a Smart Object to make the filter non-destructive, re-editable, and maskable. (I recommend you acquire Raw files as a Smart Objects but in cases where you can’t, such as cases that involve merges or stacks or major retouching, convert your Background layer to a Smart Object – Layer: Smart Objects: Convert To Smart Object.)

To apply the filter follow this path - Filter: Blur Gallery : Path Blur. The Blur Gallery panel will appear, offering you five extraordinary sliders and multiple points of control.


Insights Members can login to read the full article.
Email:
or Sign up

How To Blur Your Images Creatively

Download your free copy now!


Explore ways to use blur in your images creatively.

The Top 5 Reasons To Blur Your Images

Quick & Easy Depth Of Field Effects With Photoshop’s Depth Blur

How To Combine Focussed & Defocussed Images Using Photoshop

A Quick Visual Comparison Of All Of Photoshop’s Blur Filters

A Grand Overview Of Photoshop’s Blur Filters

Control Blur FX In Photoshop With Amazing Precision

Create Sophisticated Motion Blur Effects With Photoshop’s Path Blur Filter 

How To Create More Realistic Blur Effects By Adding A Little Noise

3 Color Tweaks To Improve Image Blur’s Depth Of Field 

2 Ways To Quickly Add Bokeh Flares To Your Images

Enhance Blur Effects With Selective Sharpening | Coming


Sign up for Insights for news of new content!

How to Add Realistic Spinning Motion Blur Effects in Photoshop CC – Julianne Kost


Julieanne Kost demonstrates how to use the new, nondestructive Spin Blur in Photoshop to create realistic motion effects including the ability to spin an object at variable angles, as well emulate traditional strobe effects with the ability to define the strength, number of flashes and duration.
View more Photoshop Videos here.
Learn more in my Digital Photography and Digital Printing Workshops.

Exploring Motion – Andrew Nixon


In my Maine Islands digital photography workshop, Andrew Nixon explored creating a dynamic tension between the still and the moving. He typically uses long exposures of moving subjects. But he tried a few new twists on his standard practices, like moving the camera. While he explored other ideas and tried many new things, he always returned to the same theme which gave his images a distinctive quality that stood out from his peers.
What themes make your images distinctive?
What experiments will help you explore and develop this further?
Find out more about Andrew Nixon here.
Read more in my creativity lessons.
Find out more about my Maine Islands digital photography workshop here.
Learn more in my digital photography workshops.