12 Classic Mistakes We’ve All Made Trying To Make Better Prints
Plus 7 Extra Go To Printing Resources To Help You
Face it, we’ve all done it, that is overdone it, when we’re trying to make great prints. As important as it is to learn what you can do and how far you can go, it’s also important to learn how far not to go and why. You learn what to look for as well as what to look out for. These trials of error can be beneficial. You’re sure to learn a lot when you make mistakes. And we can learn from each other’s mistakes as well as our own. One of the many benefits of teaching printing for over twenty-five years is that I get to learn from my mistakes and from many other people’s too. There are some classic printing mistakes I see made time and time again because the approach is correct but the practice has just gone too far. If you’ve never made some of these mistakes, I recommend you make them – once.
Here are some classic mistakes I see so many people make when they’re printing – and the cures.
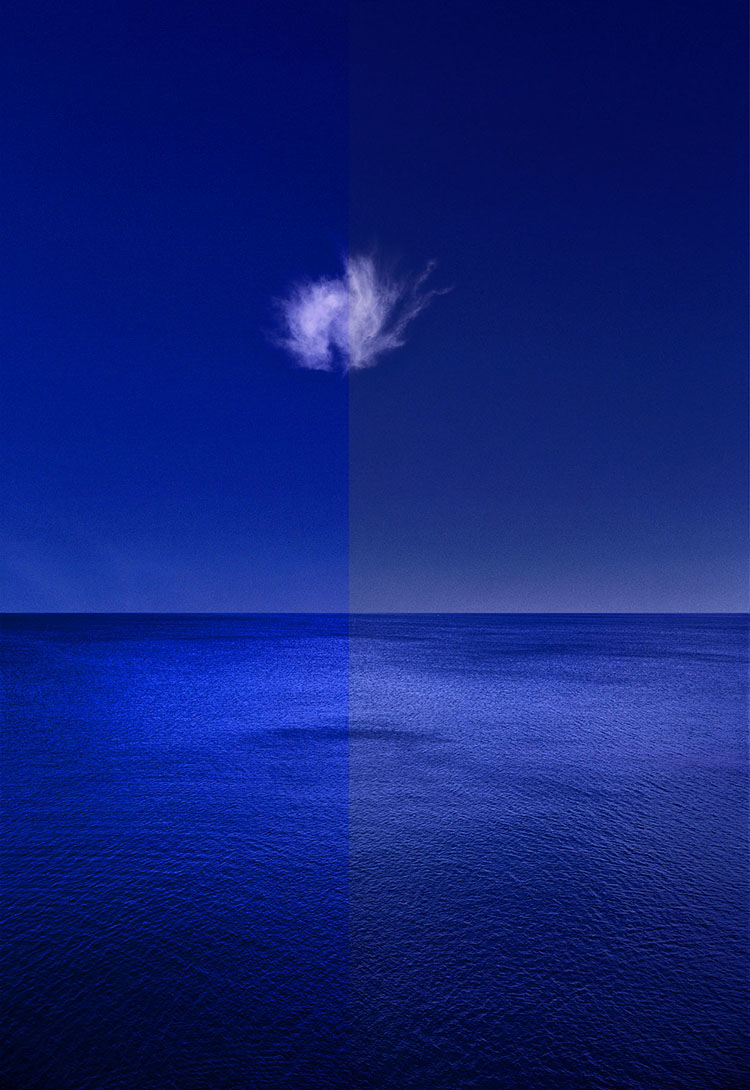
It’s Too Light
You want your print to be more luminous so brighter’s better right? But your image ends up looking washed out. The solution is to lighten the highlights more than the midtones and shadows. It’s a specific kind of contrast you won’t get with a Contrast slider but you will get with a Highlights slider or even better with Curves. You might also darkens shadows slightly. It’s the apparent contrast between highlights and shadows and in the midtones that will make your images glow. Most prints on average are weighted darker than middle gray so that their highlights will pop.
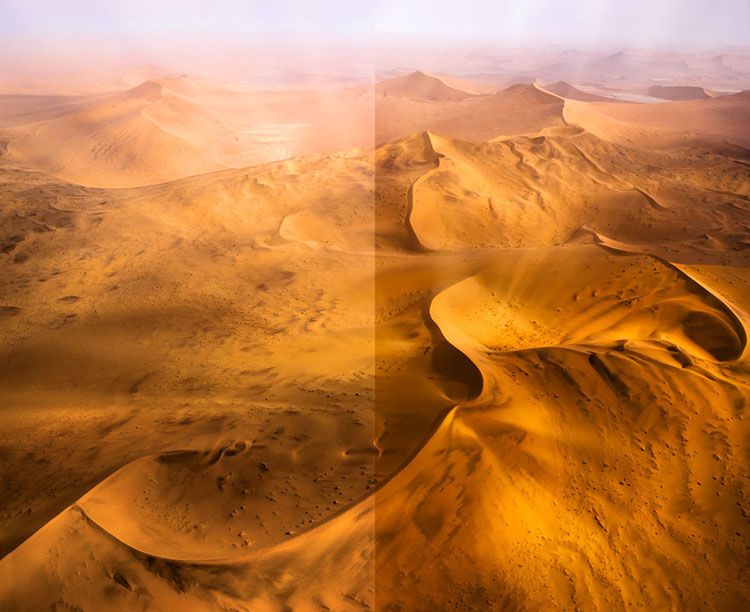
Whites Without Detail
So once again you’re chasing lightness and you push your highlights too far eliminating detail. There is a limit to how far you want to go and you just stepped over the line. Pull back. You can move in that general direction just don’t go so far. Don’t push the Whites slider so hard and pull your Highlights slider down a little, plus remember that you can get a second pass of Highlights and their neighbors Lights with Curves. You want highlights to have full detail and to be bright but not so bright you feel like you have to squint to see the picture better.
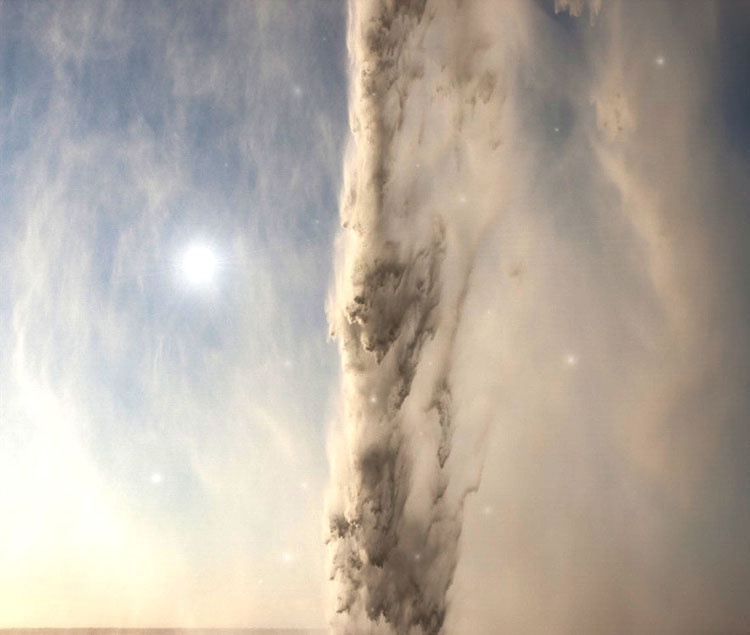
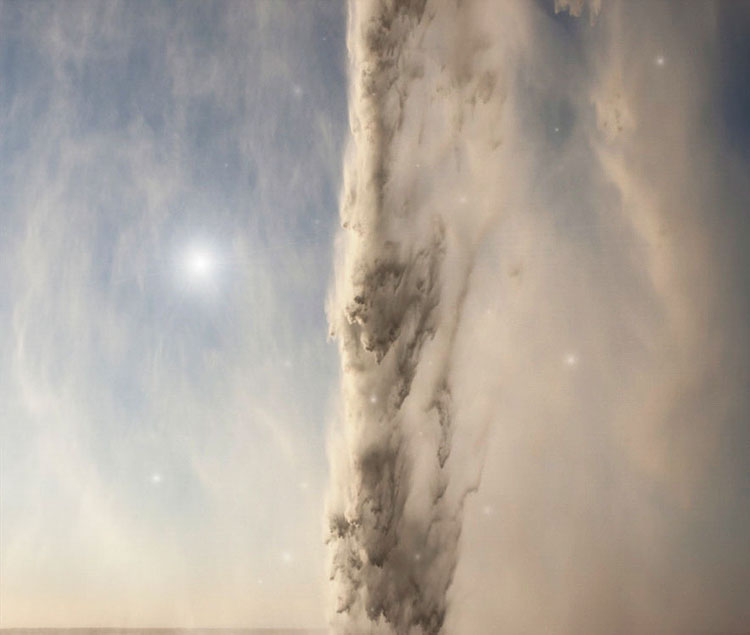
Whites Touch The Frame
Sometimes you have exposure that don’t have much (or any) detail in very bright areas. This is particularly problematic when they touch and break the rectangle of the frame. If you’re not going to clone detail into those areas, go old school and “fog” those areas, that is print them slightly gray. Using a brush lower the Whites slider (maybe the Highlights too) to build up some density without texture and restore the frame. You don’t need a lot, just enough to make the frame coherent, keeping the eye from wandering out of it and minimizing the distraction. Alternately, in Photoshop you can use a Curves adjustment layer and lower the white point slightly, then readjust the rest of the Curve to keep all the other tones glowing; paint on the mask to isolate this effect.