Creative Sharpening With Photoshop’s High Pass Filter
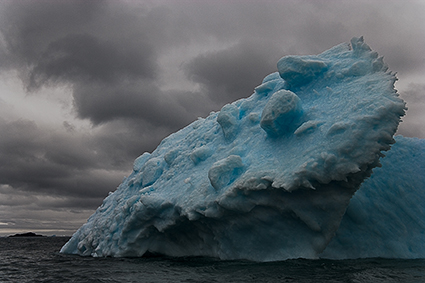
A low High Pass filter setting.
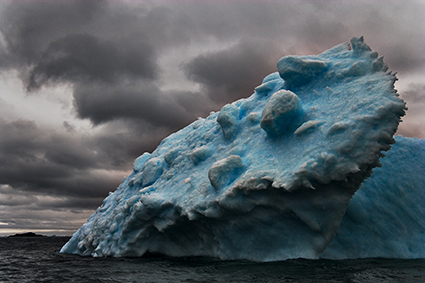
A high High Pass filter setting.
There are three methods of sharpening in Photoshop that we should all be aware of – luminance, edge, and High Pass sharpening. In this order, the three methods become progressively more complex and go to greater lengths to reduce the accentuation of noise.
To minimize the accentuation of noise, luminance sharpening requires that the filter Unsharp Mask’s Threshold setting be set precisely. When this is not enough, edge sharpening adds a mask that targets the contours of an image, allowing more aggressive sharpening with fewer side effects. Like, edge sharpening, High Pass sharpening (named after the filter used to produce the effect) targets contours in an image, but it does so without the need for a mask; a mask which is more complex to produce. Unlike edge sharpening, the contour accentuation it produces is soft, feathered, and wide. The effect is substantially different and can be used for many creative effects. High Pass sharpening is very similar to the effects of ACR and Lightroom’s Clarity slider, but it offers more control and more varied effects.
No Comments