How To Choose An Optimal Setting For Photoshop’s High Pass Filter

Photoshop’s filter High Pass is one every user should know. It can be either an edge sharpener or a unique luminosity contrast enhancer that produces a three-dimensional effect, unlike any other tool.

With only one slider, Radius, the differences between low and high settings can be found in the way they handle frequencies of detail: low (smooth spaces and planes), medium (broad lines and moderate texture), and high (fine lines and texture).

When you use low Radius settings, the High Pass filter adds contrast to the edges of lines. As the setting rises it brings out first coarse and then medium texture, accentuating fine texture, often confused with noise, much less.

When you use high Radius settings, the High Pass filter moves beyond sharpening and becomes tonal enhancement. The halos (light lines) and lines (dark lines) it produces become so broad and feathered that rather than only contour contrast (Think edges and thin lines.) they instead accentuate broader image contrast (Think planes chiseled by a sculptor.).  In short, images filtered with high High Pass settings look contrastier and more three-dimensional, as if all the planes in an image are dodged and burned.

Low or high, how do you choose?


Insights Members can login to read the full article.
Email:
or Sign up

How To Make Your Photographs Appear More Three Dimensional With Photoshop’s High Pass Contrast


The unfiltered image.

A low High Pass filter setting for sharpening

A high High Pass filter setting for contrast

The filter High Pass

Photoshop’s often overlooked filter High Pass is one every user should know. It can be either an edge sharpener or a unique luminosity contrast enhancer that produces a three-dimensional effect unlike any other tool.

When you use high Radius settings with the High Pass filter, it moves beyond sharpening and becomes tonal enhancement. The halos (light lines) and lines (dark lines) it produces become so broad and feathered that rather than only contour contrast (Think edges and thin lines.) they instead accentuate broader image contrast (Think planes chiseled by a sculptor.).  In short, images filtered with high High Pass settings look contrastier and more three dimensional, as if all the planes in an image are dodged and burned.

Take these steps to apply High Pass contrast.


Insights Members can login to read the full article.
Email:
or Sign up

High Pass Sharpening

before

after

Photoshop’s often overlooked filter High Pass is one every user should know. It can be either a unique luminosity contrast enhancer or a sharpener.

High Pass sharpening enhances edges with a softer halo and line and little or no accentuation of texture and noise. It bypasses many artifacts that trouble insensitive applications of Unsharp Mask.

High Pass sharpening requires layers so it’s only possible in Photoshop (not Lightroom or Camera Raw).

High Pass sharpening laid the foundation for Lightroom’s Print Sharpening, but in Photoshop it can also be used for creative sharpening, which can be combined with other sharpening effects and applied selectively.

Take these steps to apply High Pass sharpening.


Insights Members can login to read the full article.
Email:
or Sign up

Big Photoshop Update – 8 New Features in 8 Mins!

“See what’s new in Photoshop’s July 2024 Update, version 25.11.0, with all features explained! Right from the new Selection Brush tool to features like Enhance Details, we’ll cover everything new in Photoshop, including the features that have made their way from Photoshop Beta to this general version.”

00:00 Intro
00:13 Photoshop Version and Housekeeping
00:25 Selection Brush Tool
03:34 Enhance Details
04:28 Bullets and Numbering
05:02 Generator Plugins
06:11 Adjustment Brush
06:56 Enhanced Contextual Task Bar
07:39 Text to Image with Firefly Model 3
08:39 Single Adjustments
09:00 What’s Your Favorite?

Find more of Unmesh Dinda’s content here.
Learn more in my digital photography and digital printing workshops.

How To Use NASA’s Photoshop Tool for Sharpening – Any Good?

“What if we can use the same sharpening technique in Photoshop as NASA’s James Webb or Hubble Telescope team? In this video, we’ll test the APF-R plug-in, which automates the APF-R method for sharpening used by space telescopes and space agencies like NASA and ESA. ”

Find more of Unmesh Dinda’s content here.
Learn more in my digital photography and digital printing workshops.

How To Copy & Paste Colors From Renaissance Paintings Into Photographs

“Discover how exactly to copy any color grading style, step by step, in Photoshop! In this lesson, we’re going to steal the colors and tones from Renaissance paintings and apply them to our image. We’ll explore how to extract and composite colors with Curves, Hue/Saturation, and easy Masking.”

Find more of Unmesh Dinda’s content here.
Learn more in my digital photography and digital printing workshops.
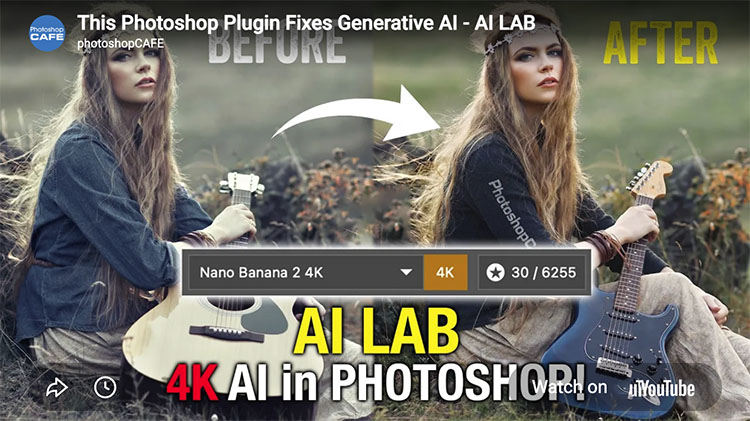
6 Little Known Techniques for Zooming in Photoshop

Julieanne demonstrates six little-known techniques for zooming images in Photoshop, including Animated and Scrubby zoom, Birds-Eye View, zooming multiple windows, and zooming to the contents of a layer.

For more check out Julieanne’s blog.
Learn more in my digital photography and digital printing workshops.
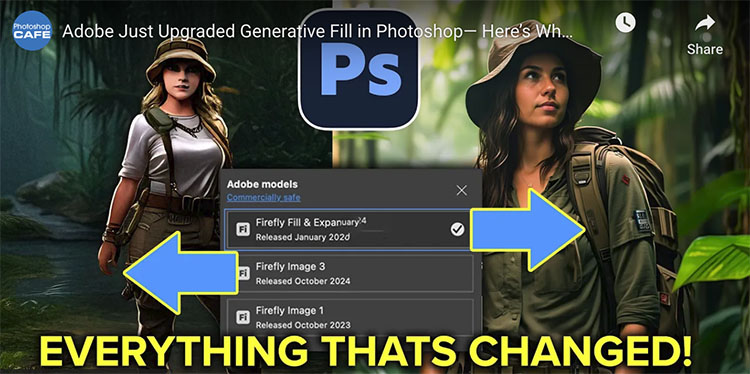
All The New Features Explained In Photoshop’s Epic AI Update

Explore the massive improvements in AI features, like Generative Fill with Reference Image, Generate Similar, Enhance Detail, and the New Firefly Image Model 3.

00:00 Intro
00:25 Generative Fill with Reference
02:24 How to Get These Features
03:02 Text to Image and Firefly Image Model 3
04:06 Model 1 vs. Model 3 Comparison
05:35 Generate Background
06:23 New Font Panel and Adobe Fonts
07:37 Generate Similar
09:09 Enhance Detail
10:32 Adjustment Brush
12:46 What do You Think?

Find more on Pix Imperfect.

Learn more in my digital photography and digital printing workshops.

What In The World Is Color Grading – Why & How To Do It

Color grading can unify images of different subjects shot at different times and locations.

Correction Versus Grading

Many people use color correction and color grading interchangeably, but their intents are quite different, while both are post-production processes and often use the same tools. Color correction is an objective technical process where colors are adjusted to appear natural; color grading is a subjective artistic process where colors are enhanced to evoke time, atmosphere, physical sensations (like temperature), and/or emotions. Correction convinces minds (avoiding personal biases); grading provokes feelings (celebrating personal preferences).

Correct Before You Grade

For some (scientists, journalists, product photographers, and art reproduction), color correction is the first and last step. For others (artists, many fashion and portrait photographers), color correction is a necessary prelude to color grading. Producing a neutral base gets images ready for artistic effects. Clipped highlights and shadows, color casts, and too much or too little saturation can all get in the way of successfully color-grading images. Correction also produces consistency between multiple shots. You won’t need to customize the color grading for different images if they are first color-corrected. This can save a lot of time and confusion if you’re processing many images.

Things To Look For During Color Correction

1    Preserve shadow and highlight detail.

2    Remove color casts. Make neutrals truly neutral.

3    Set saturation neither too low nor too high.

      Monitor memory colors: skin, blue sky, green grass, etc.

Read more on 4 Ways To Achieve Neutrality.

Tools To Create Color Grades With


Insights Members can login to read the full article.
Email:
or Sign up