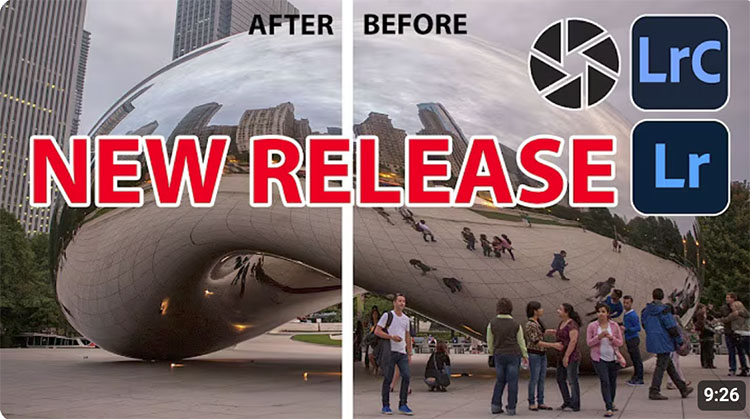
.

Why Singular Images Are So Important And Why They’re Not Everything

Call them 5-star images. They’re the images that make an instant impression, capable of grabbing a viewer’s attention amid a flood of other choices. Singular images are the ones that get the most likes on social networks, the top (and sometimes only) image on a webpage, the first and last images in a slideshow, the one used for a card to an exhibition or a poster promoting it, the cover plus the opening and closing pages of a book. Singular images are the heat.

Singular images are classically composed with strong graphic structures that are simplified and dynamic. The dramas they tell are easily grasped and digested. Color contrast (of luminosity, hue, and/or saturation) is high. Rarely will a singular image have technical flaws; they can afford no distractions. It’s rare that a singular image doesn’t exhibit these characteristics. For an image to be considered singular without them, it has to be exceptionally strong in other areas.

Some high-impact images don’t have legs. They sizzle and fizzle. They may be graphically compelling, but they may not offer anything exceptional beyond their execution. You may need to give images a waiting period to discover this. When determining whether an image’s payout is short or long, ask yourself some questions. Does the image sustain attention? Does it tell an interesting story? Does it make the viewer think? Does it work on multiple levels? Does it elude easy definition? Does it haunt the viewer long after it is seen? The very best singular images do it all. These are the truly great images.

It takes time to amass a number of singular images. Singular images often involve strokes of luck. No matter how talented, skilled, and prepared you are, it’s almost impossible to guarantee inspiration. But you can learn to recognize when it’s present and what it takes to cultivate and sustain it ...


Insights Members can login to read the full article.
Email:
or Sign up

Enhancing Texture, Clarity and Dehaze in Lightroom Classic

“In this video Julieanne explains the difference between the three Presence sliders: Texture, Clarity, and Dehaze and how they can be used to add contrast to an image.”

Watch more from Julianne Kost here.

Learn more in my digital photography and digital printing workshops.

How To Choose An Optimal Setting For Photoshop’s High Pass Filter

Photoshop’s filter High Pass is one every user should know. It can be either an edge sharpener or a unique luminosity contrast enhancer that produces a three-dimensional effect, unlike any other tool.

With only one slider, Radius, the differences between low and high settings can be found in the way they handle frequencies of detail: low (smooth spaces and planes), medium (broad lines and moderate texture), and high (fine lines and texture).

When you use low Radius settings, the High Pass filter adds contrast to the edges of lines. As the setting rises it brings out first coarse and then medium texture, accentuating fine texture, often confused with noise, much less.

When you use high Radius settings, the High Pass filter moves beyond sharpening and becomes tonal enhancement. The halos (light lines) and lines (dark lines) it produces become so broad and feathered that rather than only contour contrast (Think edges and thin lines.) they instead accentuate broader image contrast (Think planes chiseled by a sculptor.).  In short, images filtered with high High Pass settings look contrastier and more three-dimensional, as if all the planes in an image are dodged and burned.

Low or high, how do you choose?


Insights Members can login to read the full article.
Email:
or Sign up

How To Make Your Photographs Appear More Three Dimensional With Photoshop’s High Pass Contrast


The unfiltered image.

A low High Pass filter setting for sharpening

A high High Pass filter setting for contrast

The filter High Pass

Photoshop’s often overlooked filter High Pass is one every user should know. It can be either an edge sharpener or a unique luminosity contrast enhancer that produces a three-dimensional effect unlike any other tool.

When you use high Radius settings with the High Pass filter, it moves beyond sharpening and becomes tonal enhancement. The halos (light lines) and lines (dark lines) it produces become so broad and feathered that rather than only contour contrast (Think edges and thin lines.) they instead accentuate broader image contrast (Think planes chiseled by a sculptor.).  In short, images filtered with high High Pass settings look contrastier and more three dimensional, as if all the planes in an image are dodged and burned.

Take these steps to apply High Pass contrast.


Insights Members can login to read the full article.
Email:
or Sign up

High Pass Sharpening

before

after

Photoshop’s often overlooked filter High Pass is one every user should know. It can be either a unique luminosity contrast enhancer or a sharpener.

High Pass sharpening enhances edges with a softer halo and line and little or no accentuation of texture and noise. It bypasses many artifacts that trouble insensitive applications of Unsharp Mask.

High Pass sharpening requires layers so it’s only possible in Photoshop (not Lightroom or Camera Raw).

High Pass sharpening laid the foundation for Lightroom’s Print Sharpening, but in Photoshop it can also be used for creative sharpening, which can be combined with other sharpening effects and applied selectively.

Take these steps to apply High Pass sharpening.


Insights Members can login to read the full article.
Email:
or Sign up

3 Easy Steps To Help You Remove Banding In Photoshop

“Discover 3 simple steps to entirely eliminate color banding or gradient banding in your photos with Photoshop! In this lesson, we’ll learn how to use the right bit-depth to avoid banding in the first place and then explore several filters to dissolve the banding and add texture.”

Find more of Unmesh Dinda’s content here.
Learn more in my digital photography and digital printing workshops.

Big Photoshop Update – 8 New Features in 8 Mins!

“See what’s new in Photoshop’s July 2024 Update, version 25.11.0, with all features explained! Right from the new Selection Brush tool to features like Enhance Details, we’ll cover everything new in Photoshop, including the features that have made their way from Photoshop Beta to this general version.”

00:00 Intro
00:13 Photoshop Version and Housekeeping
00:25 Selection Brush Tool
03:34 Enhance Details
04:28 Bullets and Numbering
05:02 Generator Plugins
06:11 Adjustment Brush
06:56 Enhanced Contextual Task Bar
07:39 Text to Image with Firefly Model 3
08:39 Single Adjustments
09:00 What’s Your Favorite?

Find more of Unmesh Dinda’s content here.
Learn more in my digital photography and digital printing workshops.