3 Photographic Noise Reducers Compared
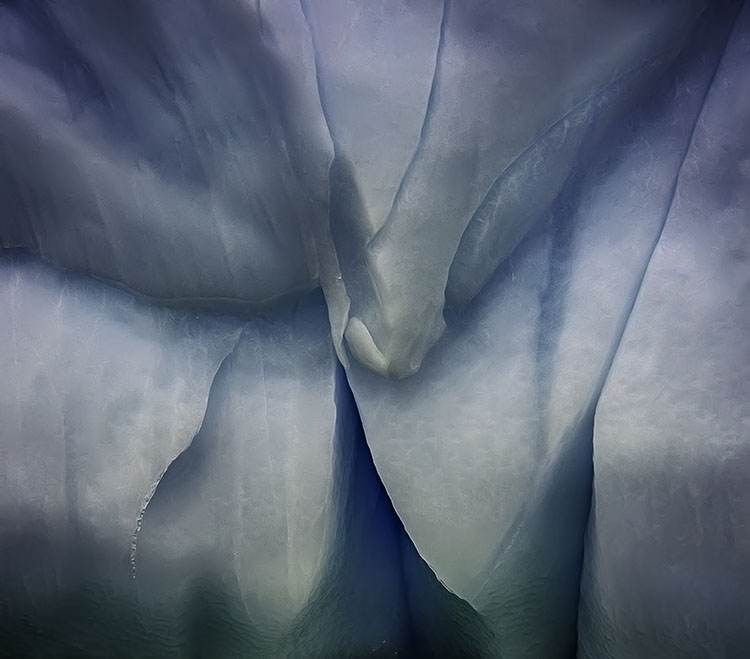
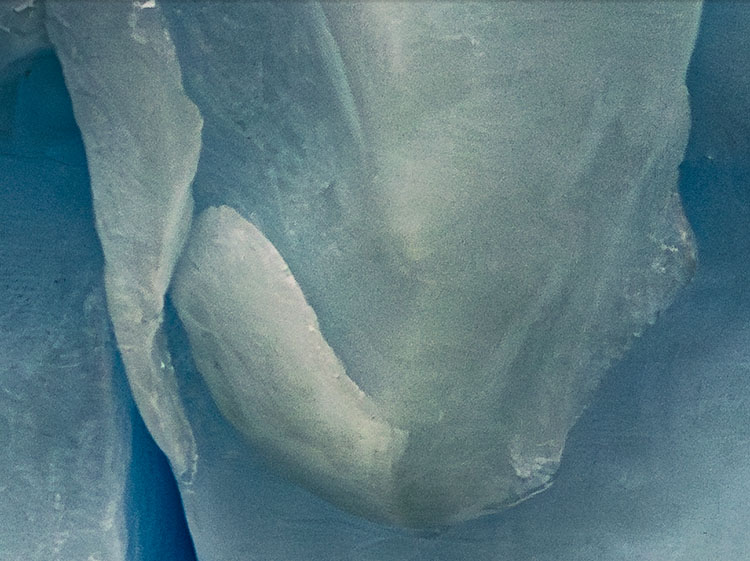
Zero noise reduction
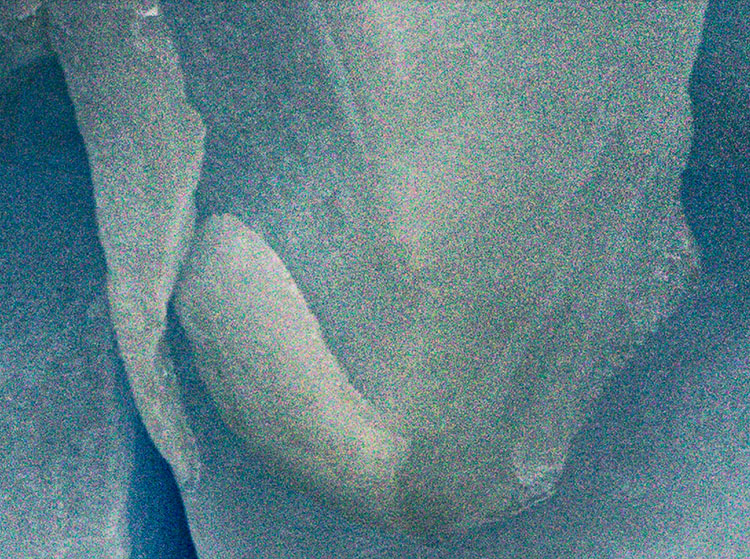
Adobe’s Camera Raw / Lightroom Manual Noise reduction
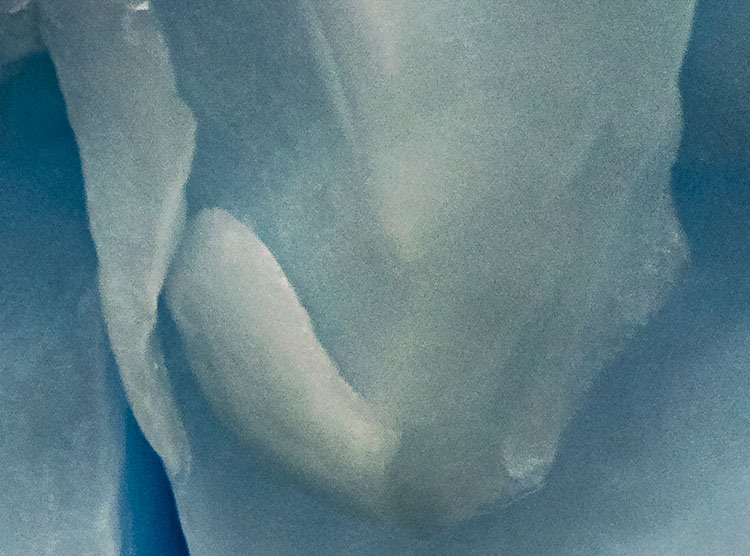
Imagenomic’s Noiseware
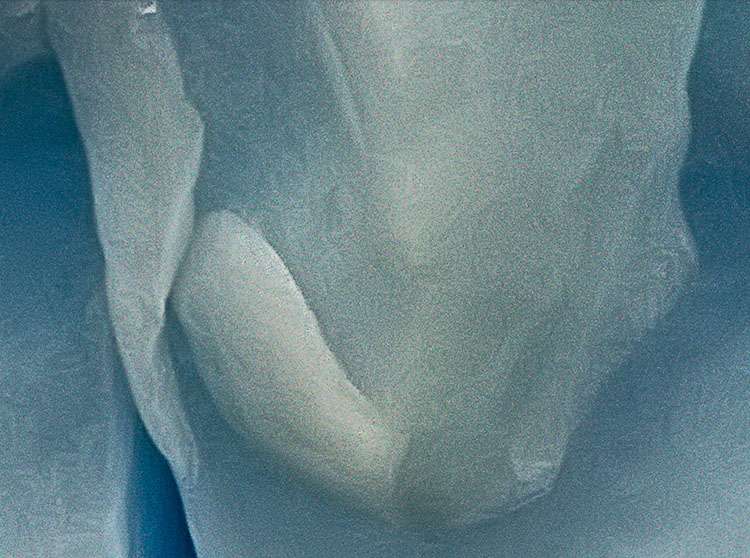
Adobe’s Camera Raw / Lightroom AI Noise Reduction
There’s noise in every file. This is why noise reduction is applied to every image you open in Camera Raw / Lightroom, unless you turn this default setting off. What tool you use to remove noise depends on how much noise there is. Moving from a little to a lot, here are the three options and why you would choose one over the other.

1 – A little
If you’ve got only a little noise Adobe’s Manual Noise Reduction is up to the task.
Read more on Lightroom Manual Noise Reduction here.
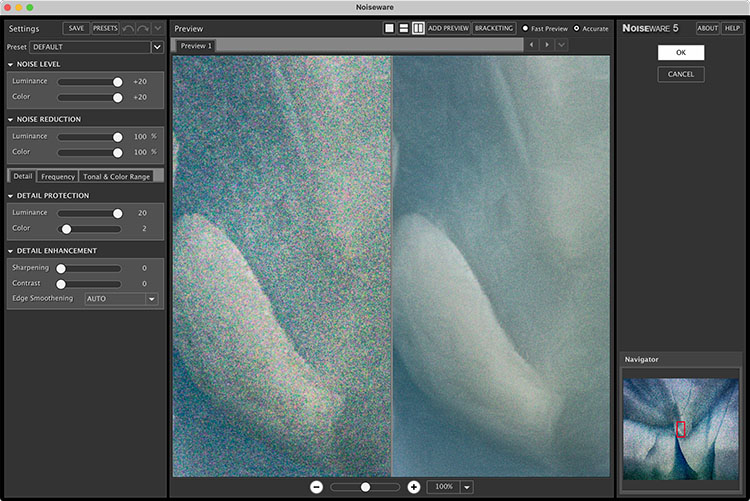
2 – Some
If you’ve got significant noise in non Raw file formats (like JPEGs) or in layers in a Photoshop file, use Imagenomic’s Noiseware.
Read more on reducing noise with Noiseware here.
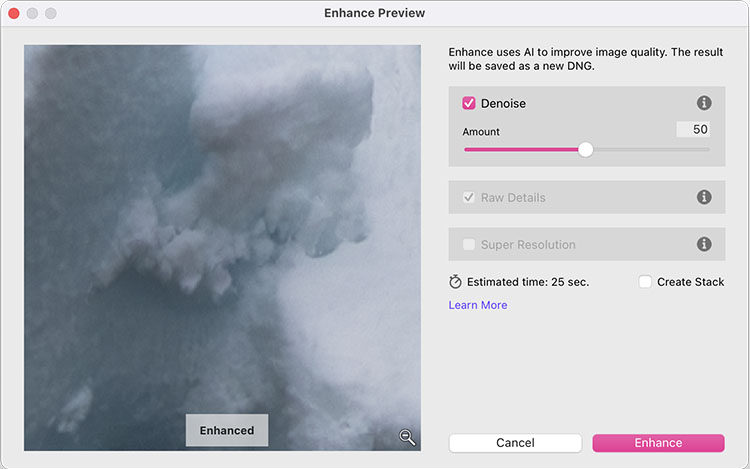
3 – A lot
If you’ve got substantial noise in a Raw file, use Adobe’s AI Noise Reduction.
Read more on Adobe’s AI Noise Reduction here.
In a nutshell, for Raw files choose Manual Noise Reduction (a little noise) or AI Noise Reduction (more than a little noise). For other file types use Imagenomic’s Noiseware.
Read more about noise here.
Learn more in my digital photography and digital printing workshops.