Painting The Simplest & Most Useful Masks In Photoshop
So often, it’s the simplest things that are the most often used and so the most useful. You may find that you use this very simple three-step technique for a majority of the masks you make in Photoshop. (I do.)
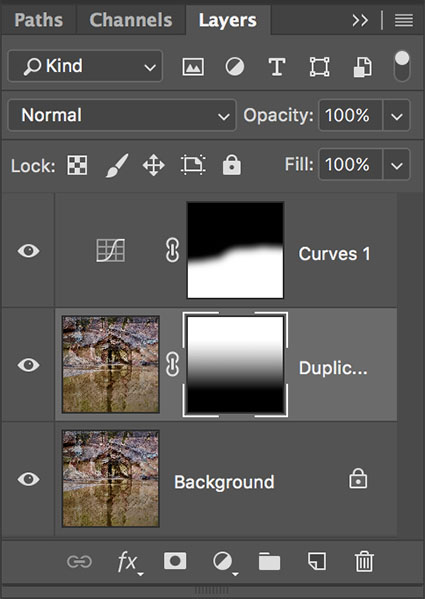
1 In the Layers palette, highlight the layer you want to affect.
2 Click on the mask icon. (It looks like a Japanese flag.)
3 Use a brush to paint over the areas you want to remove an effect from.
The marks you make with a brush will determine how broad or precise your mask becomes. While you can use any brush tool, a simple round feathered brush is the most useful. Vary the brush size as needed. (You can use the square bracket keys to quickly make your brush smaller or larger.) Zoom in or out as needed.

Brush marks can vary in size and shape.
To partially mask areas vary the opacity of the brush (You can use the number keys to quickly change a brush’s opacity.) You can stroke an area multiple times to build up a desired effect.

You can control the opacity of any brush.
If you make a mistake, step back in history with the History palette. Or, switch the foreground and background colors (Use the X key to quickly toggle them.) and paint with the opposite color; the Eraser tool, a brush, essentially paints with the current background color. Masks can be made of any shade of gray between black and white but they cannot contain saturated color; while you’re painting, if you see a foreground color that is a saturated hue you’re painting on a layer, not a mask. Again, stepping back in time with the History palette will provide you with an easy do-over.
While you’re brushing, favor soft-edged brushes; hard-edged brushes may introduce unwanted contours.
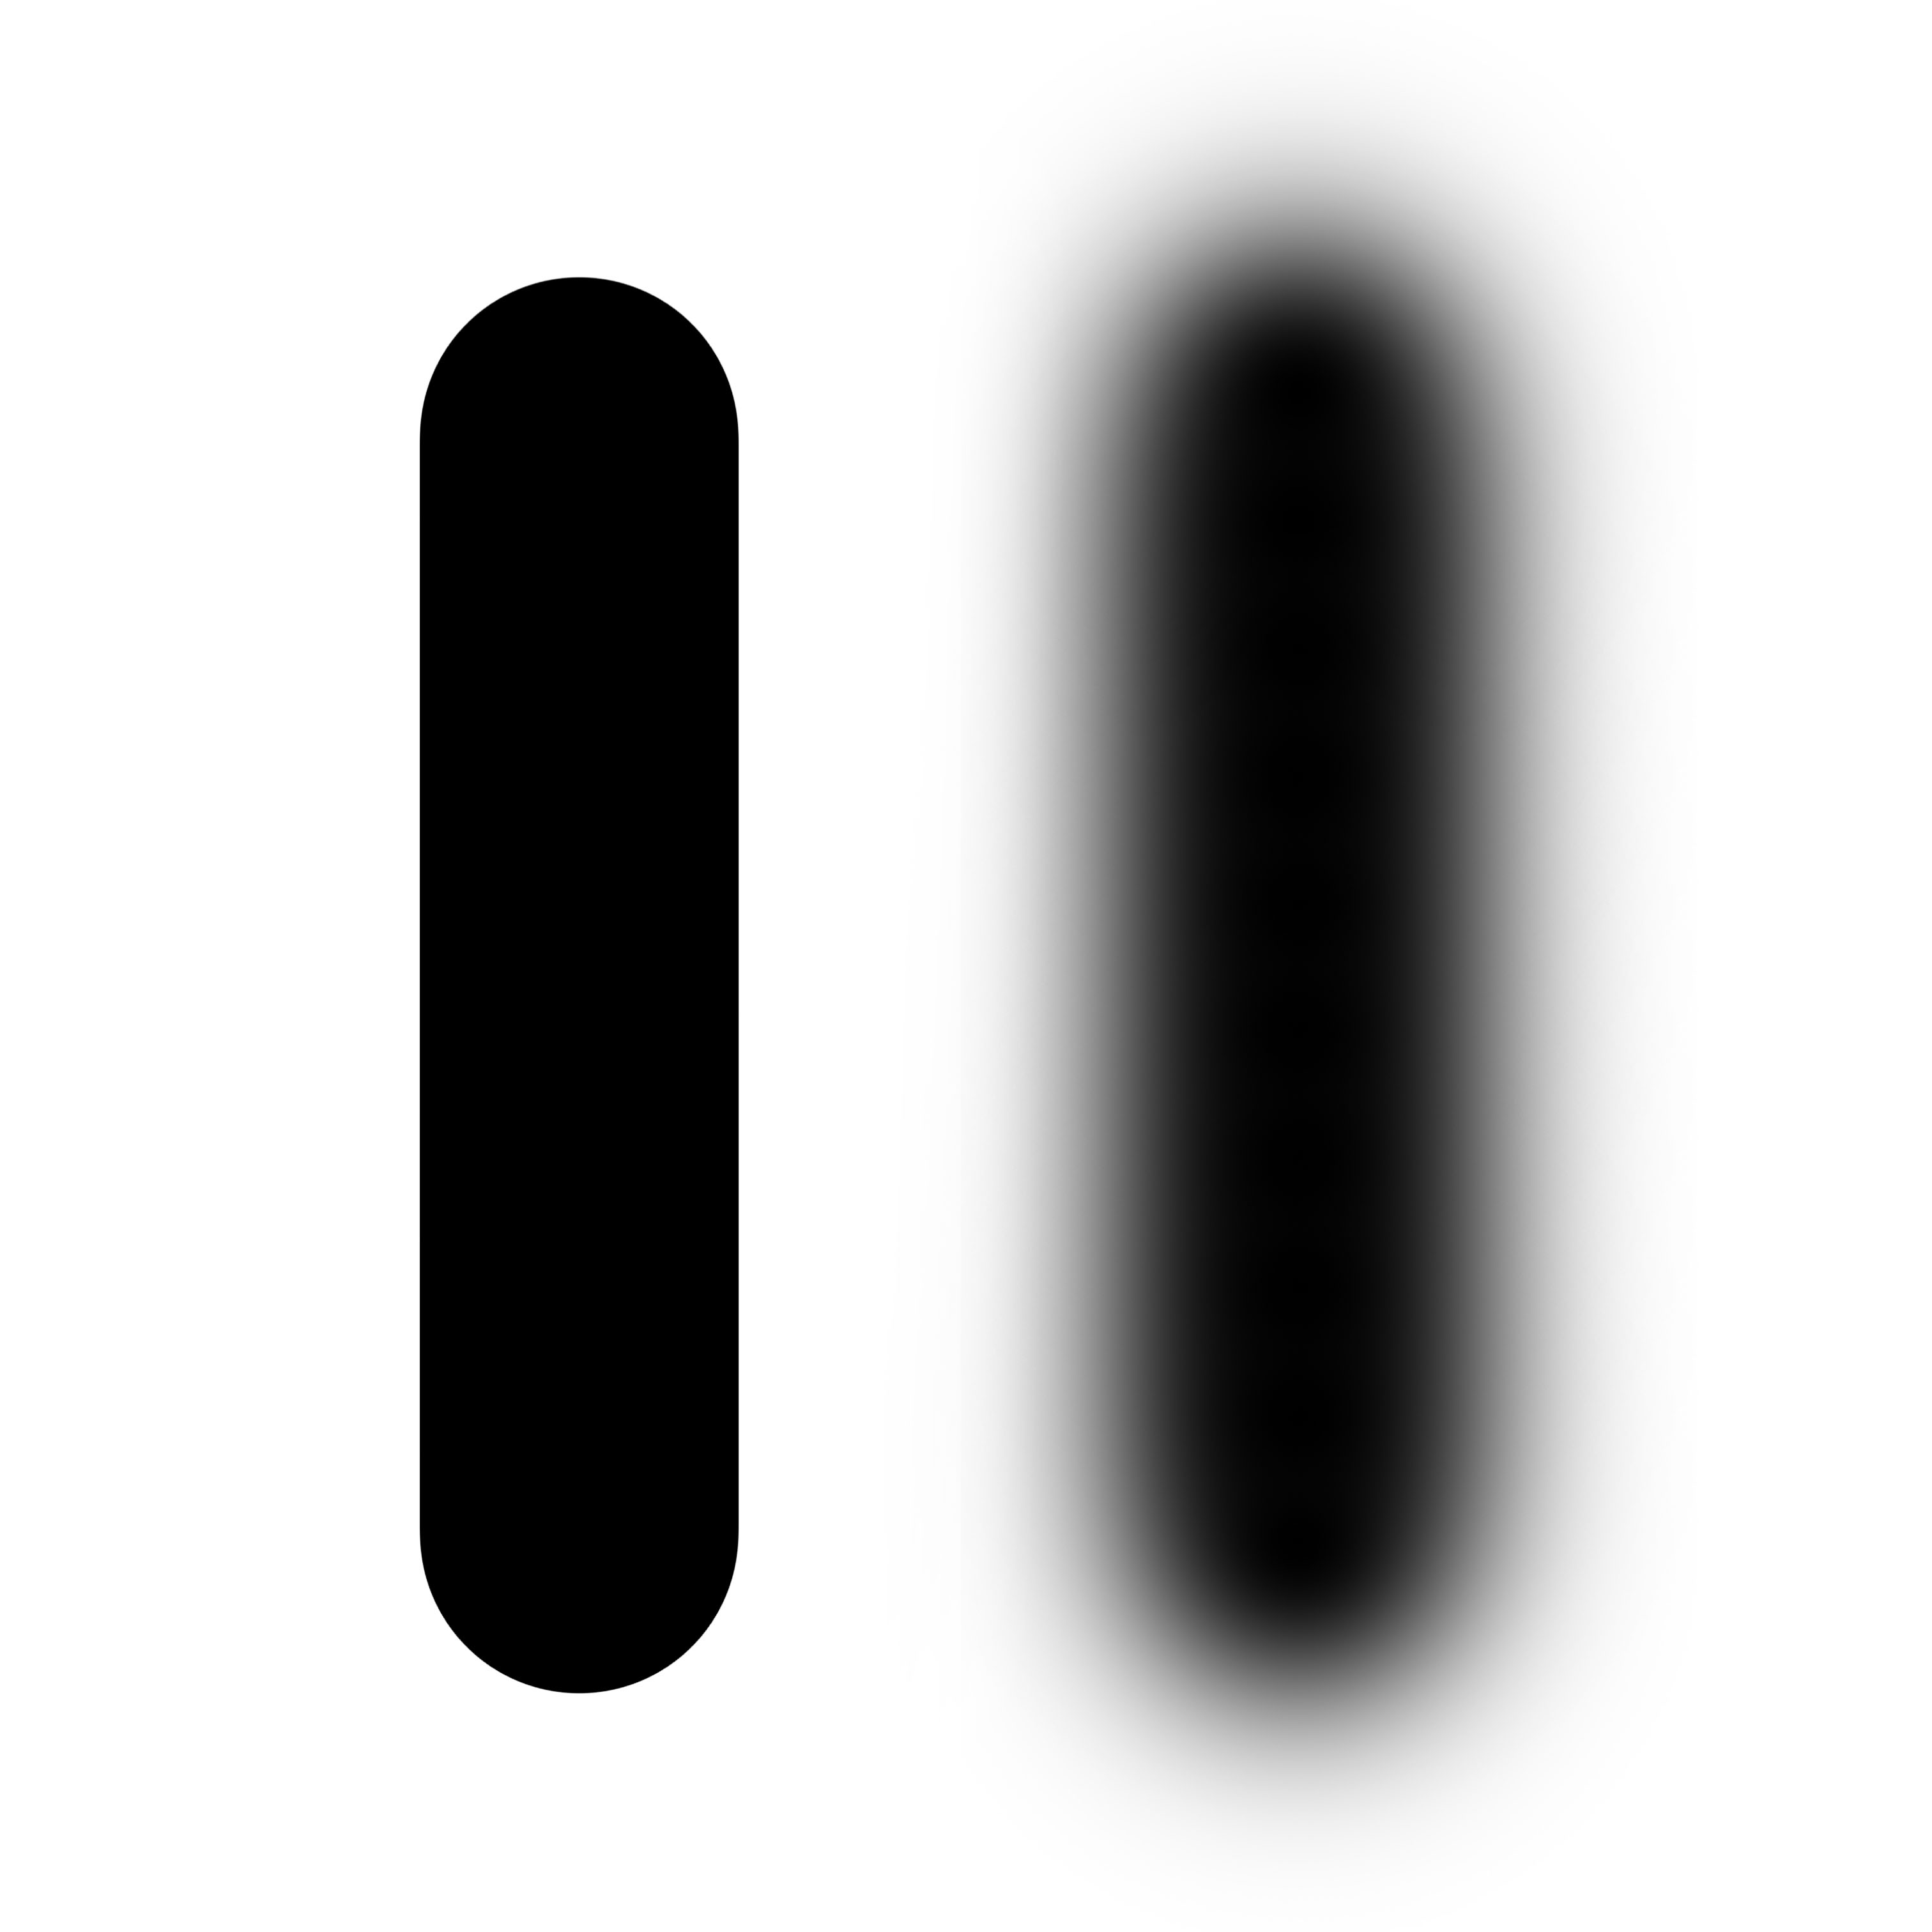 The edges of brushes can be hard or soft.
If you plan to make a mask that eliminates a layer’s effect for a majority of an image’s area, it’s faster to start with a black mask and use a white brush to paint the layer’s effect into the other smaller areas. You can start with a black mask by holding the Option key when you click the mask icon. Or, you can use the menu command Layer > Add A Layer > Hide All. Or, you can fill a mask with any color – in this case black. All of these methods will achieve the same result.
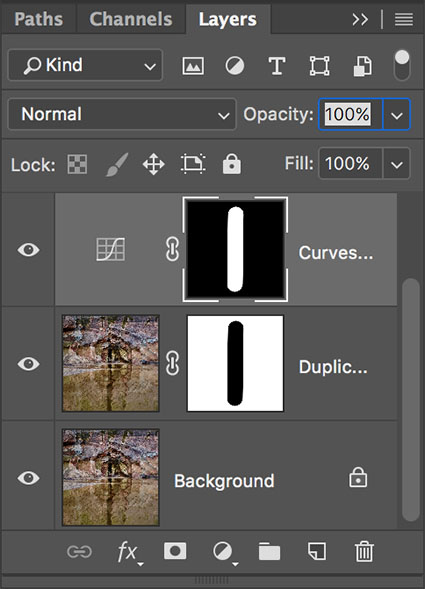
Masks can start with a white or black base.
While there are many methods that can be used to modify a mask after it has been created brushing remains the most common and is often the most effective way.
You might be tempted to think that this technique is too easy and only for beginners – don’t. Simple is not simplistic. This is a go-to technique everyone uses, beginner and master alike. Remember, you can achieve much greater precision with a mask and a brush than anything you can achieve in the analog darkroom.
Read more about Selections & Masks.
Learn more in my digital photography and digital printing workshops.
