How To Make Day Look Like Night In Your Images

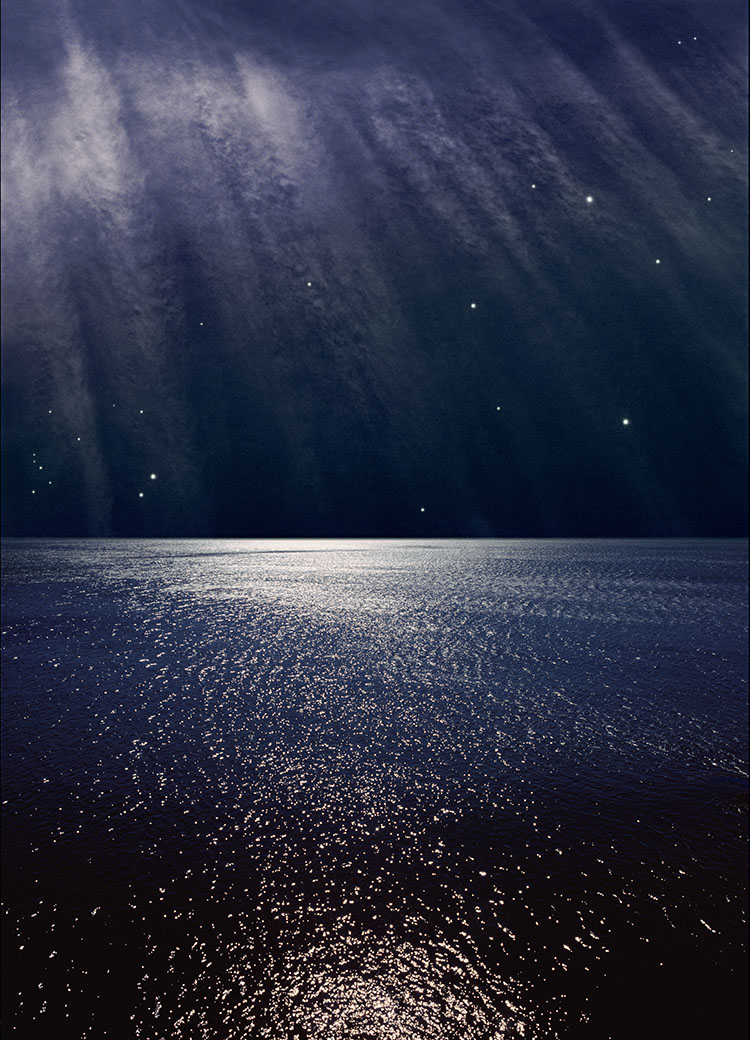
Because both analog film and digital image sensors are not as sensitive in low light as the human eye, night scenes recorded in natural light are typically underexposed to the point where little is visible. However, night scenes can be rendered with daylight.

"Day for night" is a set of cinematic techniques used to simulate the appearance of night while filming during the day. It's often used when it's too difficult or expensive to shoot at night, but it's sometimes selected deliberately because it offers special image qualities. It's not just technique; it's also an aesthetic.

The same techniques cinematographers employ can be used for still images.

Exposure

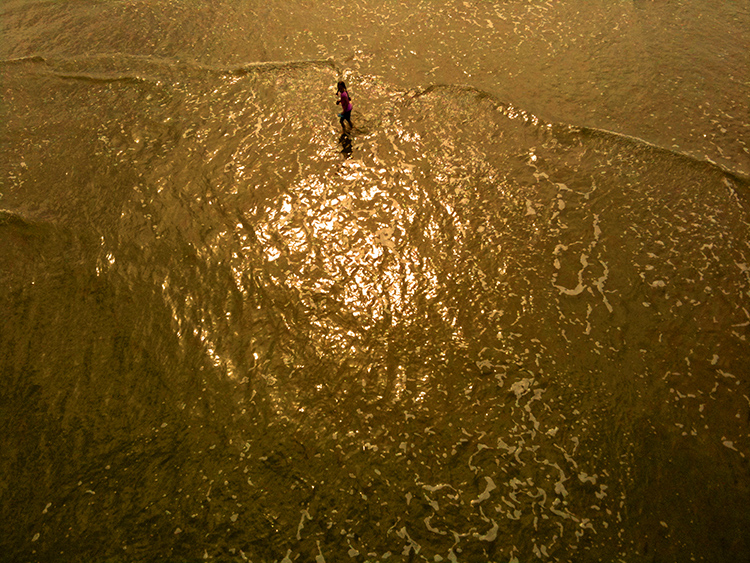
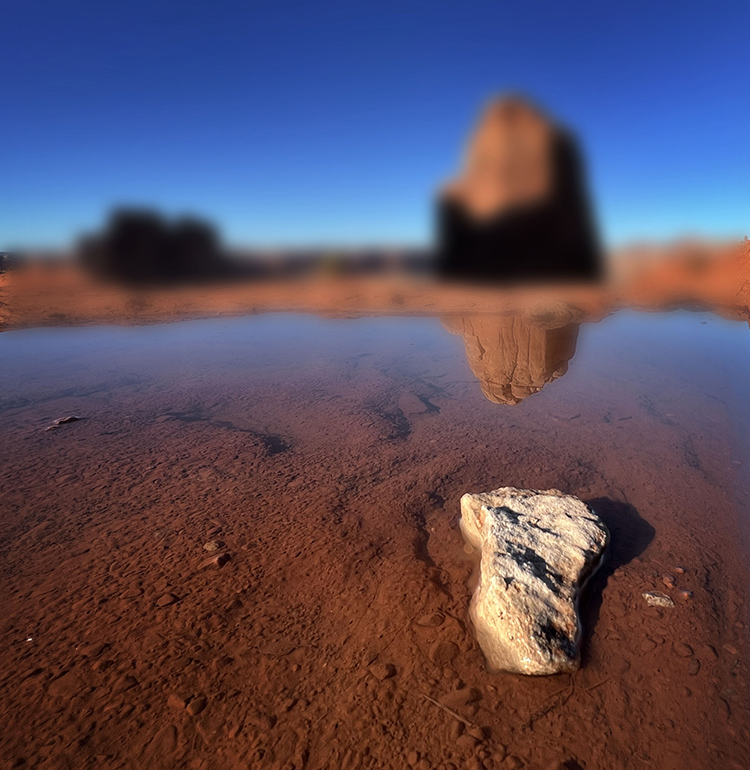
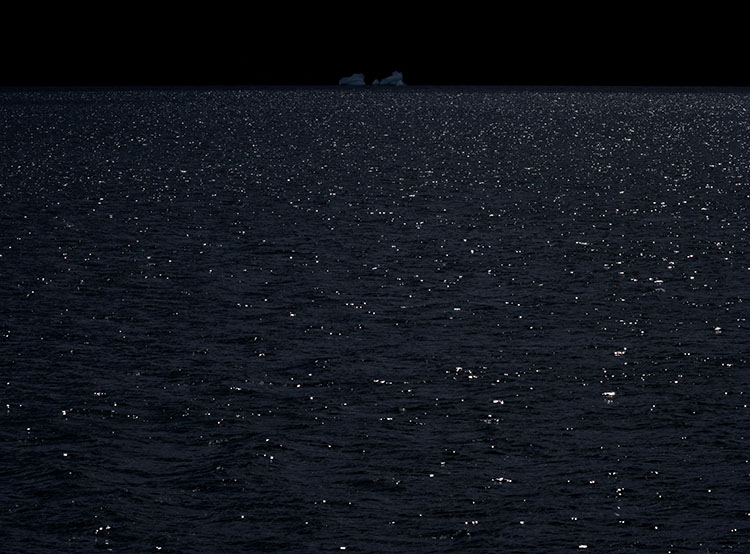
When shooting day for night, scenes are typically underexposed in-camera or darkened during post-production, reducing saturation and adding a blue tint – though some movies, like Mad Max: Fury Road, deliberately overexpose. There's more than one way to create the impression of night, and each one offers unique qualities.

ND filters are needed only for the brightest scenes or to prolong exposures to create motion blur.

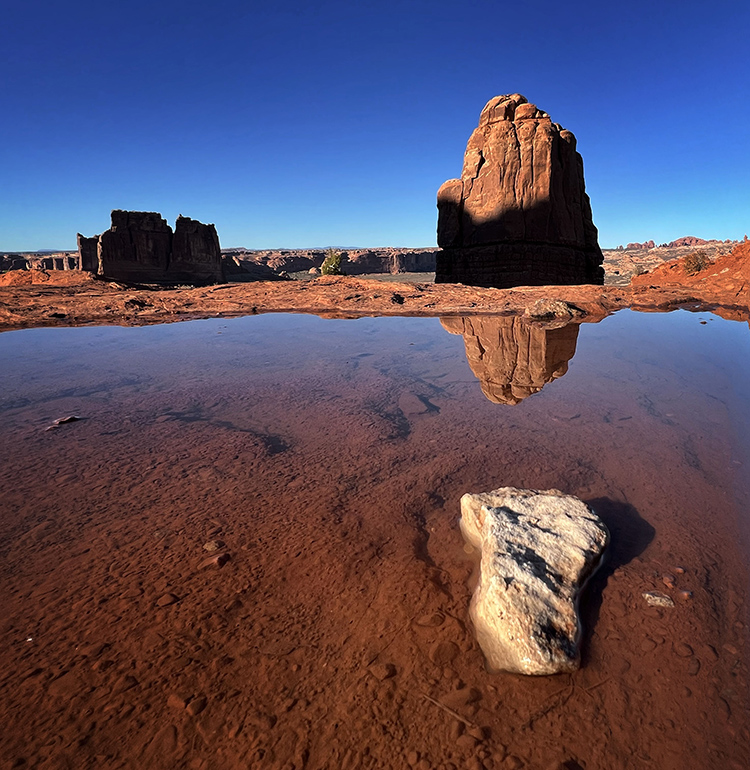
Continue to use ETTR (expose to the right) but use it more cautiously; above all, don't clip highlights. This will offer you more latitude during post-processing. Avoid dramatic underexposure, which can crush shadows, flatten midtone contrast in ways that reduce flexibility during post-processing, and accentuate noise.

Very bright skies can disrupt the effect. If the sky isn't necessary in a composition, eliminate it. If it is, plan your exposure accordingly. Consider making a second, darker exposure for the sky.

Using HDR exposure techniques, even when a normal exposure wouldn't require them, will give you a variety of exposures for shadows and highlights to choose from or allow you to render a lower contrast combination that is more likely to produce convincing effects.

Lighting

Always consider the scene's light and modify your exposure and post-processing accordingly.


Insights Members can login to read the full article.
Email:
or Sign up

How Photoshop’s Blend If Sliders Help With Masking, Retouching, and Effects

“Discover the Magic of Blend If in Photoshop! Learn how “Blend If” works and explore the amazing effects you can create with it. In this video, we’ll dive deep into the mechanics of what “Blend If” controls and go through real-world applications, from masking to special effects and even retouching.”

Find more of Unmesh Dinda’s content here.
Learn more in my digital photography and digital printing workshops.

2 Ways To Quickly Add Bokeh Flares To Your Images

in focus

Photoshop's filter Lens Blur

Lens Blur applied a second time selectively

Bokeh flares added with an image and brushes


The word bokeh (Japanese for blur), the quality of the blur produced in out-of-focus parts of an image, is often used to describe the way a lens renders out-of-focus points of light.  You don’t have to have a lens with a very wide aperture to create images with bokeh flares.You can apply bokeh flares to shots with or without analog flares after exposure, using Photoshop.

Blend A Second Image With Flares

There are at least three ways to find bokeh flare images.


Insights Members can login to read the full article.
Email:
or Sign up

How To Combine Focussed & Defocussed Images Using Photoshop

In & Out-Of-Focus Mixed


Combining in and out-of-focus images with Photoshop is a simple matter of placing tow versions of the same image on separate layers.

If you’re simulating an out-of-focus image using blur filters in Photoshop this takes one step. Use the Layers menu and select Duplicate Layer or in the Layers palette drag the layer to the Create a new layer icon ( + ). The two layers will be perfectly registered. The top layer is ready for blurring.

If you’re combing separate exposures of the same image that are in and out-of-focus add a couple more easy steps.


Insights Members can login to read the full article.
Email:
or Sign up

Atmospheric FX

Purchase the full ebook above.

Purchase individual chapters below.


Create compelling atmospheric effects in your images with Photoshop.


1. Language of Night | .99
Create night scenes with Adobe Photoshop (all versions) – 6 pages

2. Atmospheric Perspective .99
Simulate perspective with Adobe Photoshop (all versions) – 6 pages

3. Atmosphere .99
Create fog and haze with Adobe Photoshop (all versions) – 8 pages

4. Smoke .99
Generate smoke with Adobe Photoshop (all versions) – 5 pages

5. Snow/Rain .99
Simulate snow and rain with Adobe Photoshop (all versions) – 7 pages

6. Rainbow .99
Render rainbows with Adobe Photoshop (all versions) – 9 pages

7. Illumination .99
Produce the effect of light with Adobe Photoshop (all versions) – 7 pages

8. Stars |.99
Make stars with Adobe Photoshop (all versions) – 8 pages

9. Lightning .99
Introduce lightning with Adobe Photoshop (all versions) – 8 pages

10. Rays of Light .99
Depict rays of light with Adobe Photoshop (all versions) – 8 pages

11. Shadows |.99
Represent shadows with Adobe Photoshop (all versions)  – 10 pages


Sign up for Insights for news of new content!