New AI Feature Removes Anything In Photoshop

Photoshop’s updated remove tool removes anything from a photo.
Find out more from Colin Smith at Photoshop Cafe.
Learn more in my digital photography and digital printing workshops.
Photoshop’s updated remove tool removes anything from a photo.
Find out more from Colin Smith at Photoshop Cafe.
Learn more in my digital photography and digital printing workshops.

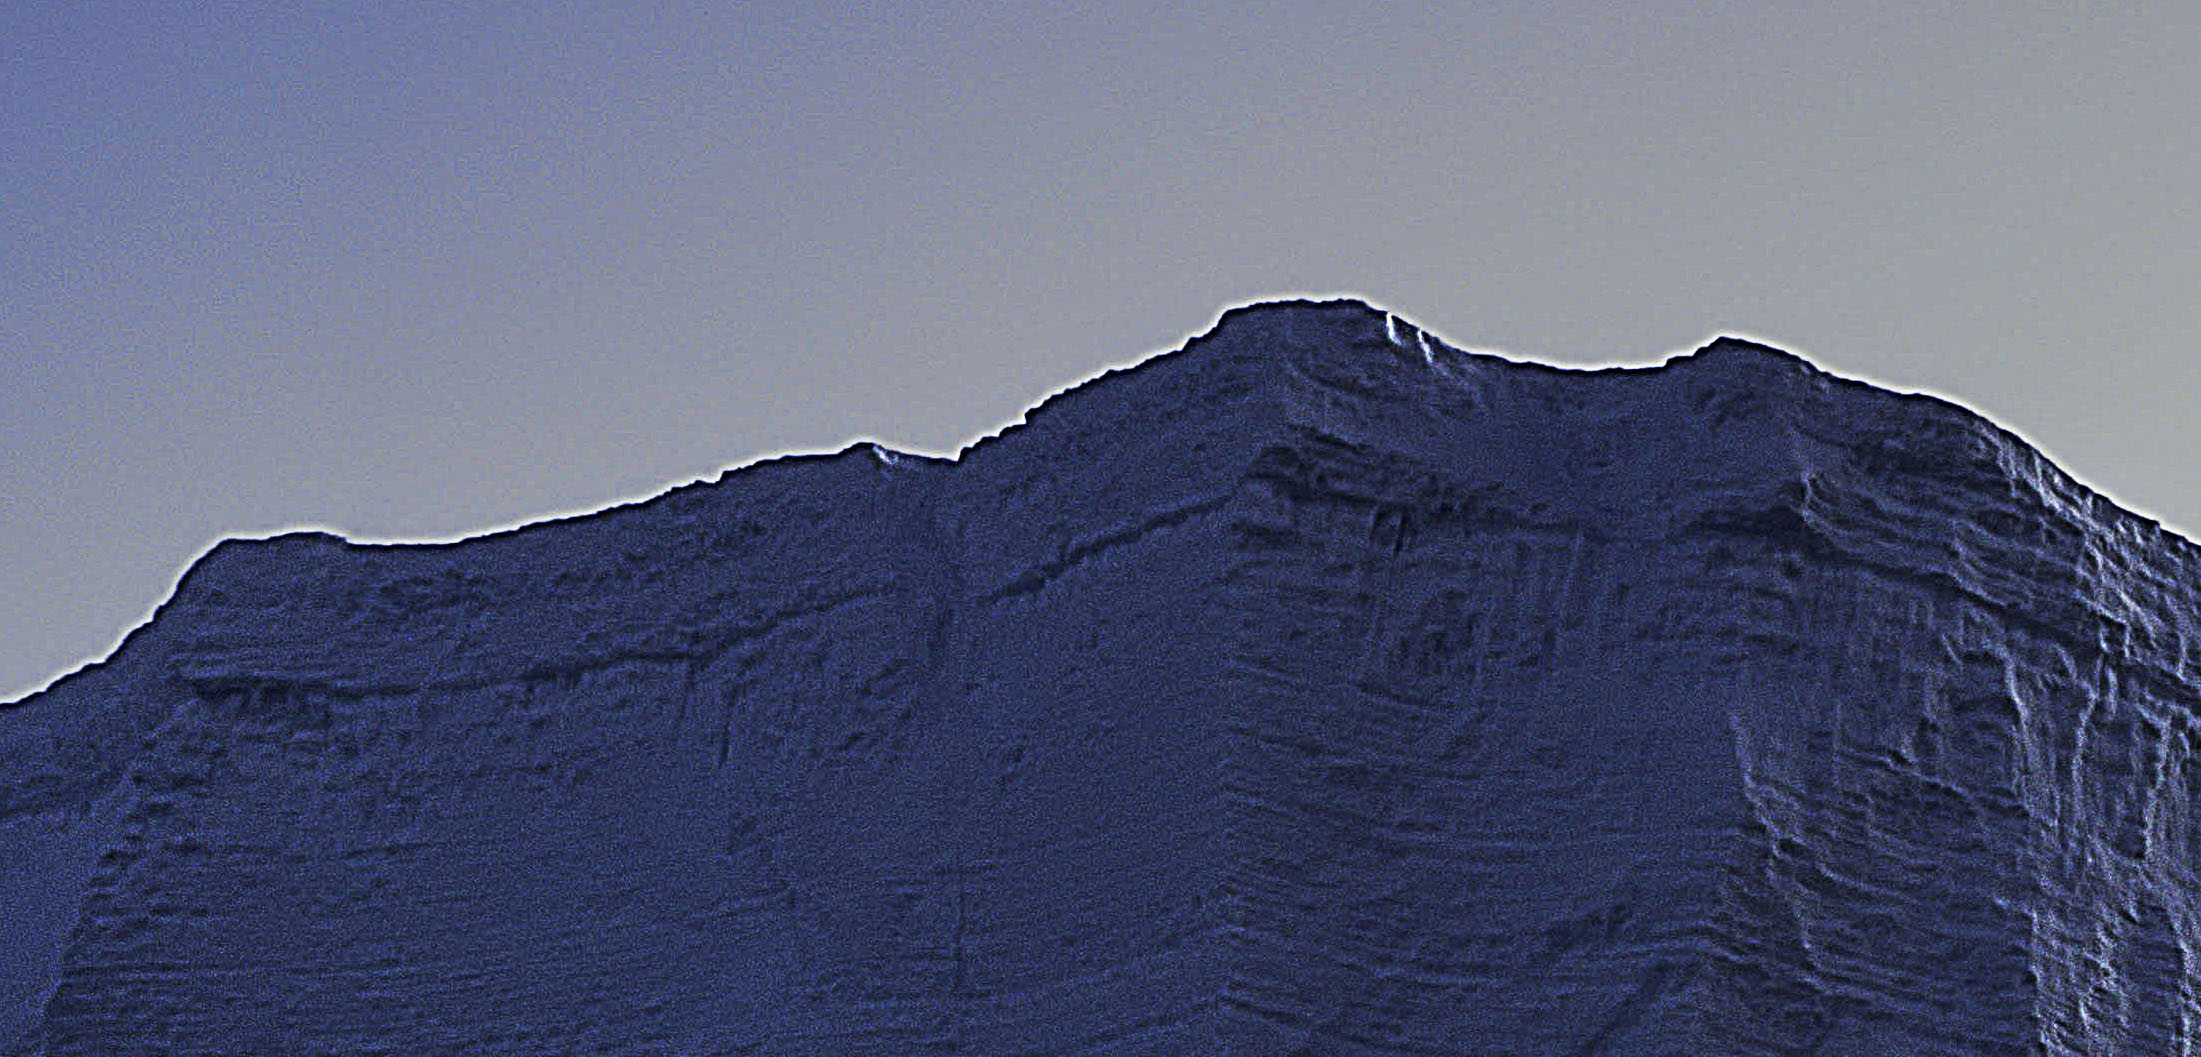
halo and line on horizon
Nothing screams digital artifacts more than halos and lines. Bright and dark lines around the edges of objects make straight photographs look altered, and altered photographs look poorly crafted. Rarely, if ever, a good thing, their insensitivity to both contours and textures within images is supremely distracting. It's easy to eliminate these dealbreakers if you know what to look for, how to avoid them, and, when necessary, eradicate them.
Know What To Look For
First, know what to look for. If halos and lines exist, you'll find them along the edges of shapes and, sometimes, the spaces objects surround. They're most pronounced when the inside and the outside exhibit more contrast. Halos, the bright lines, are obvious; the brighter, thicker, harder halos are the more obvious, while darker, thinner, softer halos are less obvious. Lines, the dark lines, are less obvious. As they get darker, thicker, and harder, they become more obvious.
Know How To Look For It
Halos are harder to spot in higher-resolution images that must be zoomed in (100% screen magnification) to be seen accurately. The worst is seeing them after an image is printed on a large scale. This time-consuming and expensive mistake can easily be avoided by looking closely at images before processing is finished.
Don't Produce Them
Second, know how they're produced. The quickest way to produce halos and lines is with digital sharpening, whether that's the Detail panel in Lightroom or Camera Raw, filters in Photoshop like Unsharp Mask and High Pass, or third-party plug-ins like Nik. The point here is not to avoid these tools but rather to apply them in ways that don't or minimally produce these artifacts. The next quickest way is to use any contrast tool that accentuates them; sliders in the Light panel, Curves, Texture, Clarity, and Dehaze should be monitored too. These tools won't produce halos, and if you don't have halos and lines, these tools won't accentuate them. (Careful, at high settings, Clarity and Dehaze may produce very thick, feathered halos and lines, and when they've gone too far, these artifacts look more like sloppy masking than over-sharpening. These are much harder to fix than hard lines around contours, so try not to produce them.)
See my articles on High Pass, Clarity, and Dehaze for more.
If any tool produces halos while you're processing, reduce the settings until they don't (Remember to zoom in to check this before moving on.) It's easier not to produce them than to cure them. If you discover halos and lines long after they were produced, find the slider or layer that produced them and change those settings. (In Photoshop, it's critical to adopt a flexible workflow using smart filters, adjustment layers, and layers so that you can do this quickly and easily. If you start building too many effects into flattened layers, you'll have to redo the whole thing.)
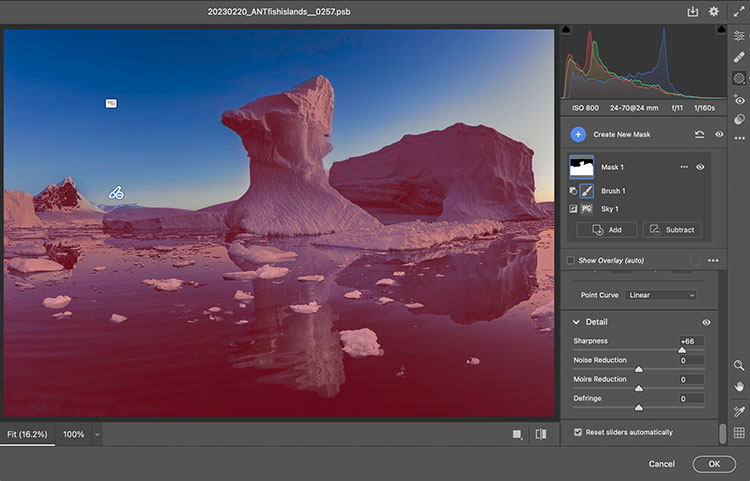
adjustment in Camera Raw masked
Mask Them
Sometimes, the artifacts produced by sharpening and contrast enhance images positively inside contours, but along contours, they look terrible. Consider applying the effect and masking it away from the contours in this case. Horizon lines are one of the most important image elements to monitor. This contour typically has more contrast than any other, not only in luminosity but also in texture, which means halos are more easily seen in the lighter, smoother sky.

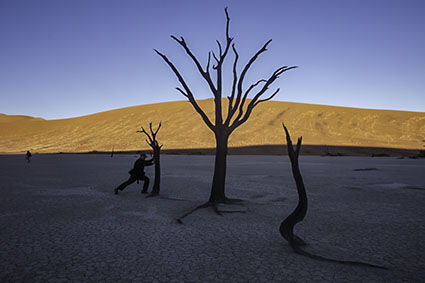
Combine 3 or more exposures into 1
Remove moving objects using Photoshop's Smart Objects
Use the Stack Mode Mean
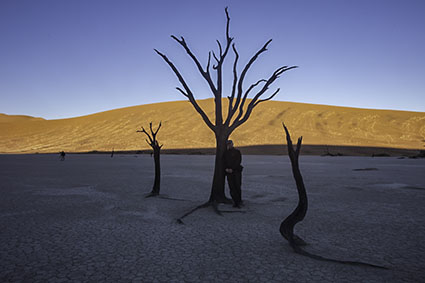
Keep moving objects using Photoshop's Smart Objects
Use the Stack Mode Minimum
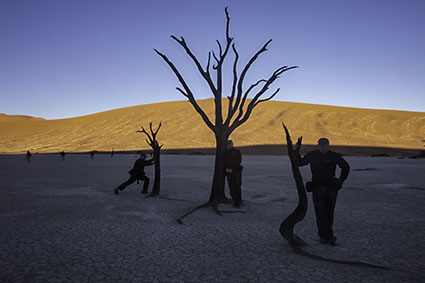
It’s a perfect shot! If only those unwanted objects (cars, birds, people, etc) in the scene would disappear. As long as the unwanted elements in your frame move, even just a little, you can make them disappear from your image, by taking two or more shots and using Photoshop’s layering and blending capabilities.
You don’t have to retouch your image. Blending is different than retouching. The unwanted elements aren’t covered over with new information, by hiding them with replacement information similar to the surround, either from the same source or another. With blends, the information behind the moving subject is revealed. How? It’s contained in the other shot(s).
You can even do this with exposures that are made with slightly different angles of rotation or framing, so you can use this technique with handheld exposures, not just those made with a tripod. Camera motion may make manual registration difficult, but Photoshop will automatically align and in some cases distort the separate exposures so that they register precisely. In some of these cases, you may need to crop the final result to restore a rectangular frame.
You can even remove stationary objects with blends – if you move. In situations where there is sufficient parallax between foreground and background elements, by varying your angle of view, you can cause significant shifts in position of foreground elements without causing significant changes in position of background elements. Make multiple exposures from multiple angles of view and you can blend out the elements that appear to move. When using this technique, shoot loose, planning to crop more after the merger.
If you have only two exposures you’ll need to manually mask the top layer. If you have three or more layers Photoshop will automatically blend the layers.
So how do you do this with Photoshop?