Useful Ways To View Masks In Photoshop
It helps to be able to see what you’re doing while you’re doing it. When you’re refining masks in Photoshop, if you can see them better, you can make them better. There are a number of useful ways you can see masks in Photoshop.
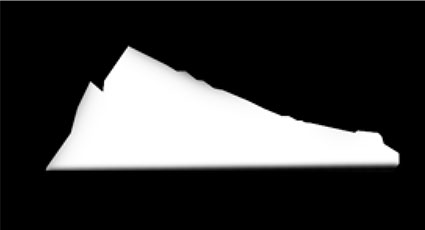
In the Layers palette, Option click the mask to display it in black and white.

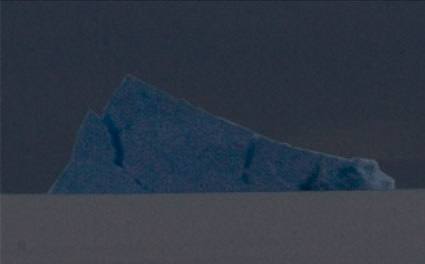
Option Shift click the mask to display the mask and the image at the same time in the same window.
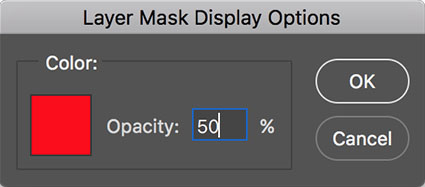
The overlay’s default color and opacity are red and 50%, but you can change these defaults by double-clicking on the mask in the Channels palette or by double-clicking on the mask icon in the Layers palette and using the mask’s Properties.
You can see an image and a mask at the same time.This is ideal for checking the placement and quality of contours carefully. Go to the Window menu and navigate to Arrange > New Window. (This creates a new window for the same document not a duplicate document.) While you’re on the new window, Option click on the icon of the mask you’d like to view; you’ll find this in the Layers palette. The first window will still display the image. The second window will display the mask. You can also choose Window > Arrange > Match Zoom and Location to have both windows zoomed into the same location at the same magnification.
Sometimes seeing a mask gets in your way. Shift-click a mask to disable it.
Once these moves become second nature to you, you’ll work more freely and have more mental energy for your images.
Read more about Selections & Masks.
Learn more in my digital photography and digital printing workshops.
No Comments