The Art Of Distortion
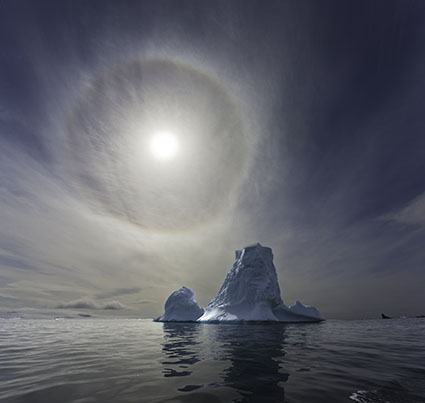
1 Correct lens distortion

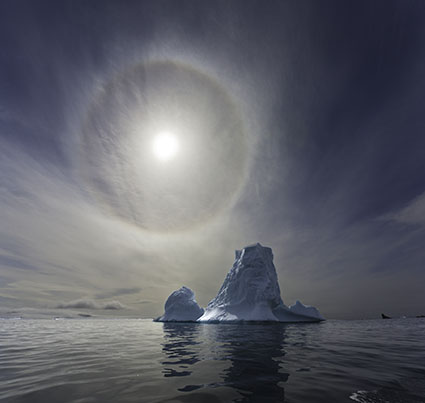
2 Remove or reduce panoramic stitch distortions


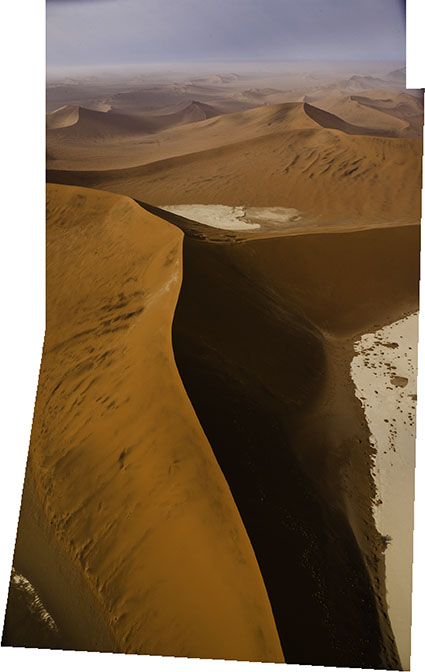
3 Modify proportion globally including the aspect ratio of the frame


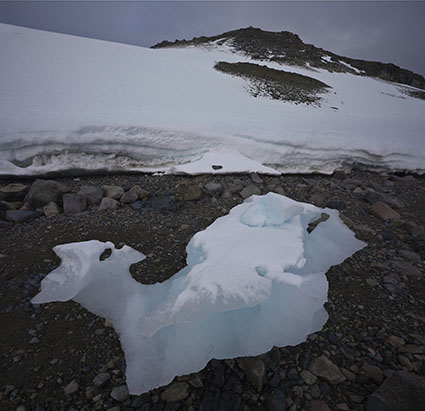
4 Modify proportion locally within the frame

5 Change proximity
6 Enhance gesture
We accept the distortions angle of view and lens choice create without a second thought, yet rarely do we give a second thought to the possibilities of expressively distorting our photographs during post-processing. The dazzling array of new tools at our disposal begs us to reconsider this. You need to know what’s possible, whether your goal is to correct the distortions introduced by the tools you use or to aesthetically refine or expressively enhance your images, a little or a lot, or to simply know what other photographers have done so that you can understand their creations better. Learn to see with new eyes, and a vast new horizon of possibilities will reveal itself to you.
Awareness of the distortions produced by an angle of view and lens choice is the beginning of using them creatively. Curiously, permission is the beginning of using distortion in post-processing creatively. Many people have been told that it’s inappropriate to do so. Why? Why accept an unintended mechanical bi-product but not a consciously intended effect? Why take such a powerful tool for expression off the table? While you can, you don’t have to distort your images to the point that they look like they’re being seen in a funhouse hall of mirrors. Even the subtlest applications of distortion can produce powerful results. Once you understand what kinds of distortions are possible in post-processing, you’ll frequently find yourself changing your angle of view or repositioning yourself during exposure.
6 Strategies For Using Distortion In Images
Here’s a short list of six strategies you can use when considering distorting your images creatively.
1 Correct lens distortion; straighten a horizontal or vertical while correcting barrel or pin cushion distortion.
2 Remove or reduce panoramic stitch distortions; undistort edges or smooth out uneven horizontals or verticals.
3 Modify proportion globally, including the frame; make images more or less horizontal or vertical or even turn one into another.
4 Modify proportion locally within the frame; adjust the height and width of both objects and areas.
5 Change proximity; push together or pull apart items.
6 Enhance or change gesture; make a leaning object more tilted or straighten it out.
Photoshop's 11 Weapons Of Mass Distortion
