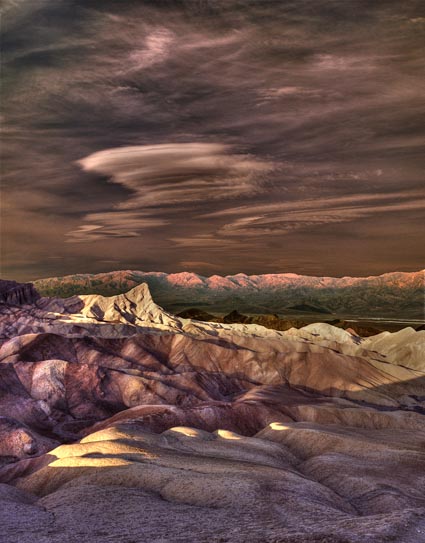
Creative Detail Enhancement with HDR Software

 
HDR software is most typically used to render shadow and highlight detail, but it can also be used to enhance tonal separation and detail in any range of tones, even in images with extremely low contrast. The very same tools that are used to compensate for HDR side effects can be used to sharpen any image.
When multiple bracketed exposures are merged into a single processed file, shadows and highlights that exceed the dynamic range of a camera’s sensor are compressed into the dynamic range of a digital file, taking the midtones with them. Depending on the HDR software used, a variety of tools are available to restore contrast and separation in midtones. If used aggressively, these tools produce the tell tale signs of contemporary or grunge HDR artifacts – halos and texture accentuation. These are the very same artifacts that digital sharpening routines use more conservatively to make images appear sharper - only they look different.


Insights Members can login to read the full article.
Email:
or Sign up

Save 15% On Photomatix HDR Software


Get 15% off Photomatix with this code – johnpaulcaponigro.
Beyond Photoshop, there are a number of HDR software options, both plug-ins and stand-alones. Some of the better-known programs include Artizen HDR, easyHDR, FDRTools, pfstools, HDR Efex Pro, and Photomatix. HDRsoft’s Photomatix is the longest standing and perhaps most robust and sophisticated solution.
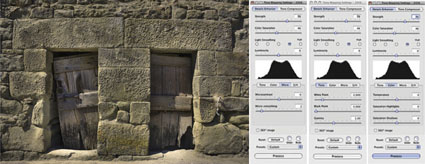
Photomatix can be used either as a Photoshop plug-in or as a stand-alone product. It offers a variety of ways of combining exposures, including some non-HDR options. Photomatix offers impressive controls over essential image elements affected by HDR merges. Chief among these are control over halos, micro-contrast accentuation, micro-smoothing and control of saturation in highlights and shadows (areas that tend to need aggressive tone mapping).
With a little care and attention, the effect you produce with these tools can be one of your choosing. If used aggressively, you can produce a contemporary HDR effect that can give your images a new look. If used conservatively, you can produce a classic effect that’s virtually unnoticeable.
Every photographer can benefit from learning HDR techniques …
Read my review of Photomatix here. Stay tuned for the update.
Read more about HDR techniques here.
View more about HDR in my DVD Extending Dynamic Range – HDR Imaging.
Learn more in my digital photography workshops.

What to Look for in HDR

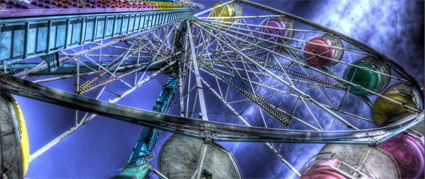
alvanas_hdrferriswheel
Chris Alvanas’ image (above) is an excellent example of heavy HDR.
Last week I taught my most advanced Fine Art Digital Printing Advanced workshop ever. We talked not only about how to use HDR tools but also the visual effects they produce. HDR processing creates several identifiable artifacts. Going to extremes will help you identify the possibilities and the artifacts more clearly. After that, you can better decide just how far you want to go. Clearly identifying these artifacts can help you control them and craft your own HDR style.
1    Full detail in shadows and highlights
This is the reason special software was invented.
Pushed far blacks and whites can get gray.
2    Accentuation of contour
Images look sharper and clearer. It’s Clarity on steroids.
Pushed far this leads localized vignetting.
3    Accentuation of texture
Talk about detail.
Pushed far it gives objects a stained (“grunge”) appearance and boosts noise.
4    Distortion of relative saturation relationships
Sometimes it’s beautiful, sometimes it’s unnatural, sometimes it’s beautifully unnatural.
A little post-production work will help you get the balance that’s best for you.
Learn more in my free Lessons.
Learn more in my HDR DVD.
Learn more in my Workshops.
Next FADP Advanced workshop 2/1-5

HDR Aesthetics

HDR imagery is expanding today’s photographic aesthetics. Identifying the characteristics of contemporary HDR images will help classicists and pioneers alike. The basic ingredients are desirable for both sensibilities, but in varying combinations and to different degrees. As with solving any problem, it’s easier if you break it down into it’s component pieces and then learn what each one does and how they interact with one another. First know what to look for. Second, know what a tool can do. Third, know how to apply a tool. Once you’ve done this, you’ll be well along the way to crafting a unique style that’s all your own.
Pronounced Shadow and Highlight Detail
Accentuated Edge Contrast
Accentuated Texture
Increased Noise
Smoothed Texture
Saturation Distortions
Read more in the current issue of Digital Photo Pro.
Learn these and other techniques in my workshops.

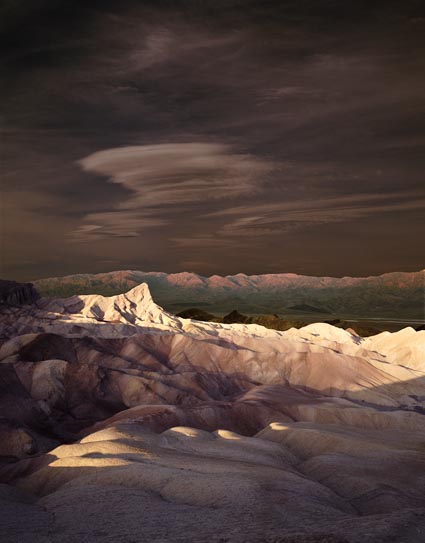
LDR

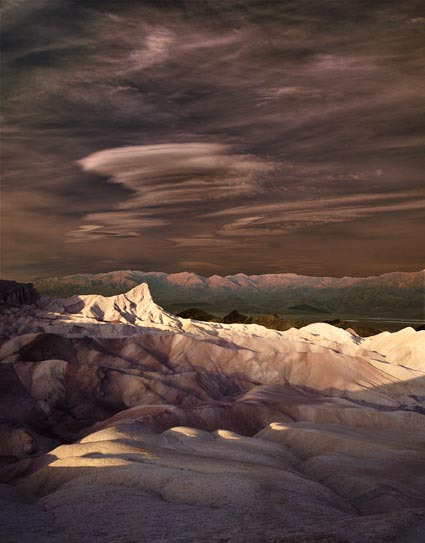
Half HDR

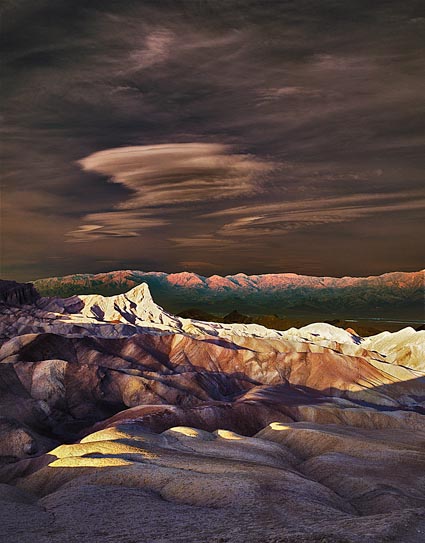
HDR Simulated

HDR Simulated With Photomatix