How To Create The Best Color To Black And White Conversion Previews
The fully saturated image

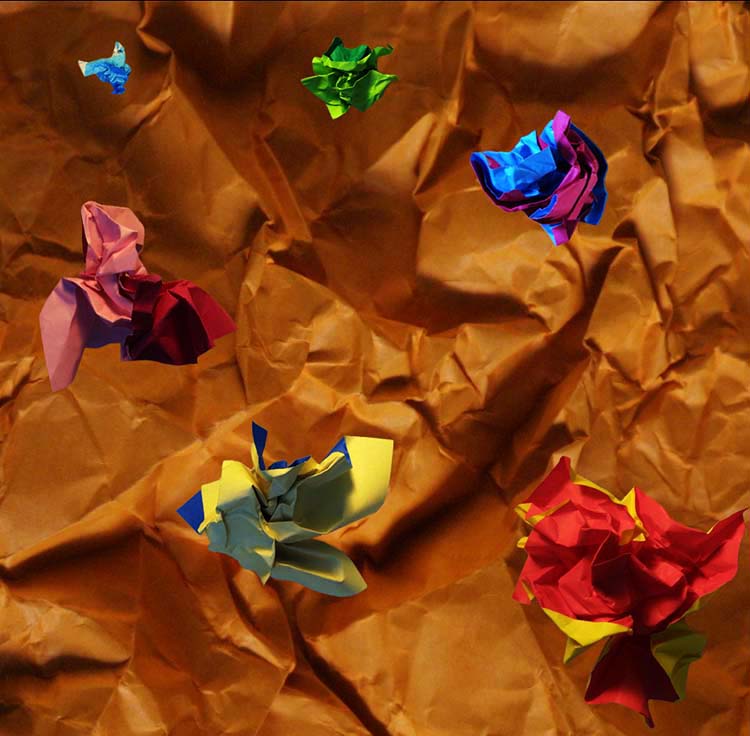
light on dark pieces of paper - a combination that can only be made by localizing different conversions

dark on light pieces of paper - a combination that can only be made by localizing different conversions
–
To find the best color to black-and-white solution an image contains, it’s important to explore all of your options. One technique will quickly show you more options than any other – Photoshop’s dual adjustment layers (a Hue/Saturation adjustment layer below a Channel Mixer adjustment layer).
To preview all possibilities dynamically, move the Hue slider all the way to the left and all the way to the right.
But wait, there’s more.
As you’re previewing the many options available to you, remember you can localize the effects with masks. You can go beyond what you see in one mix by combining any of the tones you see in all of the mixes.
Few people can remember all of the possible combinations. So, save multiple copies with different settings and compare them. There’s nothing like seeing many options, side-by-side, to confirm you’re committing to the best solution.
You can read about this technique in more detail here.
–
The two solutions above can only be achieved by converting separate areas of the image differently using masks.
The solutions below show the different global conversions which can be combined.
Note no dodging and burning was used to create these solutions. Dodging and burning can’t produce these extreme effects, but it can be used to further enhance them.
Also, note this technique is not useful for semi-neutral images; an image has to have significant saturation in at least one color to benefit from this technique.
Don Hatfield
12.11.2023 at 20:52How does this technique compare to :
a) maker a duplicate of the background layer
2) insert a greyscale (any % grey) between the two layers
3) change the duplicated (top) layer to blending mode of “luminence”
johnpaulcaponigro
12.11.2023 at 21:05This way is faster and more importantly leaner in file size, but ultimately you get to the same place when making global conversions. When you’re making local conversions this way is not only leaner but more flexible, but if you handle it with care you can once again arrive at the same destination.