How To Change Depth Of Field In Photographs With Photoshop
.
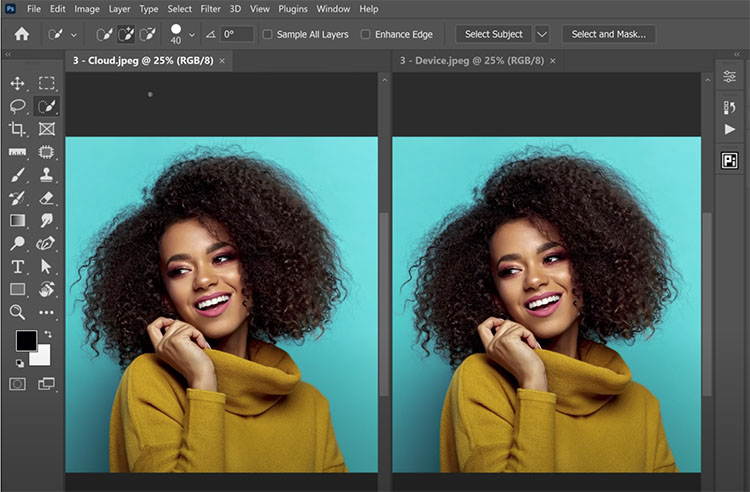
Colin Smith demonstrates the most powerful way to change the depth of field or background blur in photographs using Photoshop’s depth maps, neural filters, and lens blur.
.
COLOUR – Move each tile to its perfect place within the spectrum
HARMONY – Create order out of chromatic chaos
PERCEPTION – Learn to see the smallest differences between shades
SERENITY – Lose yourself in a tranquil world of colour and light
Find more color resources here.
in focus
Photoshop's filter Lens Blur
Lens Blur applied a second time selectively
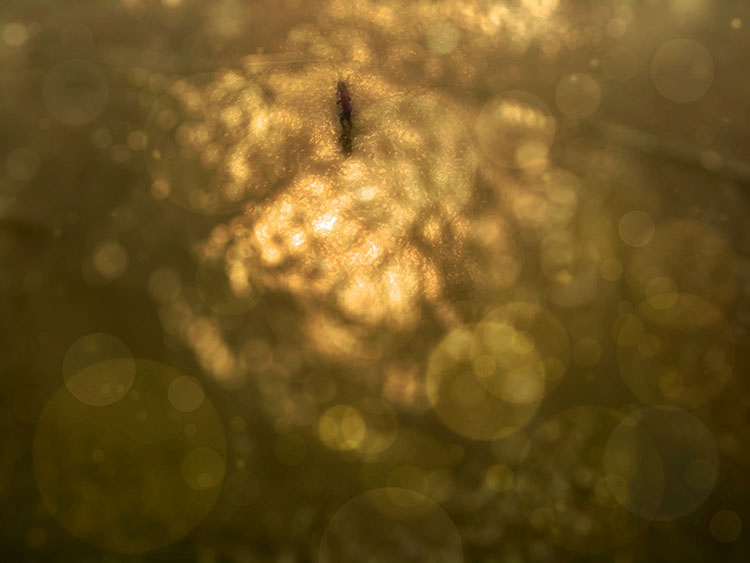
Bokeh flares added with an image and brushes
The word bokeh (Japanese for blur), the quality of the blur produced in out-of-focus parts of an image, is often used to describe the way a lens renders out-of-focus points of light. You don’t have to have a lens with a very wide aperture to create images with bokeh flares.You can apply bokeh flares to shots with or without analog flares after exposure, using Photoshop.
Blend A Second Image With Flares
There are at least three ways to find bokeh flare images.
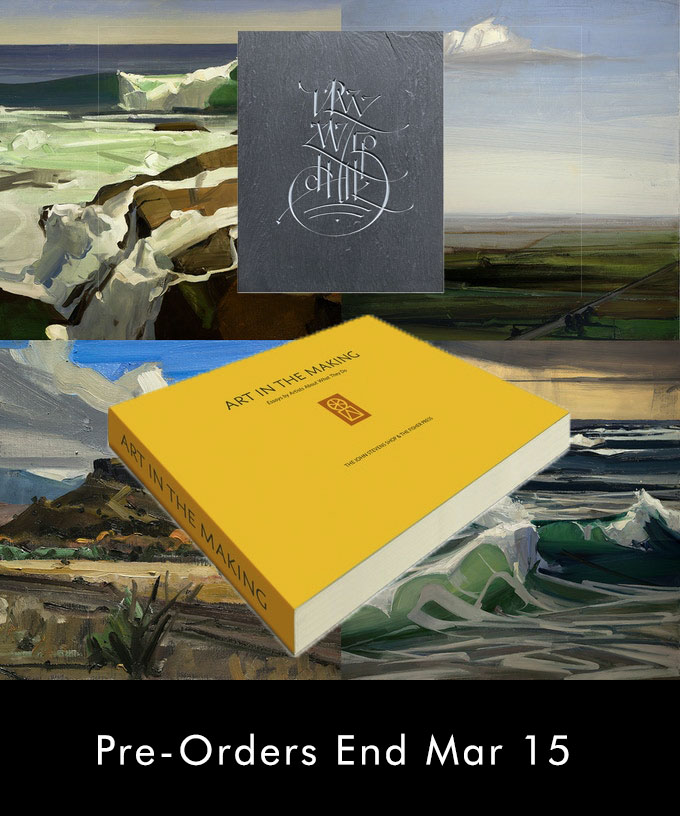
Special Pre-Order Offers End March 15
This 350-page softcover book will contain 80 short, illustrated essays by makers working in a wide range of artistic and artisanal fields, offering a glimpse into the personal motivations, methods, and reasons that people continue to make artistic things in our modern, technological age. Each contributor was asked to address the following four questions about their practice:
1. How did you come to what you do?
2. How do you do it?
3. Where do you see the distinctions, if any, between your art and your craft?
4. Why do you do it?
Our contributors’ answers to these questions have proven to be as various and distinct as their individual art forms.

.
“Taking place over three days, the FRAMES PHOTOGRAPHY SUMMIT 2022 will feature twelve top-class presenters. Our lineup will include some of the biggest names in the craft as well as individuals at the cutting edge of their creative practice. With our commitment to educate, entertain, and inspire, we will feature talks on artists’ work and working practices as well as in-depth interviews that will challenge how we think about photography. If you share our love of photography, join us for this exciting event where we will celebrate our shared passion for the joy of image-making.”
Twelve sixty-to-ninety-minute sessions with some of photography’s most prominent and knowledgeable artists and thinkers.
Ami Vitale
Alec Soth
Caroline Preece
Sean Tucker
Barbara Alper
Richard I’Anson
Phil Penman
Michael Kenna
John Paul Caponigro
Rick Halpern
Shane Balkowitsch
Rollence Patugan
I’m presenting Sunday, March 27 at 1 PM EST.
The Wonderful Things Printing Can Do For You And Your Images
$120 for all-access tickets
$99 with the code Johnpaul20
Register here.
View the schedule here.

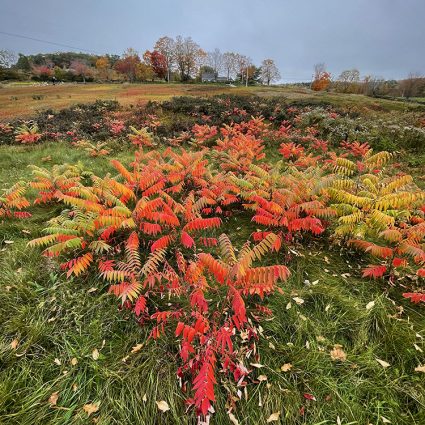
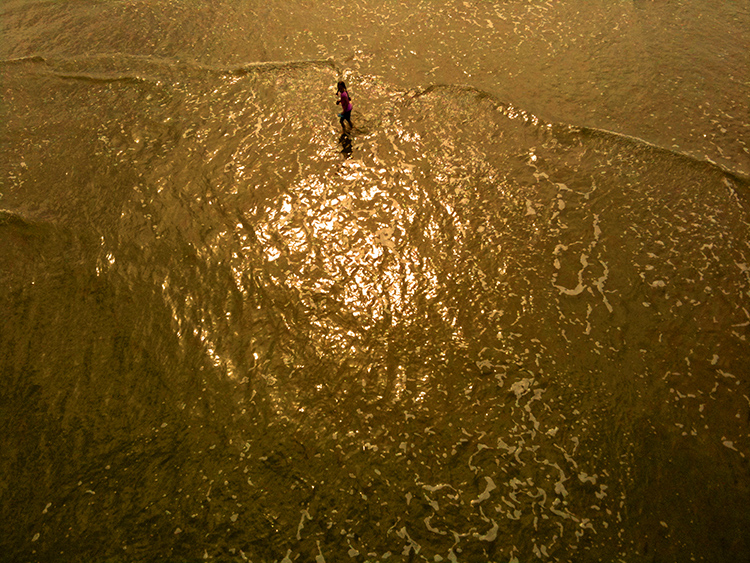
original

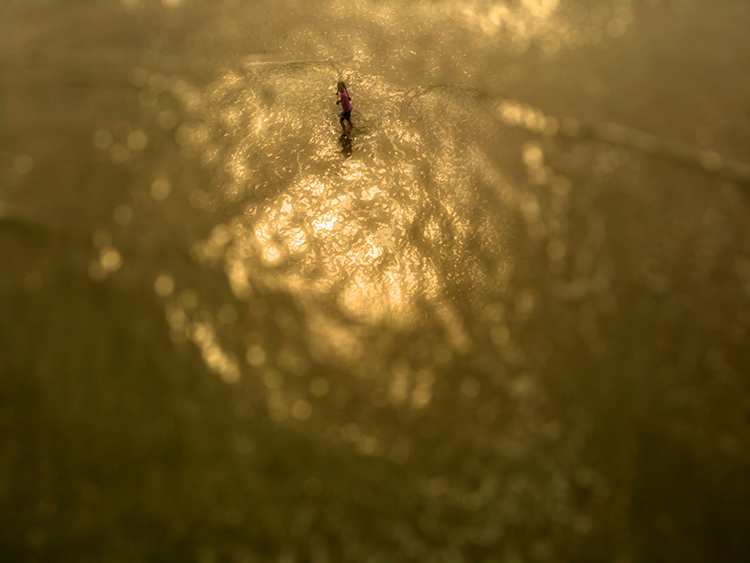
background color adjusted
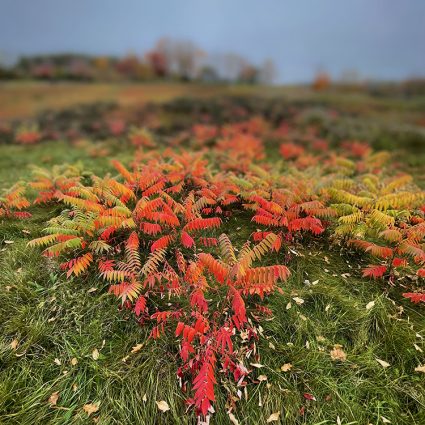
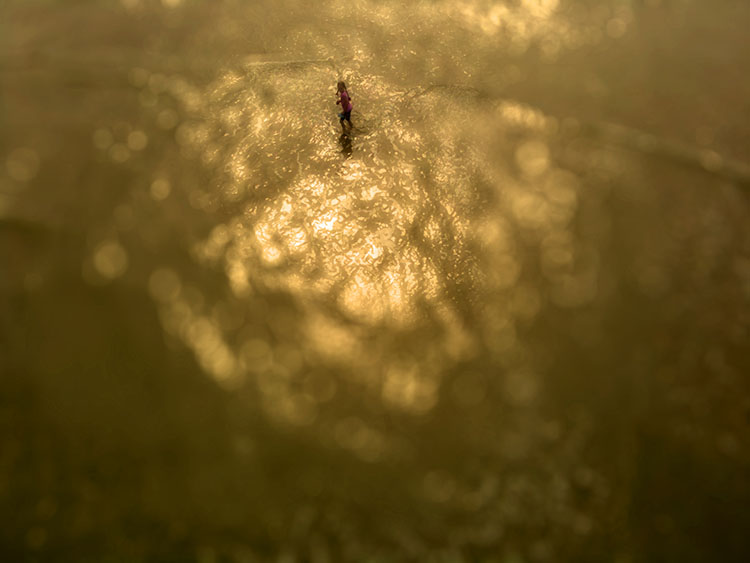
background color adjusted plus detail blurred
The principles of atmospheric perspective can be used to enhance the illusion depth in two-dimensional images. The three elements of color each encode space. Some colors rise forward – light, warm, saturated. Some colors recede – dark, cool, desaturated. When applied strategically and selectively, they can produce powerful visual effects, making your images appear even more realistic.
You can combine these tendencies (They’re not absolute rules and can all be reversed in the right contexts.) with selective blur to make the illusion of space in your images even more powerfully felt.
Photoshop’s Depth Blur neural filter offers sliders to make it quick and easy to make these kinds of color adjustments and make blurring effects more powerfully felt.
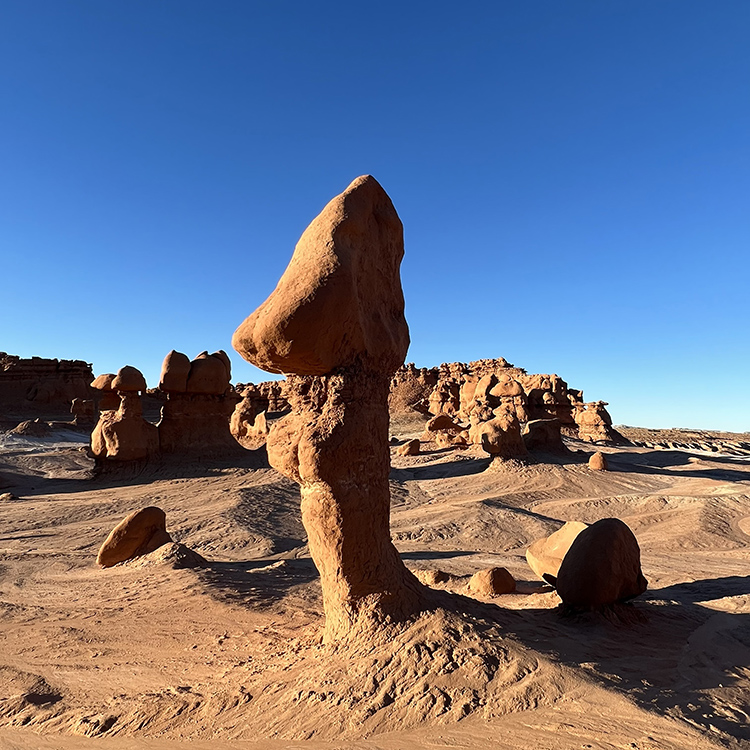
Fully focussed image

Photoshop's Depth Blur filter applied

One contour quickly masked
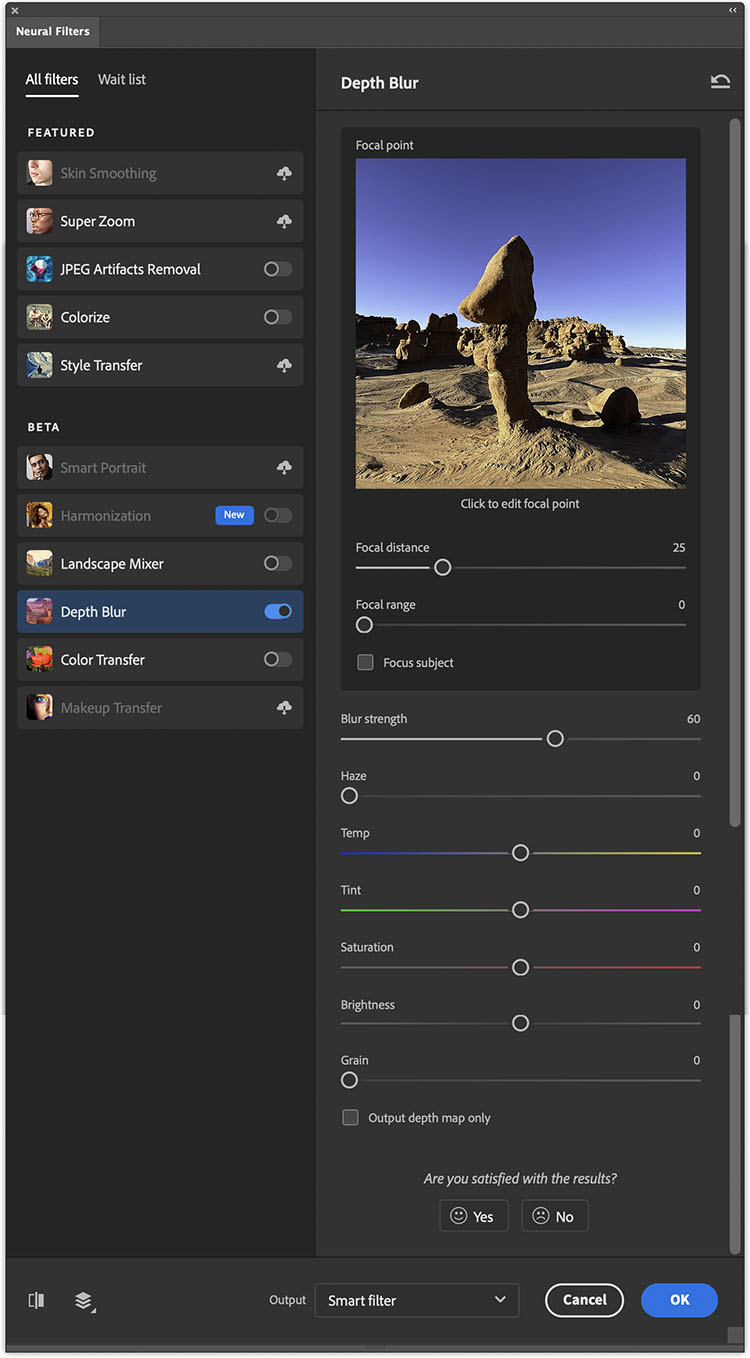
Photoshop’s AI neural filter Depth Blur is designed to simulate depth of field effects quickly and easily.
Here’s how to use it ...
.
.
Add noise with a separate layer.
Noise Makes Images Look More Natural
Be careful not to smooth your images so much that your images begin to look synthetic like they’ve been rendered by software rather than captured by hardware. Over-smoothing can happen when you aggressively reduce noise, retouch at lower opacities, or create blur effects. You can use noise to restore a more naturalistic appearance. And, there’s a way to do this in Photoshop that will allow you to control what kind of noise and how much it’s applied indefinitely.
Add Noise Effects On Separate Layers
When you add noise to digital files, place it on a layer that is separate from the image(s) so you can control both independently of one another. This way you’ll have extraordinary control and flexibility. When noise is placed on its own layer you can eliminate or change it at any time in the future, reduce its opacity, localize it with masking, desaturate it, target it into specific channels, move it, scale it, blur it, and much more. Here’s how to do it in Photoshop.
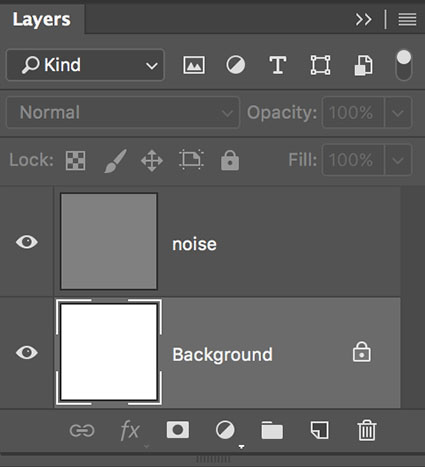
1 Create a new layer (Layer: New Layer),
set blend mode to Overlay,
check filled with Overlay-neutral color.
2 Filter the layer with noise (Filter: Noise: Add Noise).
3 Add a Hue/Saturation Adjustment layer clipped to the noise layer to reduce the saturation of the effect only.
4 Optionally, add a Layer Mask to the noise layer to localize the effect using either a selection, brush, or gradient.
5 Optionally, use Edit: Free Transform to resize the effect.
You can modify the effect at any time in the future, without compromising the original image information.
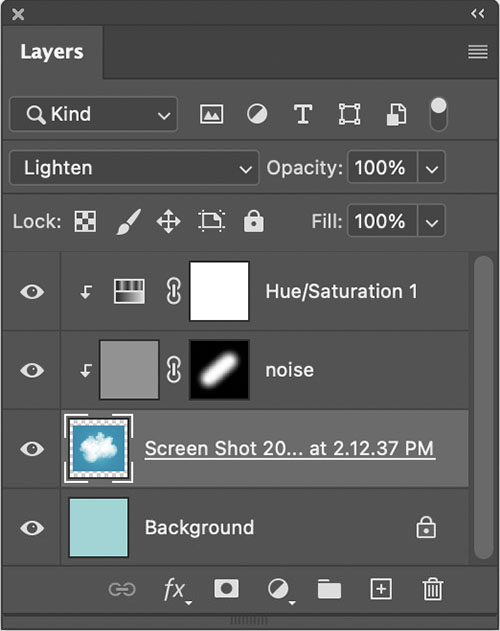
Noise can be clipped to a single layer.
Make Noise Layer Specific
You can clip noise effect layers to a single image layer. Simply press the Option/Alt key and click the line separating the two layers in the layers palette. Photoshop will then apply the noise only to the pixels on that layer. When a layer has transparency, like a retouching layer, no masking will be necessary once the noise layer is clipped to it.
Photographers go to great lengths to avoid noise. This is generally a good practice, but it can be overdone. There are many times when a little noise can make your images more convincing.
Read more of this technique here.
Learn more in my digital photography and digital printing workshops.