Photoshop’s New Filter Depth Blur Helps You Control Depth Of Field

.
“Just one slider to Add Background Blur & Shallow Depth of Field! Besides, you can also control where to focus! All of this, in a brand new feature called “Depth Blur” which is a part of Neural Filters in Photoshop. In this video, we will be testing this new feature against a variety of images; from simple single-subject ones to images with random objects or a group photo. In this lesson, we will also learn and discover in what scenario this feature can be useful and how you can make the best out of it, along with some best practices and advanced techniques. We’ll also learn how to use depth maps for better results.”
.

How To Blur Your Images Creatively

Download your free copy now!


Explore ways to use blur in your images creatively.

The Top 5 Reasons To Blur Your Images

Quick & Easy Depth Of Field Effects With Photoshop’s Depth Blur

How To Combine Focussed & Defocussed Images Using Photoshop

A Quick Visual Comparison Of All Of Photoshop’s Blur Filters

A Grand Overview Of Photoshop’s Blur Filters

Control Blur FX In Photoshop With Amazing Precision

Create Sophisticated Motion Blur Effects With Photoshop’s Path Blur Filter 

How To Create More Realistic Blur Effects By Adding A Little Noise

3 Color Tweaks To Improve Image Blur’s Depth Of Field 

2 Ways To Quickly Add Bokeh Flares To Your Images

Enhance Blur Effects With Selective Sharpening | Coming


Sign up for Insights for news of new content!

How To Achieve Optimum Exposure

Download your free copy now!


Achieve optimum exposures.


Use The Exposure Triangle Creatively | Coming

Setting Your Digital Camera’s File Format

Setting Your Digital Camera’s Color Space 

Using Histograms

Evaluating Histograms 

8 Essentials To Achieve Perfectly Focused Exposures

13 Essential Tips For Low Light & Night Photography

Lens Profiles 

Creating Camera Profiles

Test Camera – Dust | Coming

Test Camera – ISO  | Coming

Test Lens – Sharpest Aperture | Coming 

Get Better Exposures Using Hyper-Focal Distance | Coming

How To Hold Your Camera Steady | Coming

What To Do When You Don’t Have A Tripod | Coming

Shoot In Bursts To Reduce Camera Shake | Coming

Use Camera Motion Creatively | Coming

Crop, Distort Or Retouch ? 


Multi-Shot Techniques


Multi-Shot – Extending Format – Panorama

Multi-Shot – Extending Depth Of Field – Focus Stacking

Multi-Shot – Extending Resolution – 3 Ways Increase Resolution

Multi-Shot – Extending Bit Depth – 32 Bit Tone Mapping

Multi-Shot – Extending Dynamic Range – HDR

Multi-Shot – Remove Or Multiply Moving Objects


Sign up for Insights for news of new content!

Controlling Blur FX With Photoshop

7_final_425

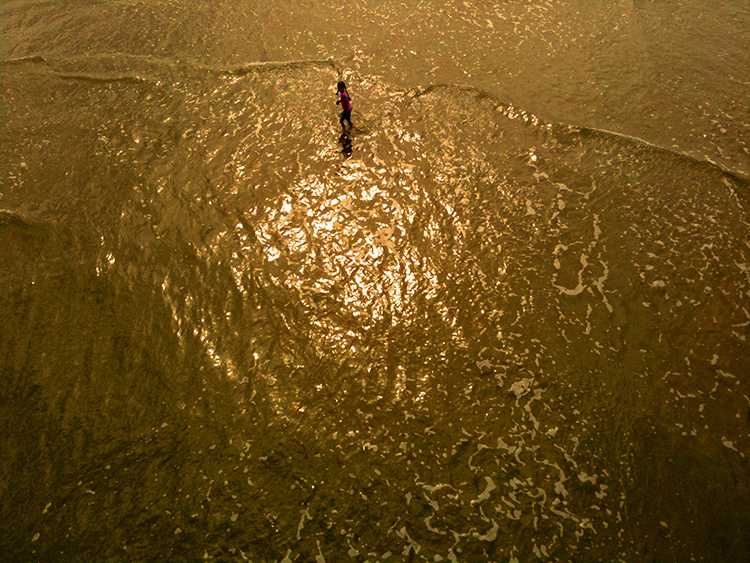
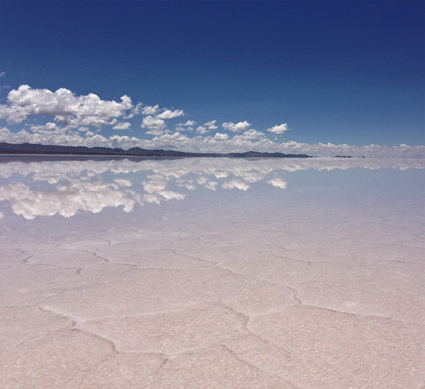
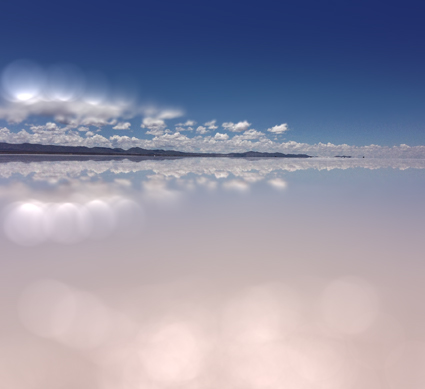
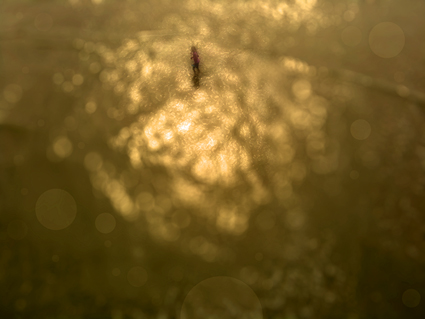
Photographers use blur (or bokeh) for a variety of reasons: to enhance space through depth of field; to add interesting visual artifacts; to simplify them; to change the quality of their expression. In the past, blur was controlled almost entirely through exposure; now it can also be controlled during post-processing, giving photographers an unprecedented array of options and ways to customize the look and feel of their images. Knowing what you can do, how far you can go, and when you can do it may change the way you shoot, one time, sometimes, or all the time.
There are many blur filters in Photoshop; Field Blur, Iris Blur, Tilt-Shift, Gaussian Blur, Lens Blur, Motion Blur, Radial Blur, Shape Blur, Smart Blur, Surface Blur (in order of appearance in the Filter: Blur drop down menu. The choices are extensive and it pays to familiarize yourself with your options by experimenting with them; you’ll find you have an extraordinary set of options that you can modify and combine creatively. If you only use the filters Gaussian Blur and Lens Blur, you’ll still have game-changing control at your fingertips, once you learn how to extend and modify them.
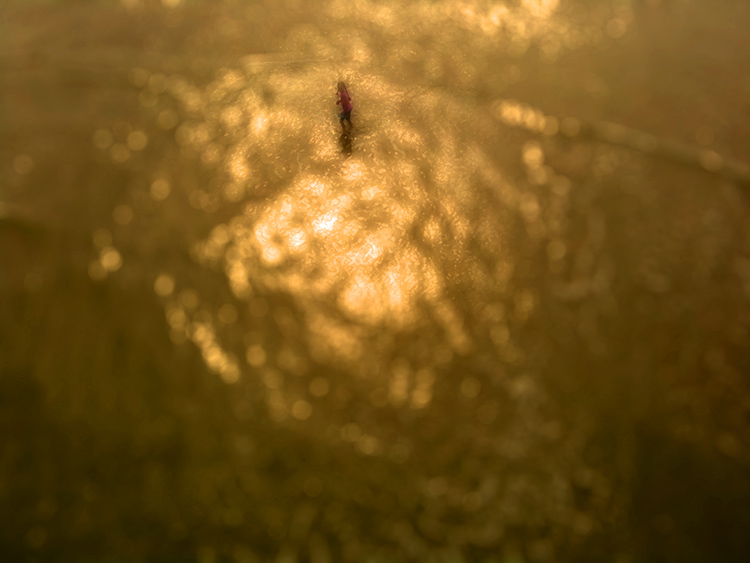
There are several important non-destructive strategies you can use to gain more control over all filter effects that will enable you to go further in your explorations and generate more sophisticated and compelling results Try one or all of the moves in this classic progression. Apply a filter to a duplicate layer and then modify its Opacity, Blend Mode, Blend If Sliders, and add a layer mask …
Read more on Digital Photo Pro.
Learn more in my digital photography and digital printing workshops.