I Use – ExpoDisc


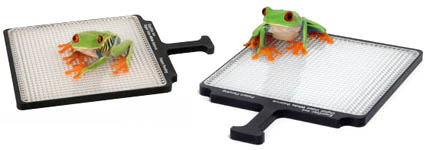
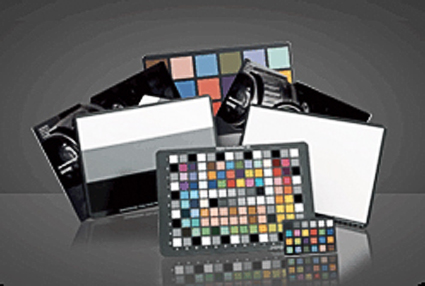
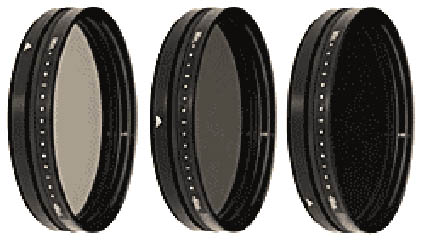
A majority of the time, I treat white balance subjectively. But, that doesn’t mean I don’t use a white balance target. Targets give you the option of setting white balance objectively. Without them you have to fall back on the SWAG method (Scientific Wild Ass Guess). My favorite white balance target is ExpoImaging’s ExpoDisc. (I use a Flat; while they’re more expensive, they can be used with any and all lenses.) Why do I like the ExpoDisc so much? It performs three functions at once – white balance, dust map, vignetting map. In addition to setting white balance you can use it to precisely map dust on you sensor and vignetting. Once you’ve identified these with a single exposure, you can automatically apply those corrections to all images shot during that session. Automatic retouching? Yes! Dust mapping will save you hours. Often, I’ve felt a resistance to using white balance targets in the field. Because the ExpoDisc offers so much more and is so easy to use, I use it consistently.
I demonstrate these kinds of techniques in all of my field workshops.
Download my Review of the ExpoDisc here.
Find out more about the ExpoDisc here.
Find my Review of the ExpoDisc here.
Get Insights free here, for upcoming alerts of new Reviews.
See more of the products I use here.
Check out my field workshops here.
Get a 20% discount on my Iceland (8/18-22) workshop here – expires 8/10.
Get a 15% discount on my Fall Foliage (10/17-20) workshop here – until 8/17.
The first 5 Insights Members get $1000 off South America (2/2-14/09), thereafter $250.

I Use – X-Rite ColorChecker


The X-Rite ColorChecker is the standard target for getting accurate color in the studio. But, it’s useful in any shooting situation. You can create a custom calibration setting for your camera using the X-Rite ColorChecker and Tom Fors Adobe Camera Raw camera calibration script. Do this once for significantly different lighting situations; daylight, overcast, full shade, tungsten, florescent, etc. You only have to do it once for each lighting situation. The calibration is model specific and chip specific, so do it for every digital camera you use. Performing this routine makes an appreciable improvement in color rendition. Saturated hues will be represented more accurately.  In the field, I use the credit card sized ColorChecker.
I demonstrate these kinds of techniques in all of my field workshops.
Click here for a step-by-step guide to using the X-Rite ColorChecker and the Tom Fors script.
Download Tom Fors script here.
Find my Review of the X-Rite ColorChecker here.
Get Insights free here, for upcoming alerts of new Reviews.
See more of the products I use here.
Check out my field workshops here.
Get a 20% discount on my Iceland (8/18-22) workshop here – expires 8/10.
Get a 15% discount on my Fall Foliage (10/17-20) workshop here – until 8/17.
The first 5 Insights Members get $1000 off South America (2/2-14/09), thereafter $250.

I Use – 3 Filters / Polarizer, ND, IR


Because it offers so many more options, digital imaging may change the way you use your tools.
For instance, I use only 3 filters – a circular polarizer, a neutral density filter, and a infrared filter.
No other filter is as useful to me as a polarizer. Polarizers remove glare making colors more saturated and reflections allowing you to reduce or remove images on the surface of reflective surfaces. No software filter can do this. I use Canon’s circular polarizer. Whenever possible, I prefer to match filters to the manufacturer of the lens,
I’ve been experimenting with long exposures. Singh Ray makes a unique neutral density filter – the Vari-ND filter. Rotate it and you can slow reduce light between 2 and 8 stops. This eliminates the need to carry multiple filters and to stack them during exposure. It’s fantastic. (As an aside, I prefer all graduated filtration to be done with software because you can control both the effect and the graduation precisely.)
For infrared imagery I use an infrared filter. It’s not exactly the same as converting a camera to infrared, but it’s closer than simulating IR effects with software and it’s doesn’t permanently change your camera. I prefer to carry as little equipment as possible, move freely, and take long walks. Because I prefer to keep my options open, many times I will shoot in full color and use software to create an IR effect. If you take both a full color and IR filtered exposure of the same subject you have many more options.
I demonstrate these kinds of techniques in all of my field workshops.
See more of the products I use here.
Check out my full Review on the Singh Ray Vari-ND filter here.
Get Insights free here, for upcoming alerts of new Reviews.
Read about essential camera tests techniques here.
Check out my field workshops here.
Get a 20% discount on my Iceland (8/18-22) workshop here – expires 8/10.
Get a 15% discount on my Fall Foliage (10/17-20) workshop here – until 8/17.
The first 5 Insights Members get $1000 off South America (2/2-14/09), thereafter $250.