
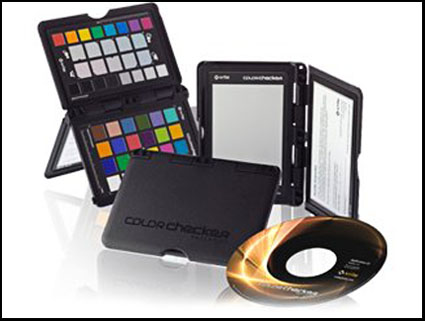
X-Rites’ Color Checker Passport can be used to quickly deliver more accurate color in a variety of ways.
Set White Balance, White Point, and Black Point
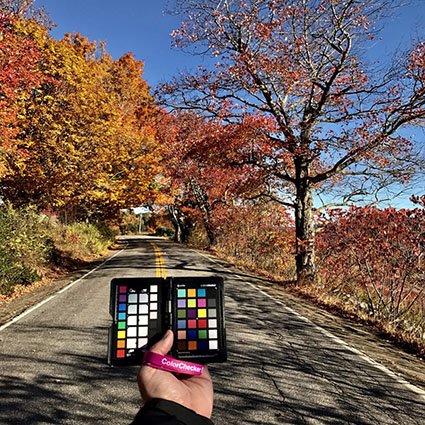
The X-Rite Color Checker Passport is the industry standard target that can be used in several ways to render color in your digital images more accurately – setting white balance, creative enhancement, and visual confirmation.
It’s easy to use. Shoot the Color Checker once at the beginning of each shooting session and you can use that exposure as a target for all exposures made under the same light. The exposure of the target doesn’t have to be perfect. Just, roughly fill the frame with the target; it doesn’t even have to be focussed. To use the exposure of the target, use your choice of Raw conversion software to open it along with other exposures you’d like to apply the same measurements to; click on the appropriate color patches (black for black point, white for white point, gray for gray point); and sync all of the files. It’s that simple.

Create A Camera Profile
The X-Rite Color Checker Passport can also be used to make custom profiles for your individual camera. You can create a camera profile with the same exposure of the target that you use to set white balance. While camera profiles are generated with the same target, the resulting exposures are not used to set white balance, instead, they are used to deliver significantly improved color rendition and saturation, providing the best starting point for any color adjustment strategy you choose. Camera profiles are created with the X-Rite software supplied with the Color Checker Passport, stored, and later applied with your choice of Raw conversion software, typically Adobe Camera Raw or Adobe Lightroom.
For optimum results, exposures used to generate camera profiles need to be made under the light (color temperature and spectral distribution) that subsequent exposures are made in. Using two exposures of the target made under different light temperatures, you can create a dual illuminant camera profile that can be used for all exposures made under a wide range of color temperatures. Single illuminant profiles are recommended for exposures made under very warm or very cool light temperatures – below 3600K (golden hours) and above 6800K (twilight).
How do you make a camera profile? First, convert one or more exposures of the Color Checker Passport from the manufacturer’s proprietary Raw format to Adobe’s open standard Raw format – DNG. (Use either the free Adobe DNG Converter, Adobe Bridge, or Adobe Lightroom.) Open X-Rite’s Color Checker Passport software. Click DNG or Dual Illuminant DNG. Drag one or two DNG files into the open window. Once the software has identified the specific color patches it needs to build the profile, click Create Profile. The profile will automatically be stored for you in Camera Profiles and will be available for your use the next time you convert a Raw file in either Adobe Camera Raw or Adobe Lightroom. You’ll find it under the Camera Calibration tab/panel under Camera Profile. Save New Camera Raw Defaults and your new camera profile will be automatically loaded when you open Raw files and previews in Adobe Bridge will be rendered with it.
Using a Color Checker Passport target or a camera profile generated with it doesn’t mean that you are locked into the results they generate, they simply give you the best starting point possible for adjusting your images.
Read More

