Selecting The Unselectable With Photoshop’s Saturation Masking

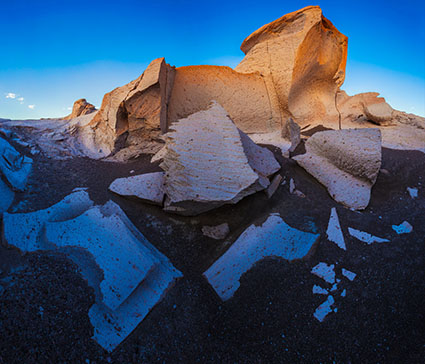
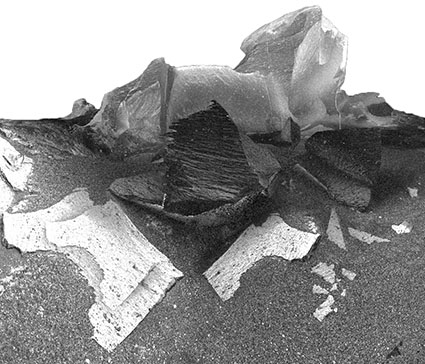
Original

Increased saturation in high ranges of saturation only
Red and blue added to high ranges of saturation only
Wouldn’t it be great if you could selectively adjust colors based on how saturated they are in Photoshop? You can! How? With a free plug-in, Adobe provides called Multiplugin; it hasn’t been updated since Photoshop CS5 but it still works with current versions.
Why would you want to do this?
Do you have images where semi-neutrals not saturated enough, but you don’t want other colors to get too saturated? Select the less saturated colors before adjusting them. Do you have images where you’d like to reduce the saturation of very saturated colors without affecting other levels of saturation? Select the more saturate colors before adjusting them. You can even select colors with medium saturation, separating them from both the high and low range of saturation. Using this technique, you can produce subtle color effects that aren’t possible with any other method.
You might ask yourself, “Isn’t relative saturation adjustment what Vibrance does?” Yes and no. Yes. Vibrance does saturate the less saturated colors more than the more saturated colors and it prevents clipping in the most saturated colors. No. Vibrance offers no control over which ranges of saturation are affected; it can only adjust saturation but not lightness or hue, and it limits how strong an adjustment you can make – it won’t produce effects as strong as Hue/Saturation.
Saturation masks aren’t for saturation adjustments only. This simple selection/mask can be used with any color adjustment tool in Photoshop, greatly expanding your ability to adjust color. Imagine adjusting the lightness and/or hue of high, medium, or low ranges of saturation independently of one another.
Semi-neutrals not interesting enough? Try selecting the low levels of saturation and shifting their hue. Cool them with cyan and/or blue. Warm them with yellow and/or red. Or, try a Renaissance painting technique and add brown.
Throughout the history of photography, most people didn’t think about color this way because they didn’t have the ability to do it. Now you can. It’s well worth your time to explore this new way of seeing, thinking about, and adjusting color.
Where do you find Photoshop’s Multiplugin ?
Find the Mac version here – http://adobe.ly/1A3WIRp.
Find the Windows version here – http://adobe.ly/1JLsjrf
How do you install Photoshop’s Multiplugin ?
Take these steps on Mac.
- Download plugin update
- Unzip plugin update
- Open Unzipped plugin folder
- Drag and drop (or copy and paste) Standard Multiplugin.plugin to Applications\Adobe Photoshop \Plug-ins\Filters
- Replace the existing file(s) when prompted
- Relaunch PS
Take these steps on Windows.
- Download plugin update
- Unzip plugin update
- Open Unzipped plugin folder
- Drag and Drop (or copy and paste) Standard Multiplugin to Program Files(x86)\Adobe\Adobe Photoshop Plug-ins\Filters, AND for 64bit, Program Files\Adobe\Adobe Photoshop Plug-ins\Filters
- Replace the existing file(s) when prompted
- Relaunch PS
How do you Photoshop’s Multiplugin ?
- Duplicate the file you want to use it on.
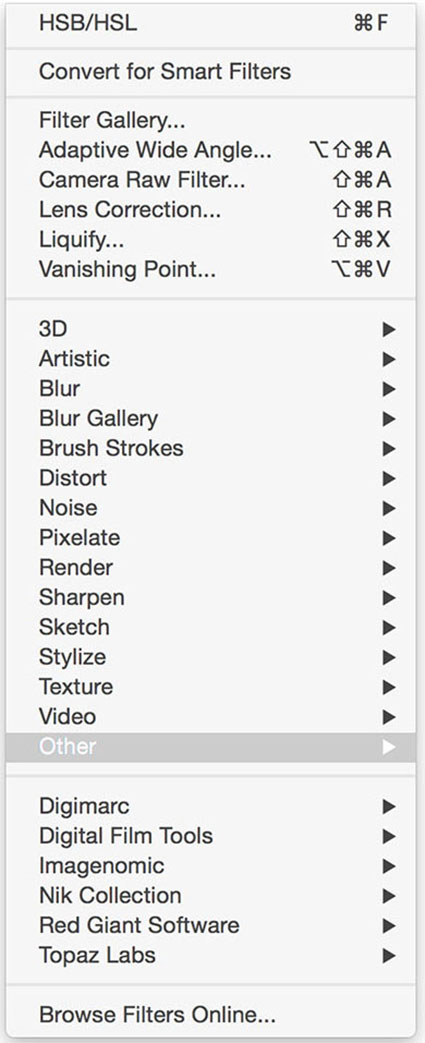
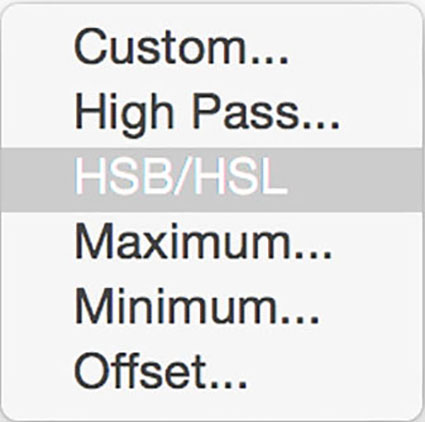
- Apply the Filter > Other > HSB or HSL to the duplicate copy.
- Duplicate the Green channel.
- Return to the original unfiltered file and Select > Load Selection > Channel > Green copy from the still open duplicate Document.
- Select > Save Selection to create an alpha-channel named High Saturation to store the selection, which can be activated at any time by going to Select > Load Selection.
Or …
6 With the selection active make a mask (Highlight a desired layer and click the mask icon in the Layers palette.) or make an adjustment layer (Here, the mask will be automatically made.)
Among other things, the Multiplugin will add a filter to the menu Filter > Other called HSB/HSL.
The plug-in works by simulating the HSL color space, which uses one channel for Hue, one channel for Saturation, and one channel for Luminosity; it doesn’t actually convert files into the HSL color space, instead they stay in RGB. (The filter only works with RGB files; it doesn’t work with Lab or CMYK files.) After filtration, the Red channel maps Hue, the Green channel maps Saturation, and the Blue channel maps Luminosity. Typically this causes gross color distortions. So, apply the filter to a duplicate copy of the file you want to use it on.
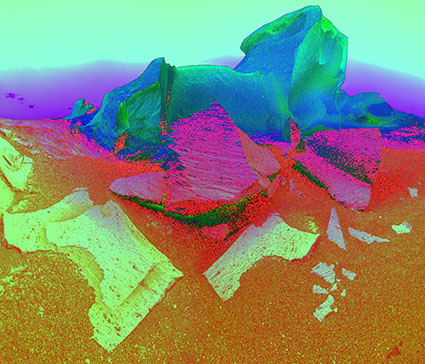
The image converted to HSB exhibits color distortions.
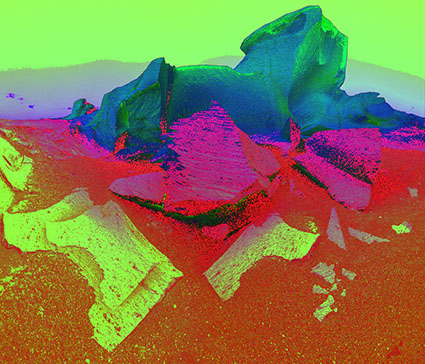
The image filtered to HSL exhibits different color distortions.
The saturation mask made from the Green channel
There are small differences between choosing to simulate HSB or HSL. When in doubt, test both and then pick the one that give you the most useful Green channel tonal structure.
Selections based on the Green channel will target more saturated values. The more saturated the color is in the original, the lighter the values will be in the channel, the more it will be selected – and vice versa. You can invert the channel or mask to target less saturated values instead (Image > Adjustments > Invert). And you can adjust the relative brightness or contrast of the values in a mask by applying Curves to the channel or mask (Image > Adjustments > Curves). By adjusting the contrast of the channel or mask you’ll find you have an extraordinary ability to very precisely target all colors with specific ranges of saturation.
Can you target only medium ranges of saturation ?
Yes! Here’s how.
- Load the selection of the most saturated colors. Select > Load Selection > High Saturation.
- Add a mask to any layer or adjustment layer.
- Load and invert a selection of the most saturated colors. Select > Load Selection > High Saturation and check Invert.
- Fill the selection with black.
- Adjust the lightness / contrast of the mask with Curves, which now won’t affect the most and least saturated colors.
Using these same techniques you can target both high and low but not mid ranges of saturation …
Can you target specific ranges of saturation in specific hues only?
Yes! Add a selection of a hue into the mix. Here’s how.
- Load the selection of any range of saturation. Select > Load Selection > High Saturation.
- Add a mask to any layer or adjustment layer.
- Use Color Range to target specific hues. Select > Color Range. (I recommend using Sampled Colors instead of the drop down menu’s presets.)
- Invert the selection. Select > Inverse.
- Fill the selection with black.
- Optionally, adjust the lightness / contrast of the mask with Curves.
Remember, if a tool like Hue/Saturation offers the ability to target a specific range of hues then this type of mask is unnecessary. Save yourself time and preserve future flexibility in your file structure by using the selectivity of the tool instead.
Can you target specific ranges of saturation in specific tonal values only?
Yes! Add a selection of a range of luminosity into the mix. Here’s how.
- Load the selection of any range of saturation. Select > Load Selection > High Saturation.
- Add a mask to any layer or adjustment layer.
- Command / Control click on the RGB channel to load a highlights mask.
- Fill the selection with black.
- Optionally, adjust the lightness / contrast of the mask with Curves.
When you combine multiple types of masks (as in the last two examples) you can create a more flexible file structure by using two masks for one layer. Instead of filling the saturation mask when the second hue or luminance selection is active, first put the layer or adjustment layer with the saturation mask into a Group (Layer > New > Group from Layers) and then use the second selection to mask the Group. By doing this, you’ll be able to adjust the selections/masks independently of one another.
Do you have enough control yet?
This all sounds more complicated than it is. Despite my efforts to make this sound as simple as possible, but not simpler than necessary, if you actually saw this done you’d realize how simple it is. While you might take this on faith, I doubt that you’ll truly believe me until you try it yourself. So, try it. When you actually practice it, you’ll realize that you’re doing what was previously impossible in photography with as few as five steps in Photoshop. The time it takes to do this can be measured in seconds. It’s not the technique that is challenging.
The real challenge is learning to see in new ways. Start by training your eye through experimentation. Try it. Experience it first-hand. See what happens. While you’re testing these waters, say what you’re seeing. There’s no better way to train your eye. If you learn this technique you’ll see with more sensitivity and sophistication.
Read more about Selections & Masks.
Learn more in my digital photography and digital printing workshops.
No Comments