Profile Your Monitor
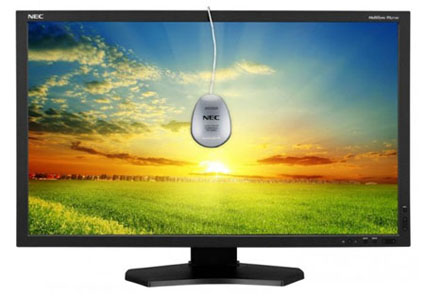
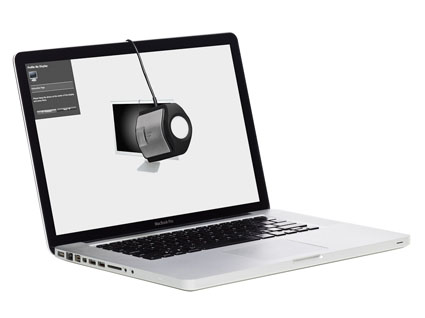
If you want to display your images accurately and make sophisticated decisions about how they will or could look, calibrate your monitor with hardware. Monitor calibration is a must. It’s not optional. It is easy. You need a device to do it well.
The visual comparator method (using your eyes to approximate an appearance on-screen) is too fraught with inaccuracies and inconsistencies to be relied on. Instead, use consistent, accurate, objective hardware and software. Colorimeters don’t have favorite and least favorite colors, don’t have color deficiencies, don’t get fatigued, don’t drink caffeine or eat sugar, don’t change over time or adapt to their environments, and don’t have emotions. You do. All of these can affect your perception of color at one time or another. Colorimeters are in a stable state. You’re not. So when it comes to making sure that your monitor displays color as accurately as possible, use a colorimeter.
While some colorimeters, and the software packages that ship with them, are better than others, most colorimeters are good. Unless it’s defective, any colorimeter is better than none.
Spectrophotometers can also be used to calibrate monitors. What’s the difference between the two? Unlike a colorimeter, a spectrophotometer has it’s own light source that can be used to make printer profiles. Spectrophotometers can do more. They also cost more.
There is a difference between calibrating and characterizing devices. Calibrating a device is changing its state, like setting the brightness of a monitor. Characterizing a device is measuring and mapping the color capacity of a device or building an ICC profile to describe it. Most of the process of monitor ‘calibration’ is actually ‘characterization’.
Calibrating and characterizing your monitor is a simple process. Use the profiling device and software of your choice.(I personally use X-Rite products.)
Take these steps.
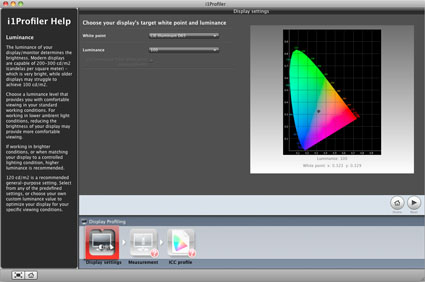
First, set the brightness of your monitor. Use your monitor’s buttons or on-screen menu. The software you use should help you confirm that you have set the brightness to a target range between 90 and 100 lumens. If your monitor is brighter than this target range, it will be more difficult to predict what your image will look like in print and it’s likely your prints will appear too dark. If it is darker than this target range, your whites will appear too dull and you may not see subtle shadow detail that exists in your files.
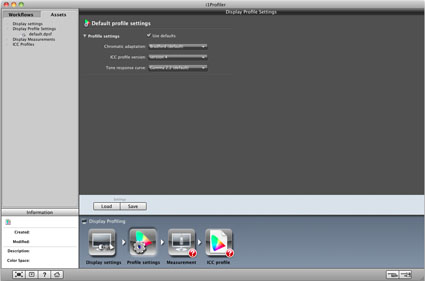
Second, indicate your gamma and white point preferences with your software. Specify a Gamma 2.2 and a white point of D-65. Both of these items produce confusion for many. The gamma is specified based on the operating system of your computer, now the same for both Mac and PC. It is not the gamma of your editing space, monitor, or output device. The white point is specified to simulate a clean white, neither too blue and bright nor too yellow and dull. While the industry standard for building ICC printer profiles and viewing prints is D-50 or 5000K, if you specify this setting during monitor calibration, more often than not your whites will appear too dull and yellow. This is due to monitor hardware limitations; their white points are so high, well above 7500K, that when you simulate a white point lower than 6500K the monitor’s response starts to physically fail. A white point of D-65 is a simulation that generates a standard preferred appearance – or a good clean white.
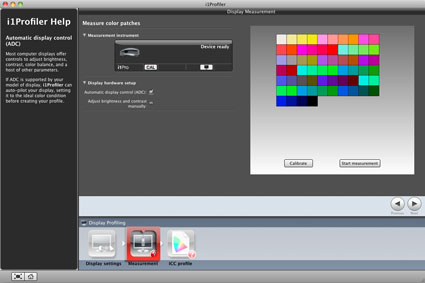
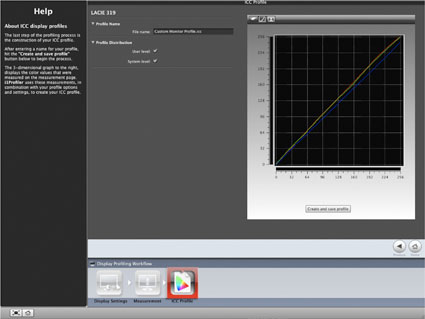
Third, measure the color space and build the profile. All you have to do is click go and let the software do the rest. To find a monitor’s capacity/limitations, the measurement software will send known values to the monitor and its accompanying hardware will measure the monitor’s response. With the before and after data it will generate an ICC profile that maps the color space of the monitor. At the end of the process, make sure the title for the resulting ICC profile contains the date. This profile will be loaded automatically whenever you restart your computer until you build a new one.
Finally, confirm monitor calibration. View both synthetic test files (You can find many on my website.) and real-world images (Bill Atkinson provides an excellent evaluation file on his website.). If grayscale ramps contain color casts or crosses, repeat the process.
Repeat this process monthly or when conditions change substantially.
Note, the purpose of monitor calibration is to get a monitor to display digital image files as accurately as possible. The ICC profile will help your monitor display files better but it won’t change them. Only changing the file’s ICC profile (so the numbers in your file mean something different) or editing the file with software (so the numbers actually change) can do that.
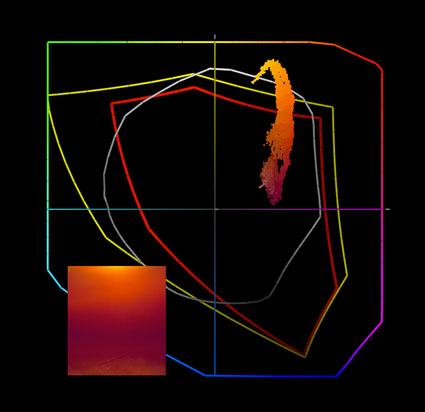
Some of your files may contain colors that are out-of-gamut or too saturated for your monitor to display. The best monitors today can display a gamut equivalent to Adobe RGB 1998 but cannot yet display the full gamut of ProPhoto. This means that some of your files may be able to print colors that are more saturated than your display. Do build your files in ProPhoto to take full advantage of the capabilities of today’s printers and tomorrow monitors. As monitor technology evolves this will become a less frequent occurrence.
One of the advantages of calibrating your monitors to a device neutral standard is that when properly calibrated, all monitors, old or new, should generate very similar if not identical appearances with the same files. You will not have to adjust your files when you look at them on other monitors, for instance when you replace your old monitor.
The purpose of monitor calibration is not to match a print, though it will help you make all your prints more accurate. A well-calibrated monitor will help you predict what your images will look like when printed, even on multiple substrates. This is what softproofing in Photoshop is designed to achieve.
The value of the time and money invested in calibrating and characterizing your monitor simply can’t be overstated. Once you’ve made this investment, you’ll reap countless dividends. You’ll get more enjoyment out of the process and your images.
Here are the steps to take using X-Rite’s i1Profiler software.
On the Mac, ICC profiles are automatically stored in the ColorSync folder.
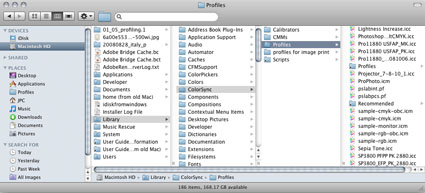
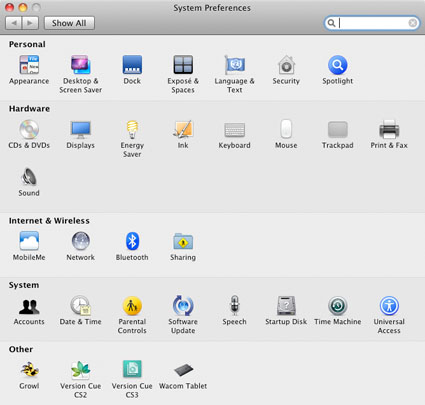
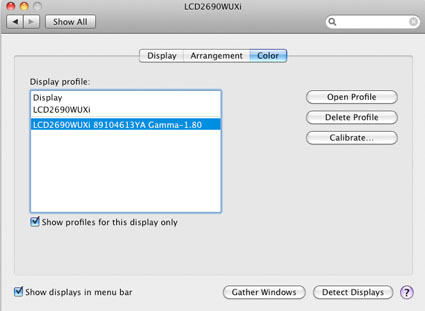
On the Mac, you can manually specify the monitor profile used by going to System Preference, Display, Color and selecting a preferred profile.
Read more on Color Management here.
Read more on Digital Printing here.
Learn more in my digital photography and digital printing workshops.


No Comments