Enjoy this collection of quotes on the color purple.
Which is your favorite? Have one to add? Leave a comment!
“When God made the color purple, God was just showing off.”
– Mae Jemison
“I think it pisses God off if you walk by the color purple in a field somewhere and don’t notice it.”
– Alice Walker
“He domesticated and developed the native wild flowers. He had one hill-side solidly clad with that low-growing purple verbena which mats over the hills of New Mexico. It was like a great violet velvet mantle thrown down in the sun; all the shades that the dyers and weavers of Italy and France strove for through centuries, the violet that is full of rose colour and is yet not lavender; the blue that becomes almost pink and then retreats again into sea-dark purple—the true Episcopal colour and countless variations of it.”
– Willa Cather
“Be different. Be original. Nobody will remember a specific flower in a garden filled with thousands of the same yellow flower, BUT they will remember the one that managed to change its color to purple.”
– Suzy Kassem
“The key to success is to find a way to stand out–to be the purple cow in a field of monochrome Holsteins.”
― Seth Godin
“Seek to be the purple thread in the long white gown.”
– Epictetus
“‘Almost’ is all about gradations and nuance and about suggestion and shades. Not quite a red wine, but not crimson, not purple either, or maroon; come to think of it, ‘almost’ Bordeaux.”
– Andre Aciman
“Mauve is just pink trying to be purple.”
– James Whistler
“It was octarine, the colour of magic. It was alive and glowing and vibrant and it was the undisputed pigment of the imagination, because wherever it appeared it was a sign that mere matter was a servant of the powers of the magical mind. It was enchantment itself. But Rincewind always thought it looked a sort of greenish-purple.”
– Terry Pratchett
“Made up of the glories of the most precious gems, to describe them is a matter of inexpressible difficulty. For there is amongst them the gentler fire of the ruby, there is the rich purple of the amethyst, there is the sea-green of the emerald, and all shining together in an indescribable union. Others, by an excessive heightening of their hues equal all the colours of the painter, others the flame of burning brimstone, or of a fire quickened by oil.”
– Pliny the Elder
“Foods that are deep blue, purple, red, green, or orange are leaders in antioxidants and contain many nutrients that boost immunity and enhance health.”
– Deepak Chopra
“Violet is the most soothing, tranquilizing and cooling color vibration. It encourages the healing of unbalanced mental conditions in people who are overly nervous or high-strung. Foods of the violet vibration are: purple broccoli, beetroot and purple grapes.”
– Tae Yun Kim
“Purple is the hue worn by a baby witch or warlock. Pink and blue are for mortals.”
– Agnes Moorehead
“Purple is the color of royalties. It stands for luxury, wealth, and sophistication. It is also the color of passion, romance, and sensitivity.” – Amira
“Love makes its record in deeper colors as we grow out of childhood into manhood; as the Emperors signed their names in green ink when under age, but when of age, in purple.”
– Henry Wadsworth Longfellow
“Be eccentric now. Don’t wait for old age to wear purple.”
– Regina Brett
“Purple puts us in touch with the part of ourselves that is regal.”
– Byllye Avery
“I’m not posh, not in the slightest. My parents spent some money on my education, but I wasn’t born to the purple.”
– Matthew Goode
“He wrapped himself in quotations – as a beggar would enfold himself in the purple of Emperors.”
– Rudyard Kipling
“Men with purple hearts carry silver guns and they will kill a man for what his father has done. But what my father did, I don’t live it: no, I am not him.”
– Conor Oberst
“Womanist is to feminist as purple is to lavender.”
– Alice Walker
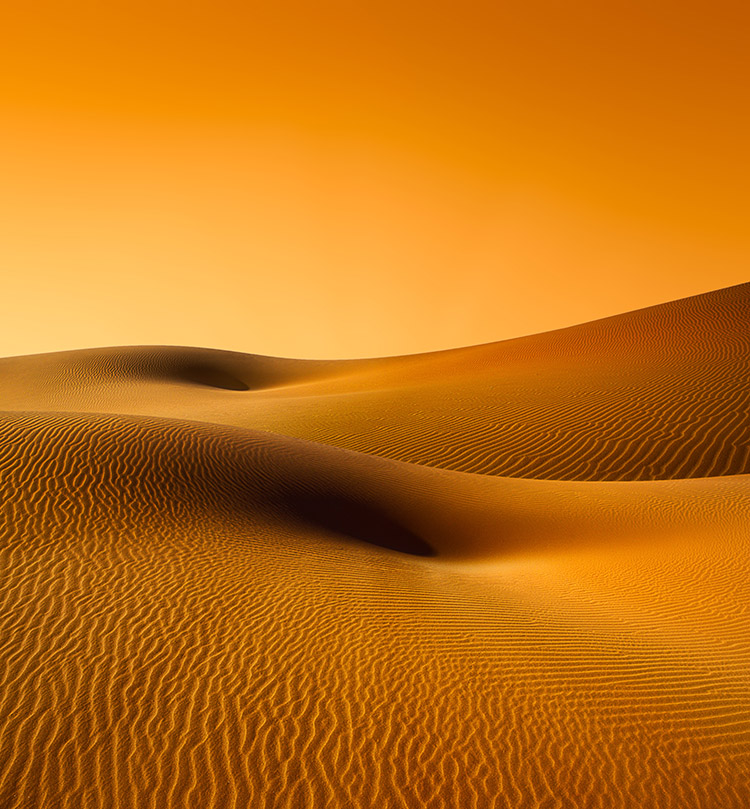
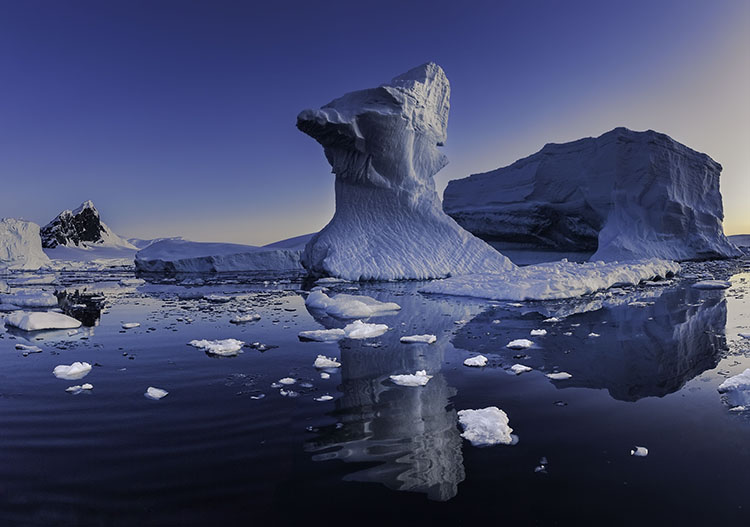
“No prosaic description can portray the grandeur of 40 miles of rugged mountains rising beyond a placid lake in which each shadowy precipice and each purple gorge is reflected with a vividness that rivals the original.”
– Herbert Hoover
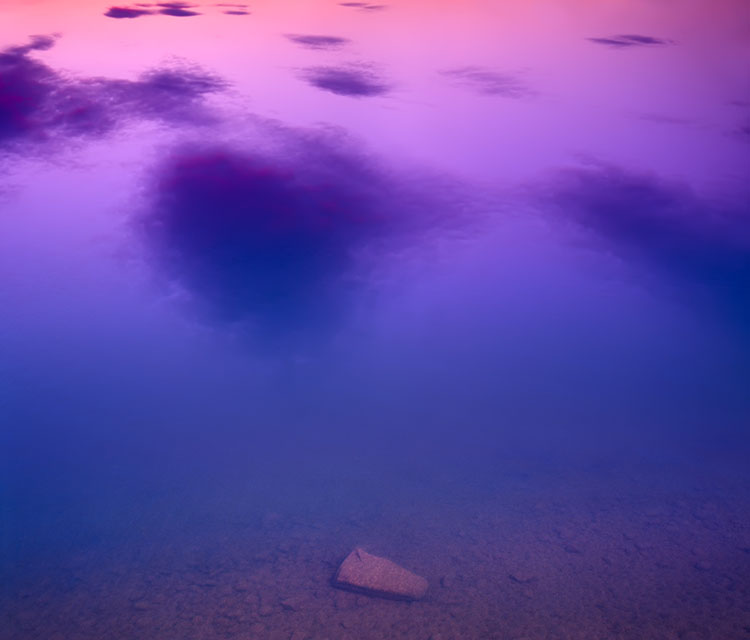
“The purple light or glow, which appears roughly fifteen or twenty minutes after sunset… looks like an isolated bright spot fairly high in the sky over the place the sun has set, and then it quickly expands and sinks until it blends with the colors underneath.”
– James Elkins
“When I write after dark the shades of evening scatter their purple through my prose.”
– Cyril Connolly
“Despite the fact that he’s been dead for over seventy years and his prose considered purple and overwrought by many, H.P. Lovecraft’s work is still widely read and has remained influential for generations.”
– Ellen Datlow
“Early impressions are hard to eradicate from the mind. When once wool has been dyed purple, who can restore it to its previous whiteness?”
– St. Jerome
“I want to be pure in heart — but I like to wear my purple dress.”
– Anne Morrow Lindbergh
“I won’t eat any cereal that doesn’t turn the milk purple.”
– Bill Watterson
“purple does something strange to me”
– Charles Bukowski
“Purple Haze all in my brain, lately things don’t seem the same. Actin’ funny but I don’t know why. ‘Scuse me while I kiss the sky.”
– Jimi Hendrix
“Time is purple / Just before night.”
– Mary O’Neill
“Yesterday and tomorrow cross and mix on the skyline. The two are lost in a purple haze. One forgets, one waits.”
– Carl Sandburg
“Purple haze all in my eyes, don’t know if it’s day or night. You got me blowin’, blowin’ my mind. Is it tomorrow or just the end of time?”
– Jimi Hendrix
Explore the Psychology Of The Color Purple
Discover Words For Purple
Find more Quotes on Color