Exhibit – Two Generations – Obscura Gallery – Sep 15 – Nov 17
.
.Two Generations
Paul Caponigro & John Paul Caponigro
.Sep 15 – Nov 18
Sep 15 – 4 pm Talk
Sep 15 – 5-7 pm Opening
Sep 30 – Online Talk
View the Virtual Exhibit here.
Purchase the printed Catalog here.
Receive the ebook Images & Quotes here
.
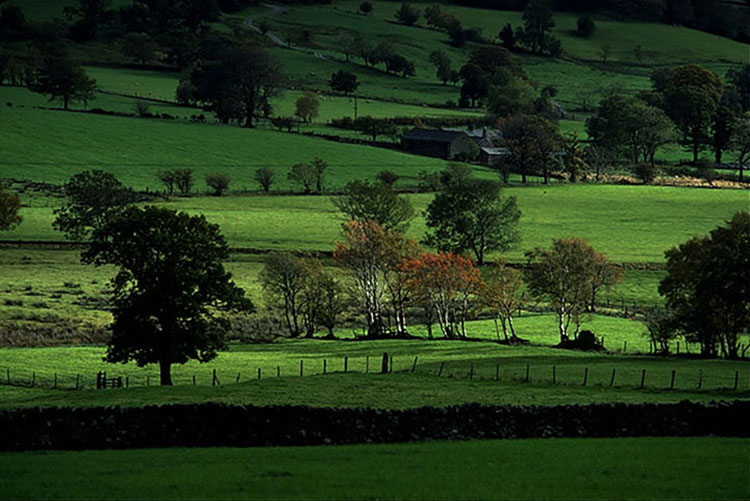
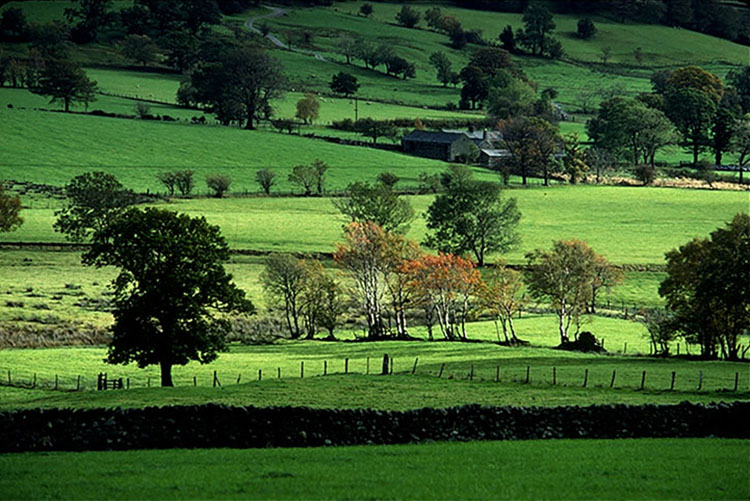
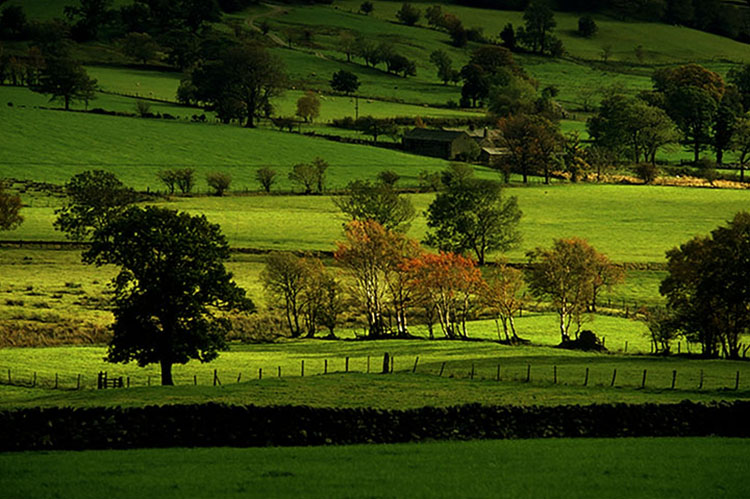
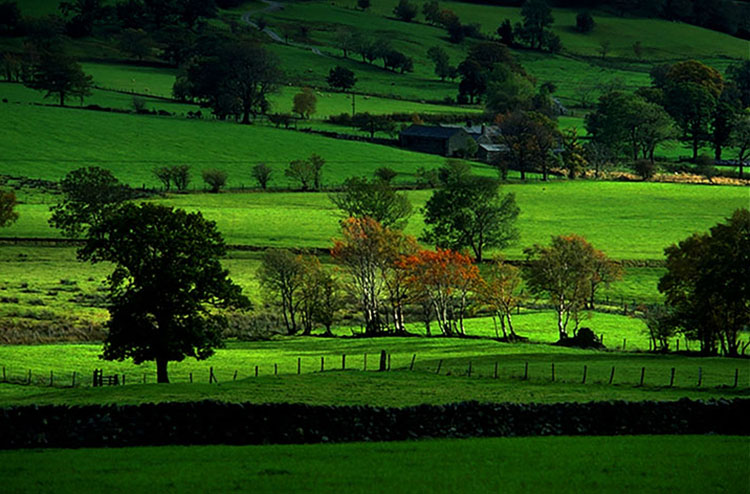
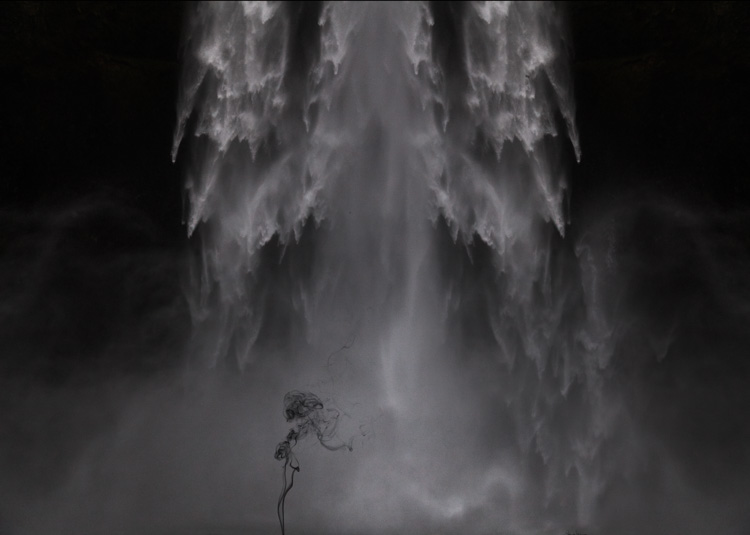
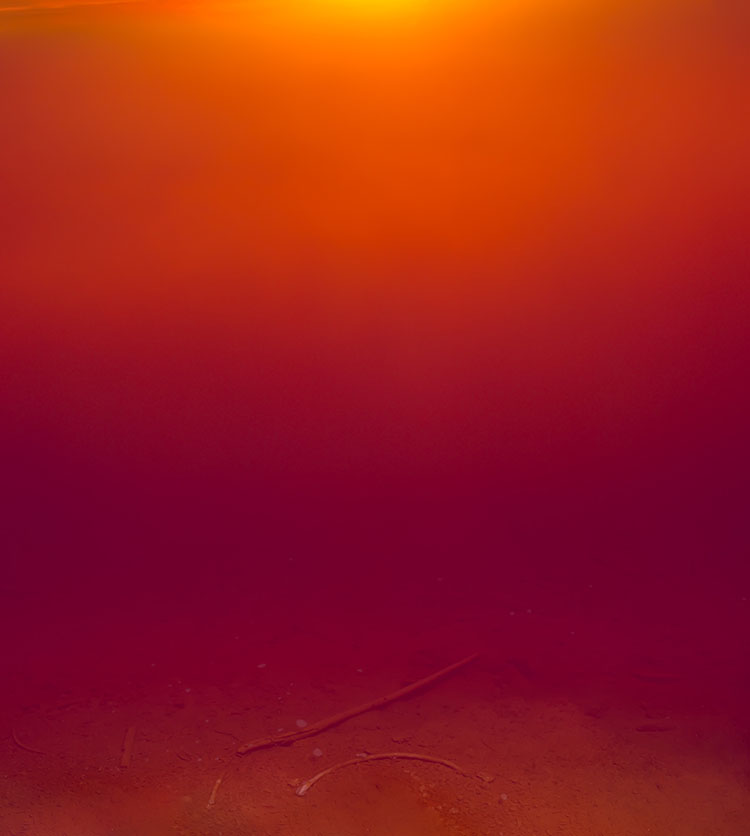
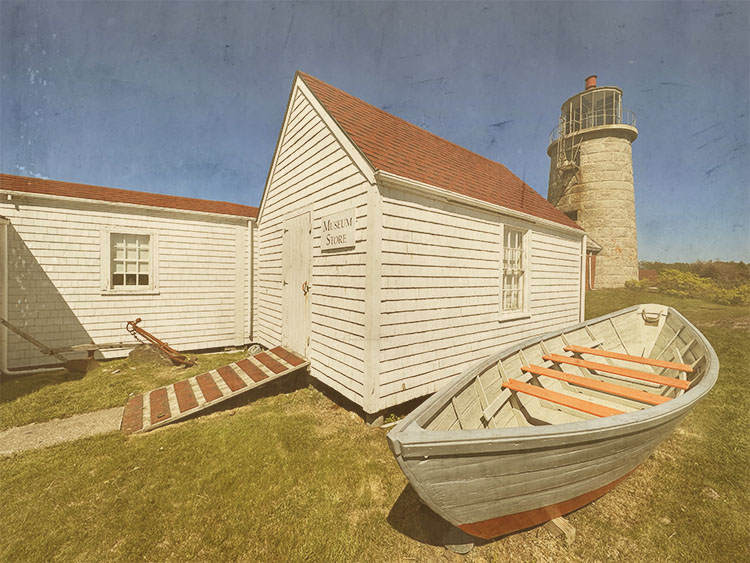
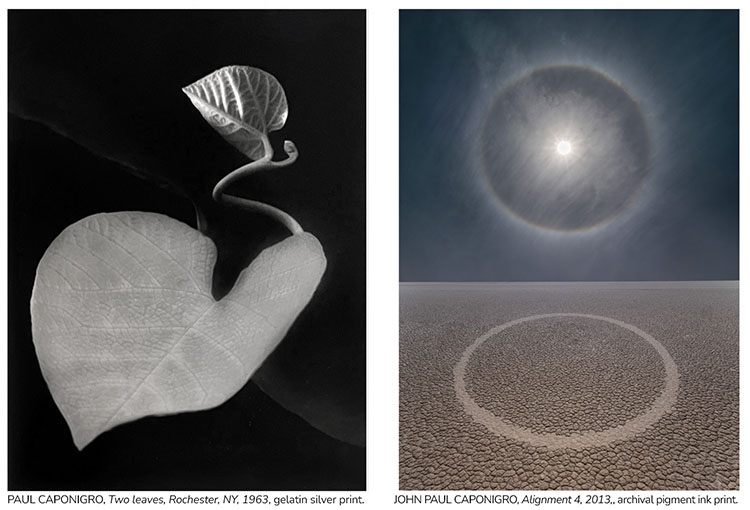
Obscura Gallery proudly presents Two Generations: Paul Caponigro and John Paul Caponigro, a father-and-son exhibition including over two dozen photographs highlighting the careers of this family of artists.
For both artists, Santa Fe was home for over twenty years (1970 – 1990s) while Paul lived here raising John Paul in a community of artists. Now, decades later, their work will be shown together in this joint exhibition at Obscura Gallery.
At first glance, both artists seem a world apart – Paul works in straight, small-scale, analog, black-and-white gelatin silver prints, and John Paul works in composited, large-scale, digital color ink prints. Upon further reflection, you’ll find their shared sensibilities run much deeper and are far more significant than the surface differences. Both masters, with a strong dedication to their craft and a deep reverence for nature, Paul Caponigro and John Paul Caponigro, create mystical spaces with powerful atmospheres of silence that resound with spirit. In these deep moments of quiescence, both rekindle our most primal ways of being and awaken our most essential natures, reminding us that man lives not apart from nature but as a part of Nature.
Join us (in person or online) for this fascinating exploration of changes in the medium of photography and, through it, the ways we see land and ourselves.