6 Tools You Can Use To Improve Continuity Between Still Images
“Order, unity, and continuity are human inventions, just as truly as catalogues and encyclopedias.” – Bertrand Russell
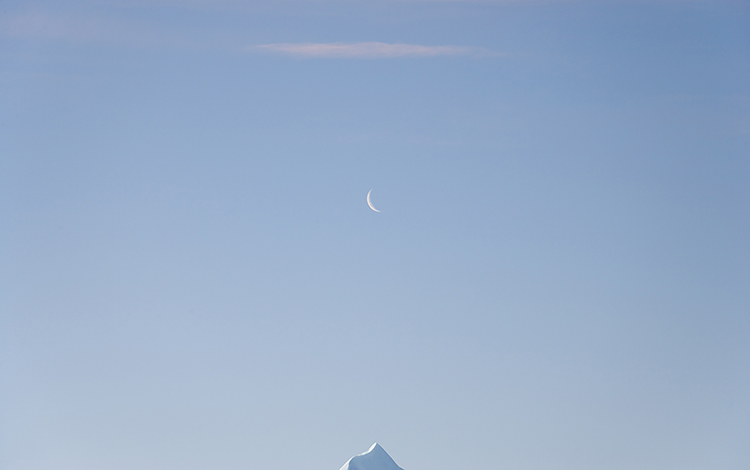
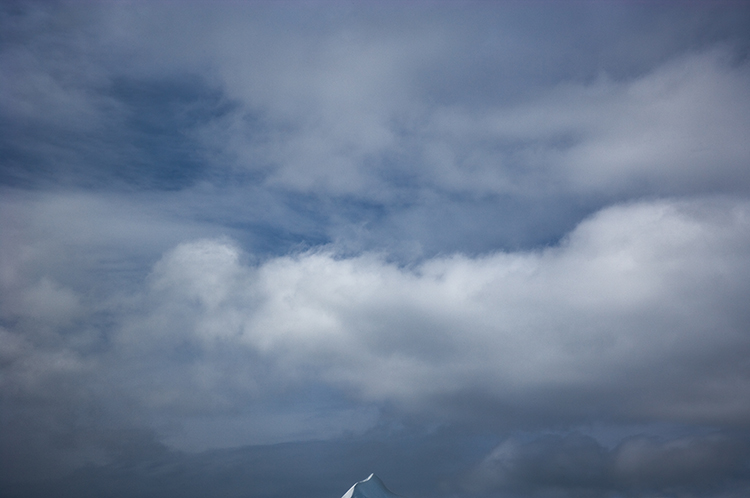
Continuity lies at the heart of the art of storytelling. The types of images selected and the transitions made between images presented in groups can be powerful tools for visual communication. Sequences can provide useful comparisons and contrasts between separate images and their contents. They set a pace and rhythm for looking. Carefully orchestrated, they can create the illusion of moving in time forward or backward, linearly or non-linearly. They can be used in extremely creative ways. The best sequences make both individual images and the journey created by presenting many images in sequence clearer, more meaningful, and more moving.
Continuity is key. Every screenwriter needs to create it. Every storyboard artist needs to interpret it. Every director needs to guide it. Every editor needs to refine it. If you’re a still photographer, you may be called to do all of these things.
Photographers can use continuity to guide and structure initial explorations on site as well as to resolve challenging transitions and find missing gaps while continuing to develop projects.
First, create a storyboard as a checklist to make sure no angle goes uncovered; this will stimulate you to come up with many more creative solutions, so you’ll have more images to choose from. Then, update your storyboard to find out what you’ve got too much or too little and find connections between disparate images.
Photographers also can use continuity to edit, sequence, and present existing work more effectively; use the same skills to fine-tune a story in sophisticated and compelling ways.
Just like composing music, there are specific strategies you can use and many possible ways you can apply them to solve creative challenges. How you apply them may become as much a part of your style as composition and processing.
Here are some classic strategies for sequencing images and creating transitions between them.