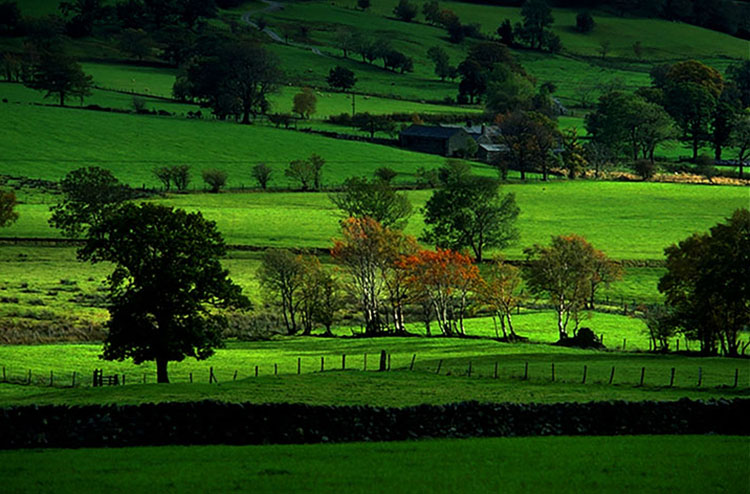
Photographer Ed Kashi’s Talks About His Top Three Images

Photographer Ed Kashi talks about three of his images that mean the most to him.
Photographer Ed Kashi talks about three of his images that mean the most to him.

Colin Smith demonstrates the new AI spot removal tool in Photoshops’ Camera RAW. It’ll save you hours.
Find out more from Colin Smith at Photoshop Cafe.
Learn more in my digital photography and digital printing workshops.

Photographer Rania Matar talks about her books with Jeff Larason (The Crit House).
View Rania Matar’s Top 5 Influences here.

Photoshop just released a powerful AI tool that lets you blend objects into any scene with 1 click. But if you rely only on the default result, you’re missing out on what makes this feature truly shine.
This step-by-step tutorial goes beyond the basics. You’ll learn how to combine classic Photoshop techniques with the Harmonize feature to achieve the best possible results. I will also show you a trick to bypass the 1024×1024 resolution limit!
00:00 – Intro
00:43 – How The Harmonize Button Works
03:36 – Working with People
04:20 – Compositing with Varying Levels of Transparency
07:06 – Composite Small Accessories to a Photo
10:10 – Head Swaps with Harmonize
12:10 – Compositing with a Transparent Object
15:05 – Get Around The Low Resolution Output Limit
Find more from Jesus Ramirez’s Photoshop Training Channel.
Learn more in my digital photography and digital printing workshops.

R.I.P. Paul Caponigro Dec 7, 1932 – Nov 10, 2024
To commemorate my late father, I’m sending out a special tribute newsletter collecting photographs, videos, quotes, conversations, comments from many in his photography community, and more.
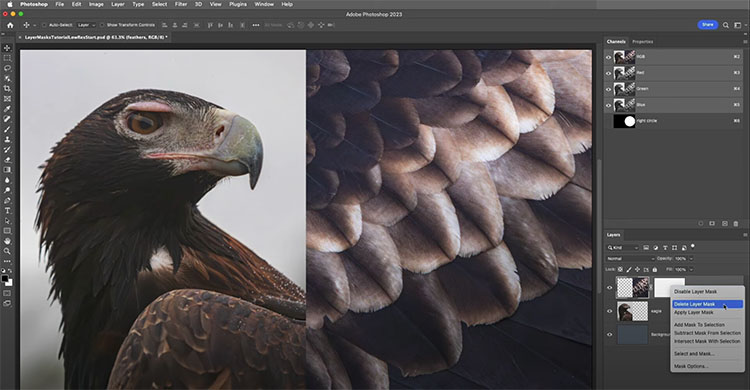
“In this video, Julieanne demonstrates ten essential shortcuts for working with Layer Masks, including how to add, delete, invert, move, reposition, copy, target, disable, change the density, and add a non-destructive feather to soften the edges of a mask.”
Follow up with her fundamentals of working with layers.
View more of Julieanne’s videos.
Learn more in my digital photography and digital printing workshops.
Colin Smith answers all your questions about updating to Photoshop 2024 … and shows you how to fix common problems.
00:00 Intro
00:16 Are Adobe charging for Generative Fill’s Generative credits?
02:55 Is the resolution still limited to 1024 x 1024?
04:57 Can I uninstall beta?
05:49 Is it version 25 or 2024?
06:32 Where are my Presets and Plugins etc?
07:08 Keep old version for Plugin Compatibility
07:33 How to get back an old version of Photoshop
8:14 Run the correct version
08:31 Missing Tools
9:15 Open the correct version of Photoshop from Lightroom
Find out more from Colin Smith at Photoshop Cafe.
Learn more in my digital photography and digital printing workshops.

Composed of two complementary color families (yellow and blue); one is light and the other dark, while one is warm and the other is cool. Together, they increase each other's intensity.
Simultaneous Contrast
You can make a color appear more lively by changing it or by changing the colors around it. Even though it remains unchanged, we see it differently. Color context can be almost as important as individual color.
These effects are part physics (measurable qualities of light), part biology (what our brains do to enhance information to better perceive the world), and part psychology (our subjective responses). While the phenomena and our responses to them are complex, we can use a few simple dynamics to produce striking effects.
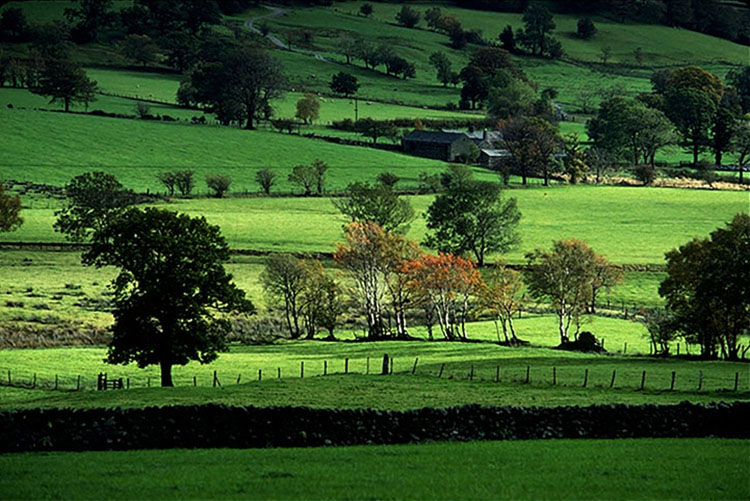
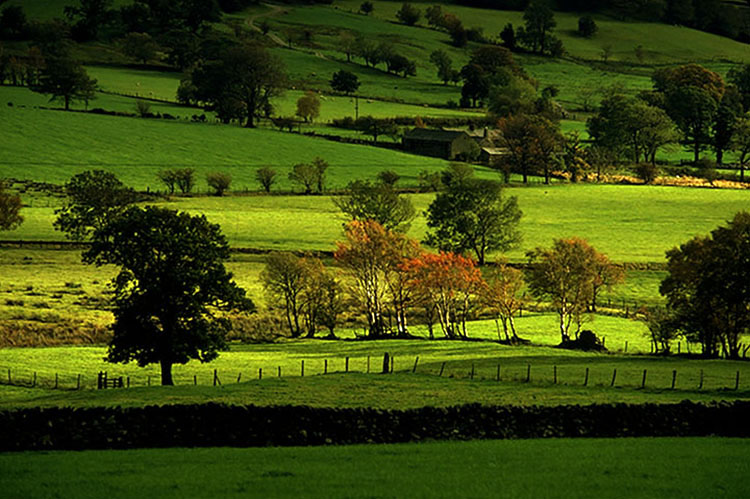
The colors in the center are the same but appear different because of the colors that surround them.

A lighter surround makes a color appear darker - and vice versa.

A warmer surround makes a color appear cooler - and vice versa.

A saturated surround makes a color appear more neutral - and vice versa.
Find more on Simultaneous Contrast and Color Theory here.
3 Types Of Contrast
Luminosity, hue, and saturation, the three elements of color, offer three types of contrast to choose from.
Changes in luminosity make colors feel lighter or heavier.
Use Curves. How To Master Color Adjustment With Curves
Changes in hue bring warm and cool associations with them.
Use Curves. 4 Ways To Enhance Color Temperature In Your Images
Changes in saturation increase or decrease vibrance.
Use Saturation and/or Vibrance. How To Master Saturation In Your Images
All three, either individually or collectively, can make a color appear nearer or farther away.
Atmospheric perspective enhances the illusion of depth; lighter, warmer, more saturated colors appear closer.

Sometimes, you want to select the element you change carefully to create a specific effect.
Other times, you just want separation, and any kind of contrast will do. For maximum effect, change all three elements as much as you can while still maintaining a realistic appearance.
Nearby, Adjacent, Surrounding
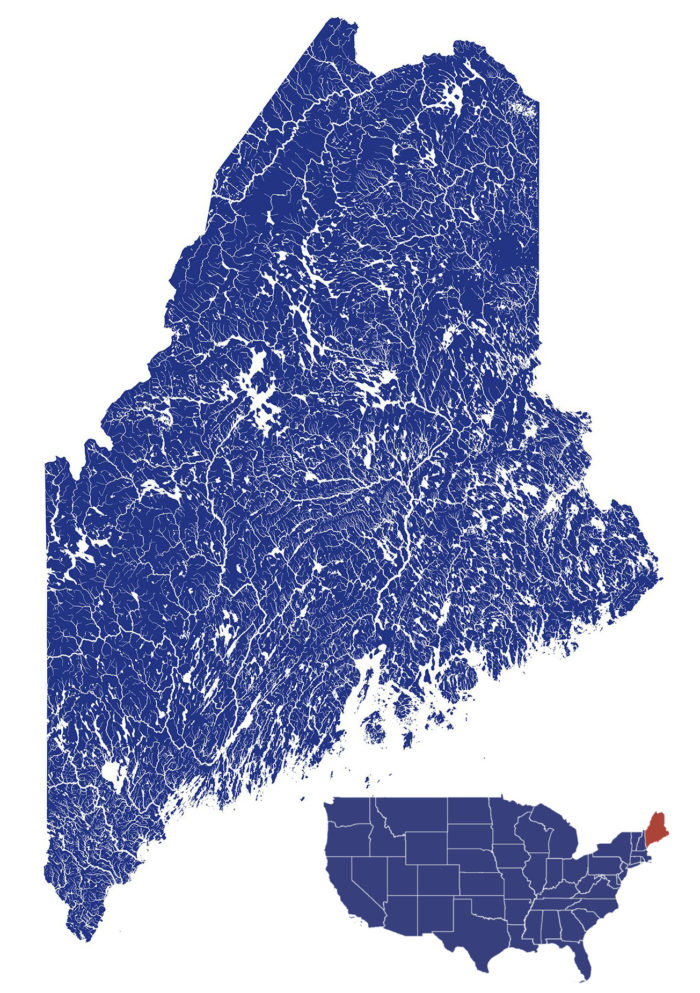
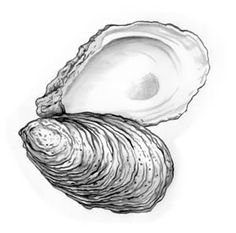
“Like fine wines, oysters take on the qualities of the environment in which they’re raised. Water temperature, salinity, season, the geology of the watershed, currents, tides, and growing methods work together to produce oysters that are unique to each of Maine’s farms.
While no two varieties are identical, there are some common threads that make Maine oysters a shuck above the rest. With nearly 3,500 miles of pristine, rugged coastline, Maine is the perfect place to cultivate and harvest the best oysters on Earth. Our cold, salty ocean water is rich in nutrients that oysters love, giving Maine oysters a crisp, briny, buttery, sweet flavor.
The Maine Oyster Trail is the first interactive, incentive-based oyster trail in the U.S. and features more than 80 Maine oyster businesses, each of which offers one-of-a-kind experiences. The Trail’s interactive trip planner allows you to build your own custom trail based on different types of experiences and regions you’re interested in checking out.”
Explore the Maine Oyster Trail here.
Find great selections of oysters at the following restaurants.
Rockland, Maine – North Beacon Oyster
Boothbay Harbor, Maine – Mine Oyster
Portland, Maine – Maine Oyster Company

“Photoshop 2024 is here! Colin Smith shows you the new features including Generative AI in the shipping version of Photoshop.”
Find out more from Colin Smith at Photoshop Cafe.
Learn more in my digital photography and digital printing workshops.