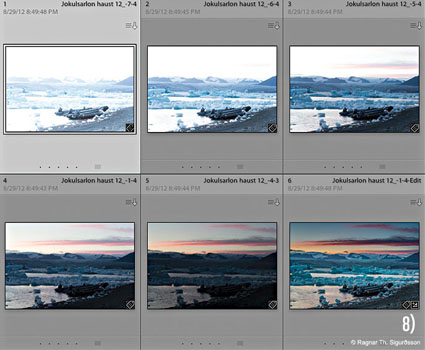
Photoshop Exchange


“Where do you go to access over 10,000 unique Photoshop presets, templates, tutorials, plug-ins and more? Visit Photoshop Exchange, the Adobe hosted website for customers who want to discover and share Photoshop content with each other. They recently crossed the 10,000th item milestone, adding 600 new submissions since January. The majority of the content is free, and those few paid pieces of content average about $4.
If you’re looking for inspiration, or just want to try out some new styles, effects or practically anything else that can be customized in Photoshop, you will find Actions (51% of Exchange’s content), followed by Styles (15%) and Brushes (10%), as well as shapes, tutorials and patterns, and many elaborate and useful Templates (.PSD files, ranging from Web components and complete site designs, brochures, flyers, 3D presentation graphics, print ads and the like), which can save you time and even help you explore how advanced users build complex and beautiful files.”

Visit Photoshop Exchange here.

What To Do With Photoshop’s Color Management Dialogs

Knowing what to do with the color management dialog boxes you encounter while you’re editing your digital images in Photoshop is the key to making sure that the rich, saturated, wide-gamut color you choose to master your files in stays wide-gamut and doesn’t change – unless you want it to.

When you set Color Settings in Photoshop (Edit : Color Settings), you not only choose Working Spaces (RGB, CMYK, Gray, and Spot) to create new files in (Choose ProPhoto RGB for the widest-gamut color space.), you also set Color Management Policies that determine what happens when you’re dealing with files that are not created or edited in the same color spaces.


For RGB, CMYK and Grayscale files you can choose to turn Color Management Off, to Preserve the Embedded Profiles, or to Convert to Working color spaces. You rarely, if ever, want to turn color management off; you only do this when you want to ensure that no color space conversions take place, for example when opening target files for creating printer profiles. Similarly, you typically don’t want files automatically converted to a default working color space without your knowing that it’s happening, as they are when you set the policy to Convert to Working; you’d only want this to happen when you’re batch converting a number of files to quickly bypass color management dialog boxes. In the vast majority of cases, you’re better off served leaving the default settings at Preserve Embedded Profiles. This way, any time a color management operation is about to take place, you’ll get one of three dialog boxes that not only alert you but also give you control over how the operation is handled.

So what do you do when you encounter these three dialog boxes – Missing Profile, Profile Mismatch, and Paste Profile Mismatch?

Read More

Photoshop Color Settings

Excellent Photoshop Color Settings can be set up in a few seconds.

1  Go to Photoshop’s Edit Menu select Color Settings.

2  Start with Settings of North American Prepress 2 and then change RGB to ProPhoto RGB. (Optionally change Gray to Gray Gamma 1.8.)

3  Click OK.

Here’s a little more about the underlying assumptions of this recommendation.

1. Choose a device-neutral wide gamut editing space to create your images in. Wide gamut editing spaces can contain all the data your camera or scanner delivers. Smaller gamut editing spaces may not. Preserve your high-quality information. ProPhoto is today’s preferred wide gamut RGB editing space. It’s the only default that can contain all the colors your camera can capture.

2. Minimize the number of color conversions applied to your files. Set Photoshop to Preserve Embedded Profiles. Always keep your master file in the color space it was created in. Convert only derivative files.

3. Make sure you know about all the color conversions your file goes through. Set Photoshop to alert you whenever a color conversion may take place. Check Ask When Opening / Pasting with Profile Mismatches and Missing Profiles.

Standardize your workflow, using these settings for all your work (with few exceptions).


Read more on Color Management here.

Learn more in my digital photography and digital printing workshops.

Get More From Smart Objects


“Any “object” that needs the ability to adjust size and rotation without the normal limitations of layered images is an excellent candidate for Smart Objects … When doing a traditional multilayer composite, the resizing and rotation of a layer can cause image degradation. Positioning and sizing an object has to be a precise operation because if you use Free Transform to make a layer smaller and then find out you actually need it back at the original size (or bigger), you basically have to start over. The way to deal with this situation when doing a complex composite is to make those layers into Smart Objects. Smart Objects are embedded image objects that allow resizing, rotation and other select editing without changing the pixels in the object. The image layers are actually treated as a separate file embedded within the master file. You can’t do all editing on the Smart Object, but you can open the original layers as a temporary file and do pixel-level editing there and then save the changes back into the Smart Object; the changes will auto-update in the image in which the objects are embedded.” – Jeff Schewe
Read more about Smart Objects at Digital Photo Pro.
Get Schewe & Evening’s book CS5 for Photographers: The Ultimate Workshop.
Learn more with my online resources.
Learn more in my digital photography and digital printing workshops.