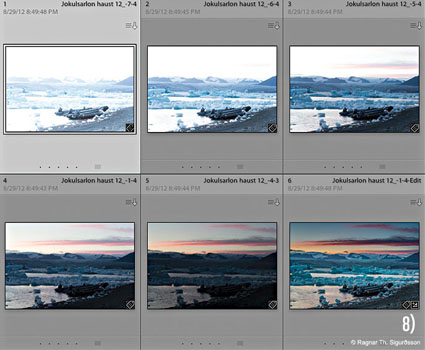
Image by Ragnar th Sigurdsson.
To one degree or another, we’ve all been underexposing our digital photographs, even if we’ve been exposing to the right (ETTR). Imagine a day when every ƒ-stop had as much data as the lightest ƒ-stop. It’s here now. Here’s how.
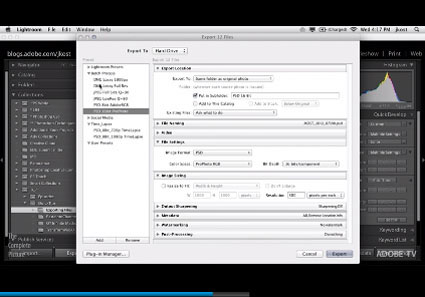
Make a series of bracketed exposures where each ƒ-stop in a scene is placed in the far right of the histogram or recorded with half the data in a single digital file. Combine all the exposures into a single 32-bit file using either the Merge To HDR Pro feature in Adobe Bridge/Photoshop or Lightroom. Save or import this 32-bit file into Lightroom (4 or higher) and apply adjustments with its Develop module to avoid many common tone-mapping artifacts.
You may be surprised to find that you’ll benefit from using this technique even for images with significantly more restrained dynamic ranges.
Read more on Digital Photo Pro.
Learn more in my digital photography and digital printing workshops.