2 Ways To Quickly Add Bokeh Flares To Your Images

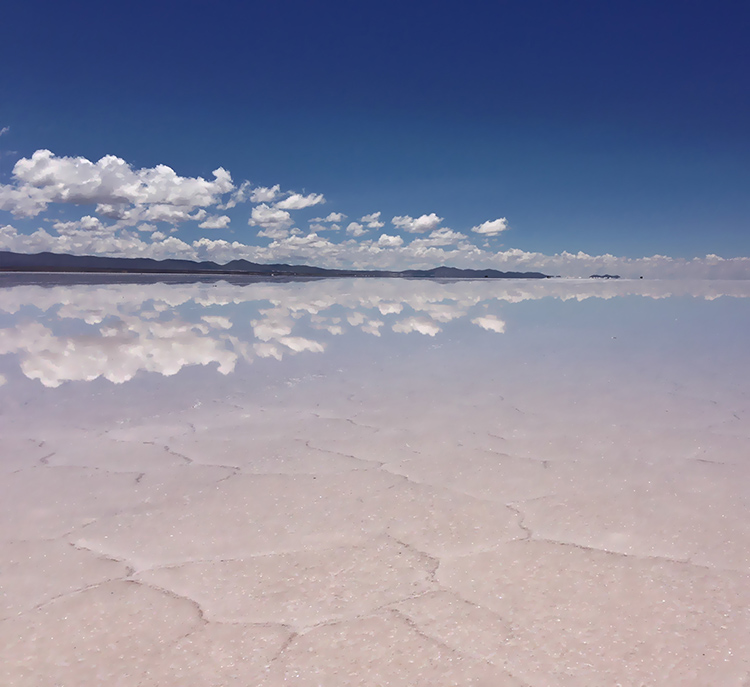
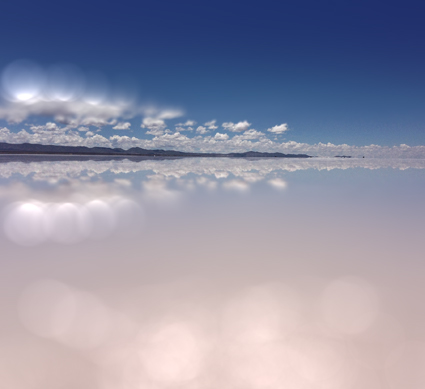
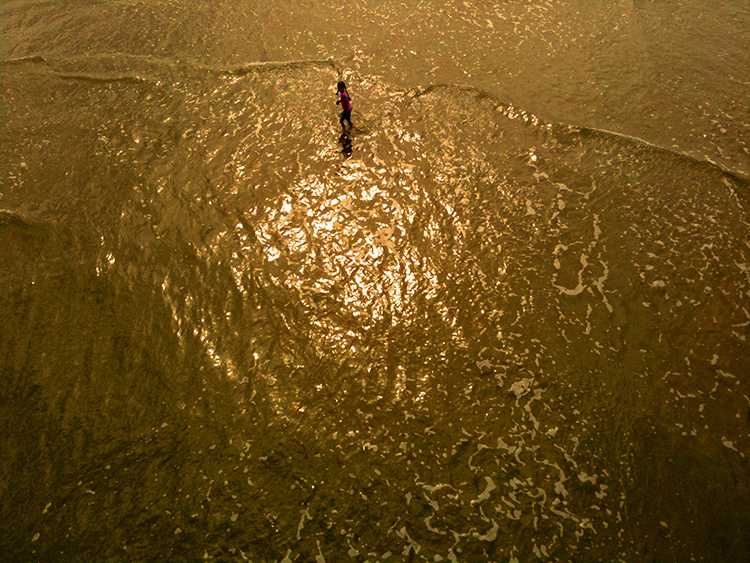
in focus

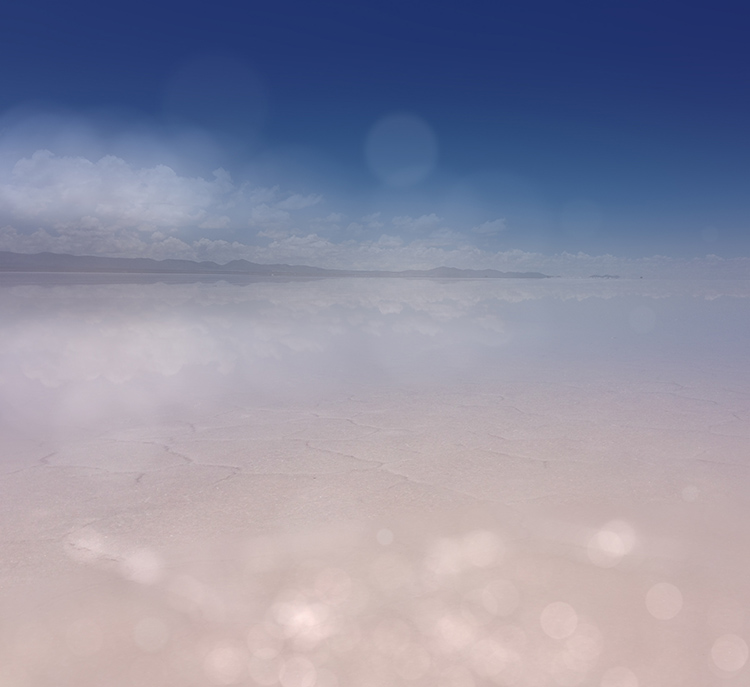
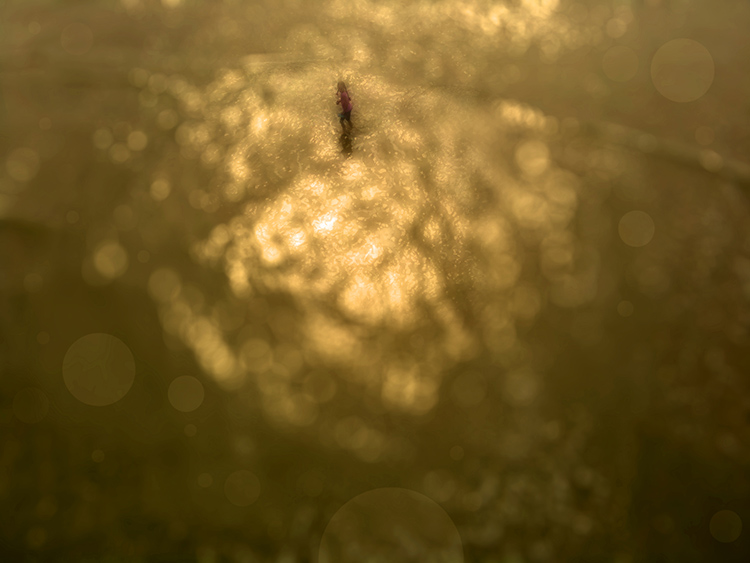
Photoshop's filter Lens Blur

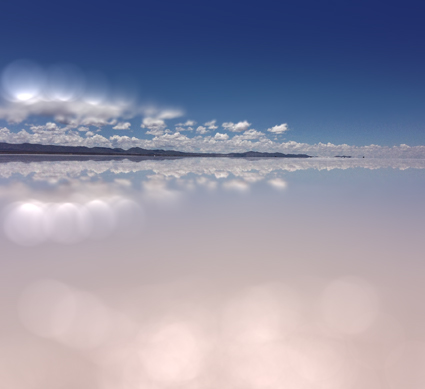
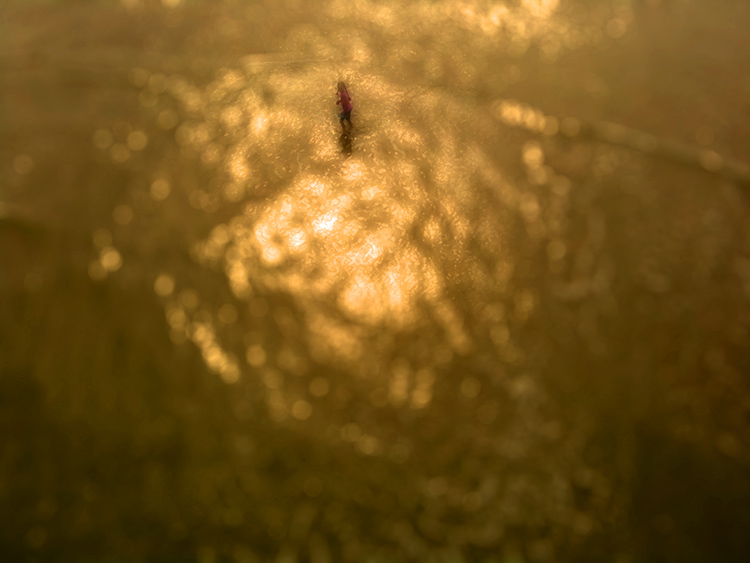
Lens Blur applied a second time selectively

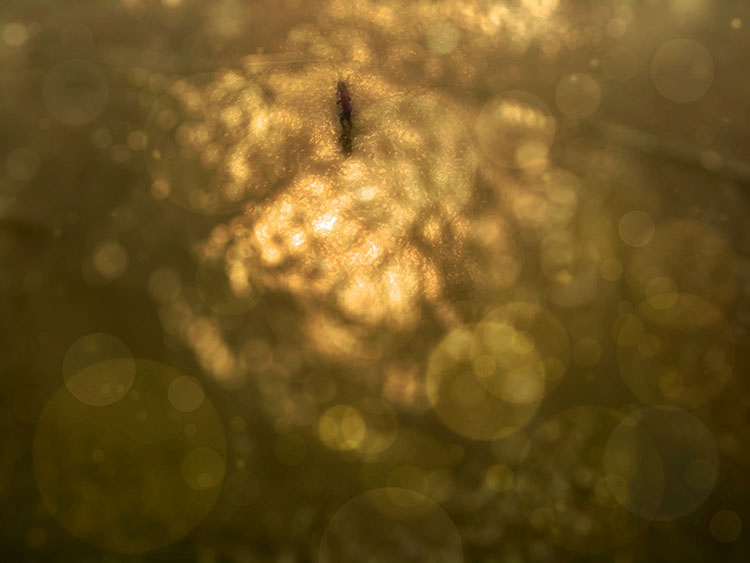
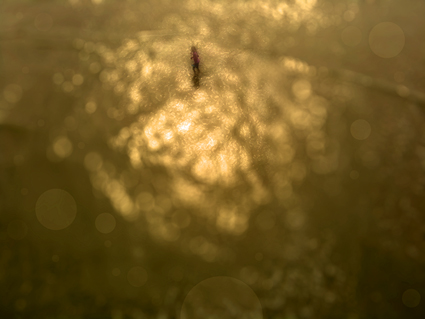
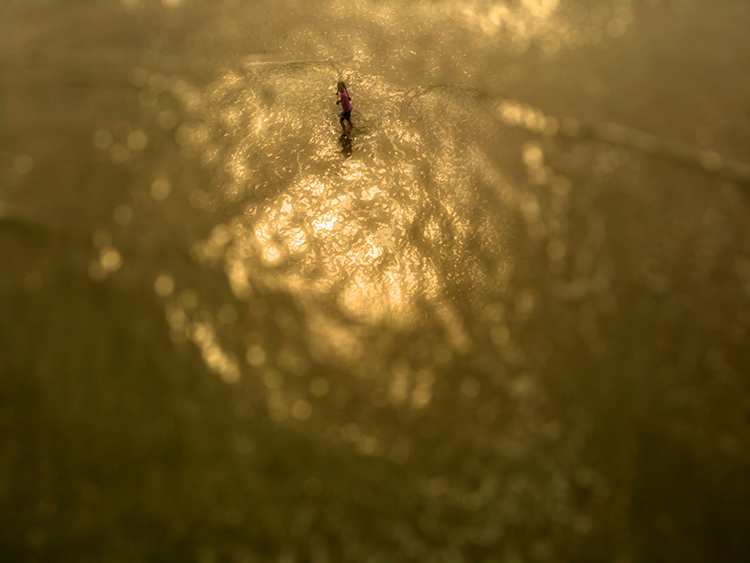
Bokeh flares added with an image and brushes


The word bokeh (Japanese for blur), the quality of the blur produced in out-of-focus parts of an image, is often used to describe the way a lens renders out-of-focus points of light.  You don’t have to have a lens with a very wide aperture to create images with bokeh flares.You can apply bokeh flares to shots with or without analog flares after exposure, using Photoshop.

Blend A Second Image With Flares

There are at least three ways to find bokeh flare images.


Insights Members can login to read the full article.
Email:
or Sign up

A Grand Overview Of Photoshop’s Blur Filters

Photoshop Blur Filters

There are many reasons to explore blur in your images; remove distractions, direct attention, enhance space, modify mood, and add interesting visual artifacts are six among many. Blur can be controlled at the point of capture and in post-processing. Thoroughly understanding your post-processing options will help you make choices about when and how to control blur in your images before, during, and after exposure.

When it comes to post-processing blur, you’ve got options! Photoshop currently offers fourteen filters; Field Blur, Iris Blur, Tilt-Shift, Average, Blur, Blur More, Box Blur, Gaussian Blur, Lens Blur, Motion Blur, Radial Blur, Shape Blur, Smart Blur, Surface Blur - in order of appearance in the Filter: Blur drop-down menu.

At first glance, the list is overwhelming. Where do you start? Get started with this quick survey of available options.


Insights Members can login to read the full article.
Email:
or Sign up

How To Control Blur FX In Photoshop With Amazing Precision

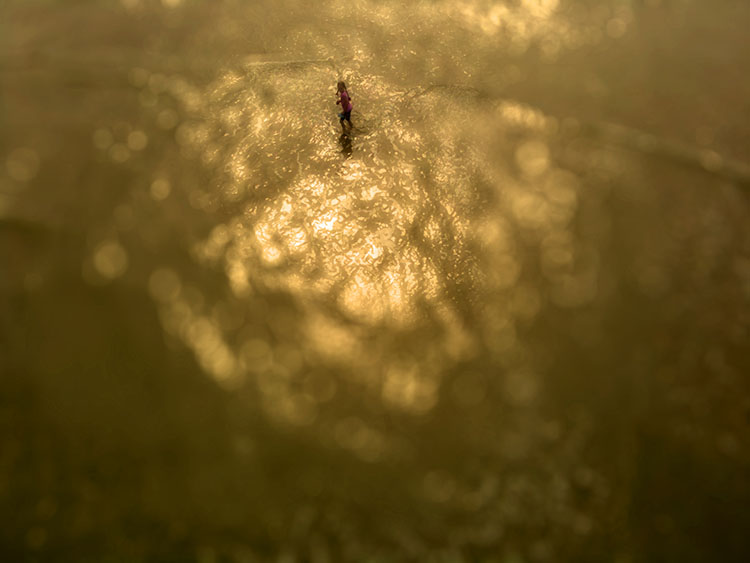
Photographers use blur (or bokeh) for a variety of reasons: to enhance space through depth of field; to add interesting visual artifacts; to simplify them; to change the quality of their expression. In the past, blur was controlled almost entirely through exposure; now it can also be controlled during post-processing, giving photographers an unprecedented array of options and ways to customize the look and feel of their images. Knowing what you can do, how far you can go, and when you can do it may change the way you shoot, one time, sometimes, or all the time.

There are many blur filters in Photoshop; Field Blur, Iris Blur, Tilt-Shift, Gaussian Blur, Lens Blur, Motion Blur, Radial Blur, Shape Blur, Smart Blur, Surface Blur, in order of appearance in the Filter: Blur drop-down menu. (See A Quick Visual Comparison Of Photoshop's Blur Filters here.) The choices are extensive and it pays to familiarize yourself with your options by experimenting with them; you’ll find you have an extraordinary set of options that you can modify and combine creatively. If you only use the filters Gaussian Blur and Lens Blur, you’ll still have game-changing control at your fingertips, once you learn how to extend and modify them.
Photoshop's Lens Blur filter

There are several important non-destructive strategies you can use to gain more control over all filter effects that will enable you to go further in your explorations and generate more sophisticated and compelling results. Try one or all of the moves in this classic progression. Apply a filter to a duplicate layer and then modify its Opacity, Blend Mode, Blend If Sliders, and add a layer mask.

Insights Members can login to read the full article.
Email:
or Sign up

A Quick Visual Comparison Of All Of Photoshop’s Blur Filters

A_1_BlurFiltersBefore

Before Blur FX

B_15_Tilt-ShiftBlur_full

After Blur FX

There are many reasons to explore blur in your images: remove distractions, direct attention, enhance space, modify mood and add interesting visual artifacts are a few among many. Blur can be controlled at the point of capture and in post-processing. Thoroughly understanding your post-processing options will help you make choices about when and how to control blur in your images before, during and after exposure.

When it comes to post-processing blur, you’ve got options! Photoshop currently offers 14 filters: Field Blur, Iris Blur, Tilt-Shift, Average, Blur, Blur More, Box Blur, Gaussian Blur, Lens Blur, Motion Blur, Radial Blur, Shape Blur, Smart Blur, Surface Blur – in order of appearance in the Filter > Blur drop-down menu. (If you want to extend your software palette even further, explore onOne Software’s FocalPoint.)

At first glance, the list is overwhelming. Where do you start? Get started with this quick visual survey of available options.

Read More

Controlling Blur FX With Photoshop

7_final_425

Photographers use blur (or bokeh) for a variety of reasons: to enhance space through depth of field; to add interesting visual artifacts; to simplify them; to change the quality of their expression. In the past, blur was controlled almost entirely through exposure; now it can also be controlled during post-processing, giving photographers an unprecedented array of options and ways to customize the look and feel of their images. Knowing what you can do, how far you can go, and when you can do it may change the way you shoot, one time, sometimes, or all the time.
There are many blur filters in Photoshop; Field Blur, Iris Blur, Tilt-Shift, Gaussian Blur, Lens Blur, Motion Blur, Radial Blur, Shape Blur, Smart Blur, Surface Blur (in order of appearance in the Filter: Blur drop down menu. The choices are extensive and it pays to familiarize yourself with your options by experimenting with them; you’ll find you have an extraordinary set of options that you can modify and combine creatively. If you only use the filters Gaussian Blur and Lens Blur, you’ll still have game-changing control at your fingertips, once you learn how to extend and modify them.
There are several important non-destructive strategies you can use to gain more control over all filter effects that will enable you to go further in your explorations and generate more sophisticated and compelling results Try one or all of the moves in this classic progression. Apply a filter to a duplicate layer and then modify its Opacity, Blend Mode, Blend If Sliders, and add a layer mask …
Read more on Digital Photo Pro.
Learn more in my digital photography and digital printing workshops.

Enhance Images With Bokeh & Special Blur Effects – Russell Brown


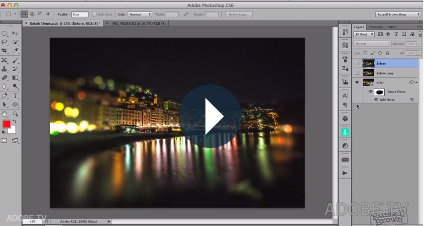
“Russell Brown demonstrates how the ability to add a creative blur to images in Adobe Photoshop CS6 just got easier. With the new Blur Gallery you can target regions within your images and customize the areas that you want to be in, or out of focus. This tutorial will discuss the detials in using the new Bokeh feature found in the Blur Gallery. Learn the fine art of adding a bokeh of light to your images for unique, and special effects.”
View more Photoshop videos here.
Learn more in my digital photography and digital printing workshops.