3 Qualities Of Light You Can Use To Make Your Images Glow

Color has three elements – luminosity, hue, and saturation.
Luminosity describes a color’s lightness.
Hue describes a color’s temperature. (It’s the rainbow ROYGBIV.)
Saturation describes a color’s degree of neutrality.
All colors can be described as a combination of these three values.
Each of these elements offers a unique quality and type of contrast. (Think energy.)
While we see all three elements simultaneously, learning to distinguish these three elements from one another is a useful skill that will help you see more clearly and see more possibilities for enhancing your images.
Consider the transformations each element of color offers.
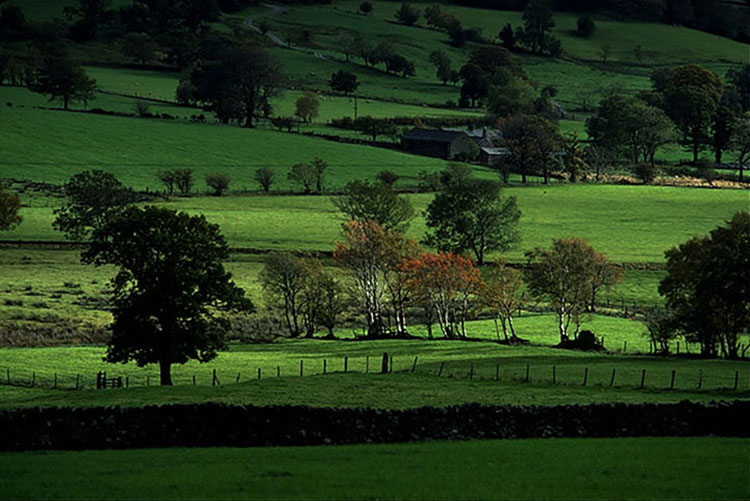
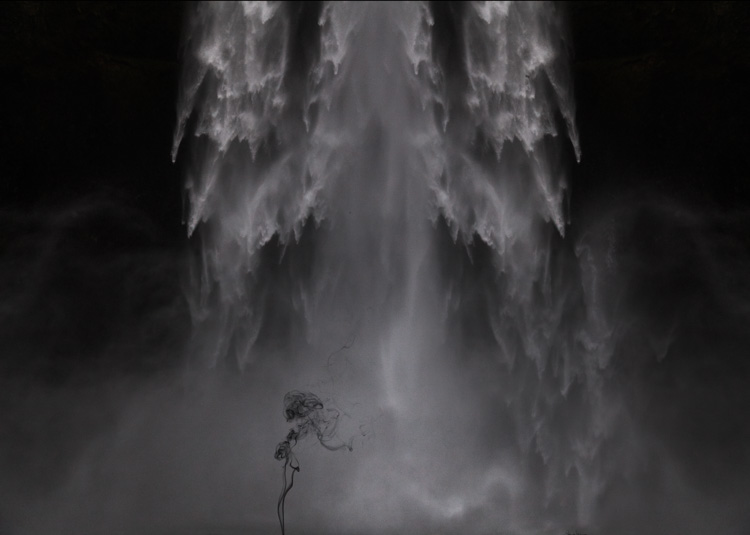
When highlights are lightened with luminosity, this image feels cooler and more brilliant.
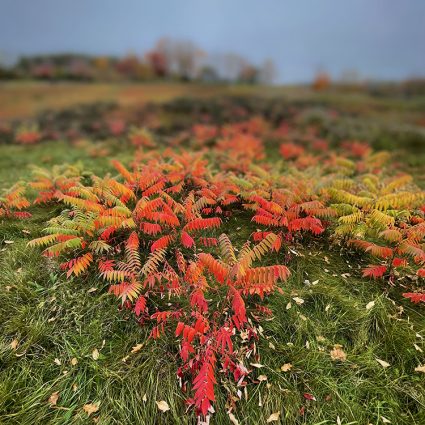
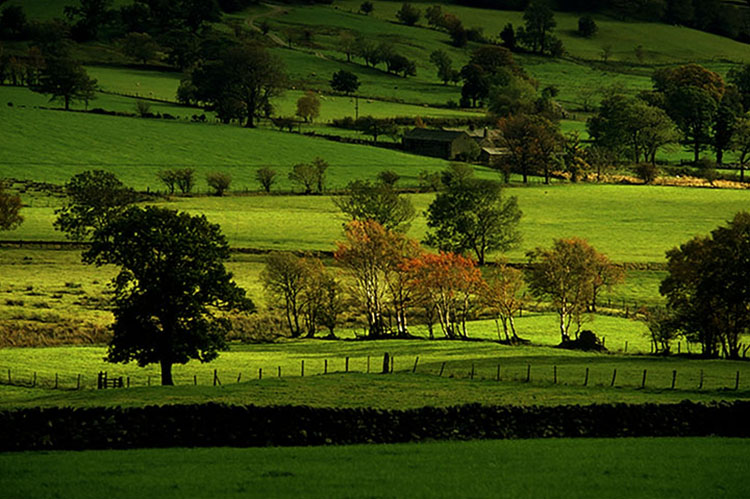
When highlights are warmed with hue, the image feels hotter and more humid.
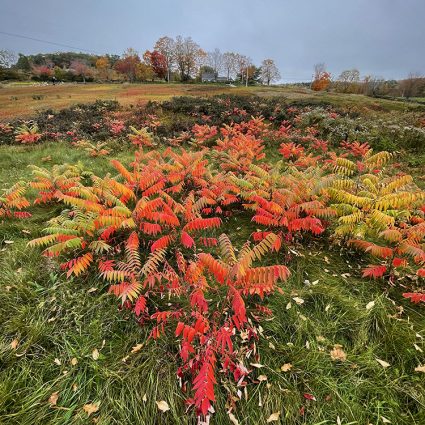
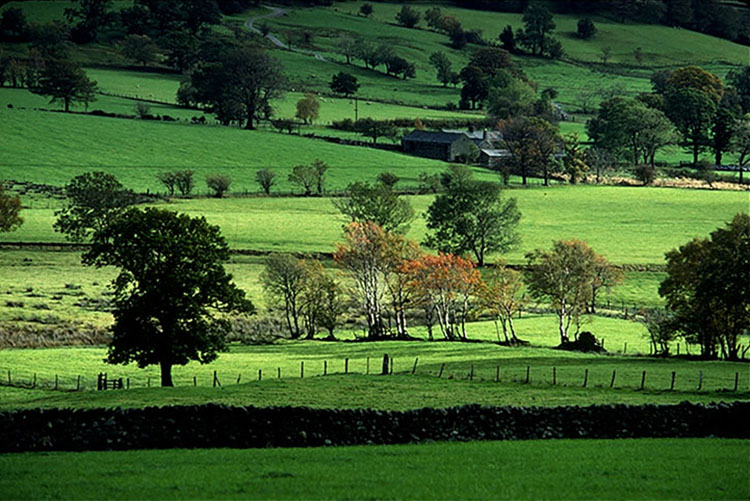
When highlights are intensified with saturation, the image feels more lush and fertile.
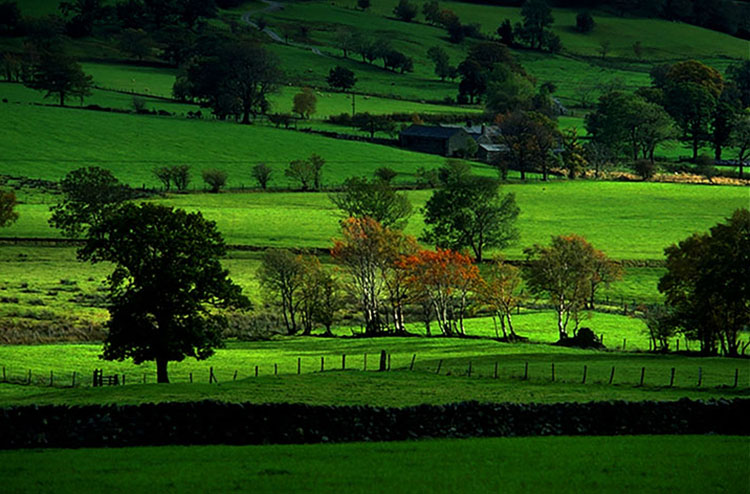
Each of these elements of color implies a different atmosphere, a different time of day, or perhaps even season, and, in this case, a state of plant growth. Color becomes a code for many different qualities, and so can offer you many possibilities for creative enhancement and personal expression.
The following examples will illuminate some of the possibilities and pitfalls for you.