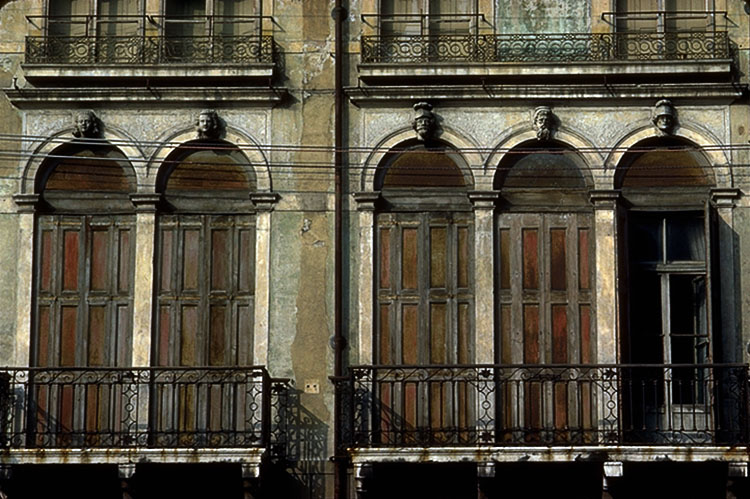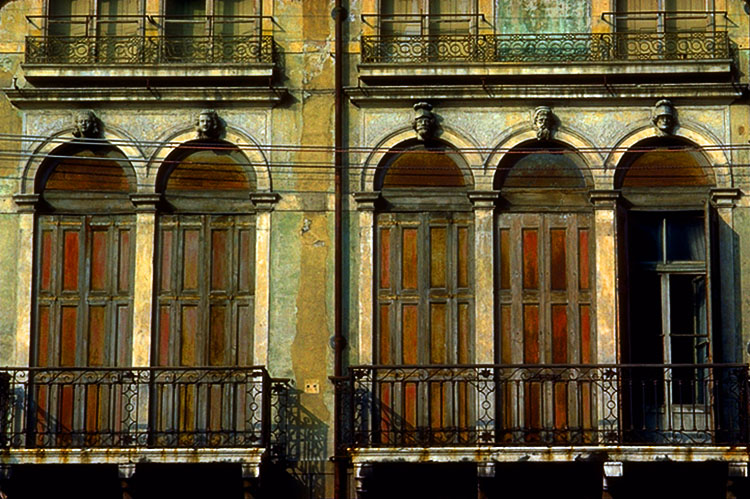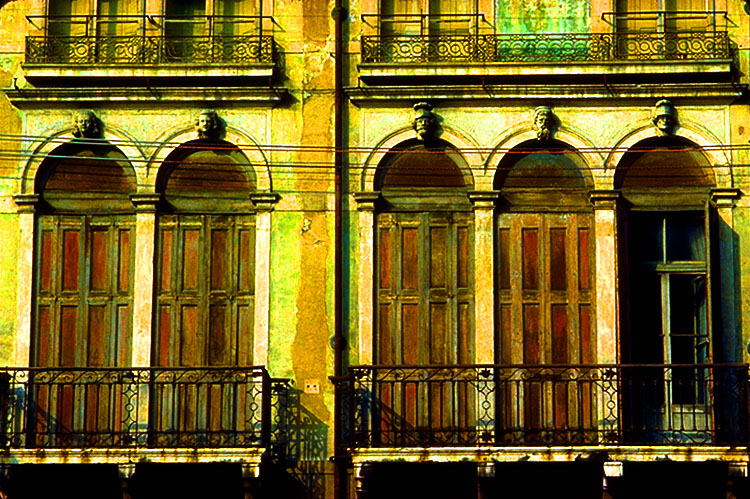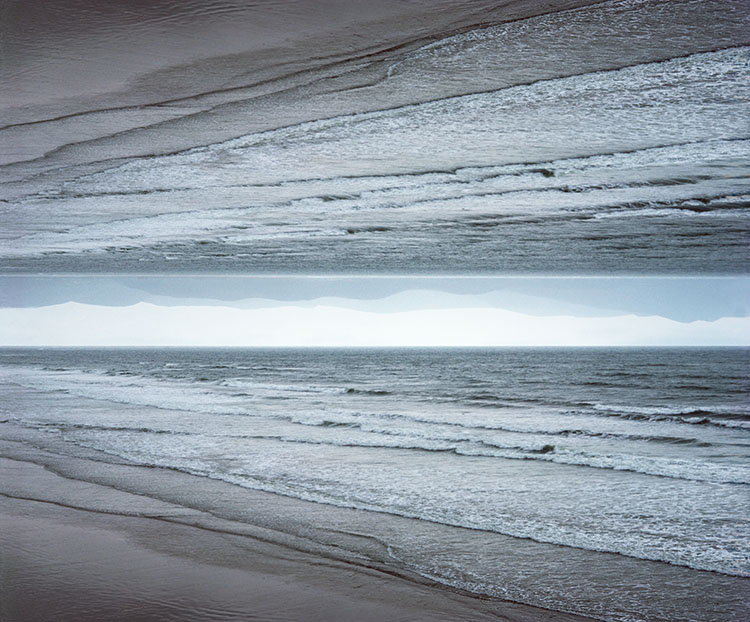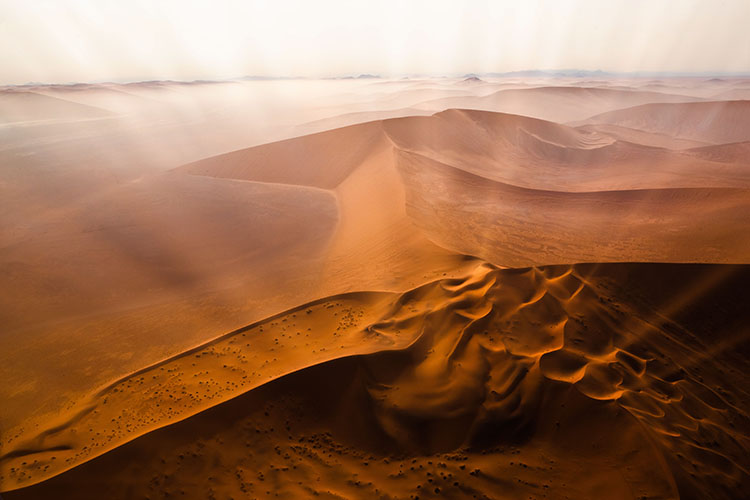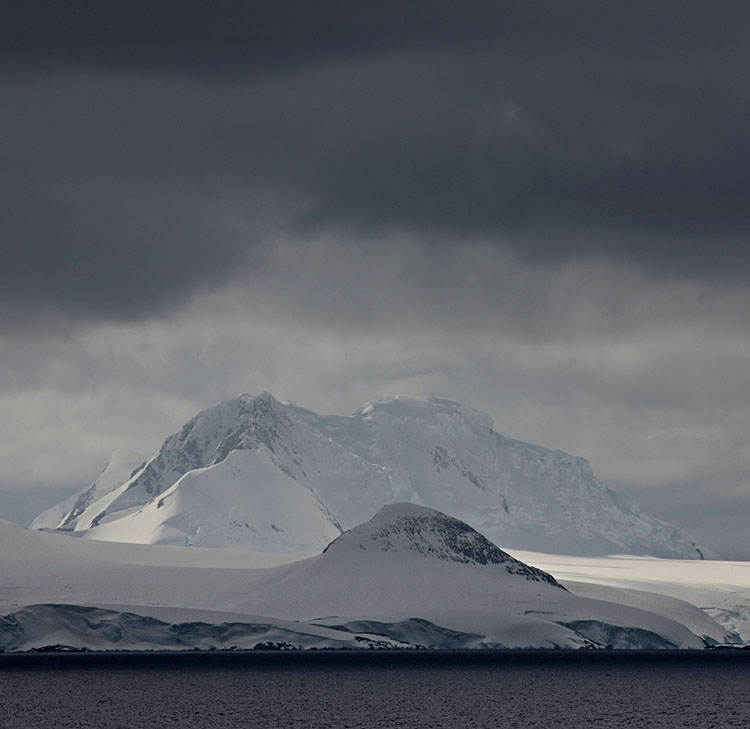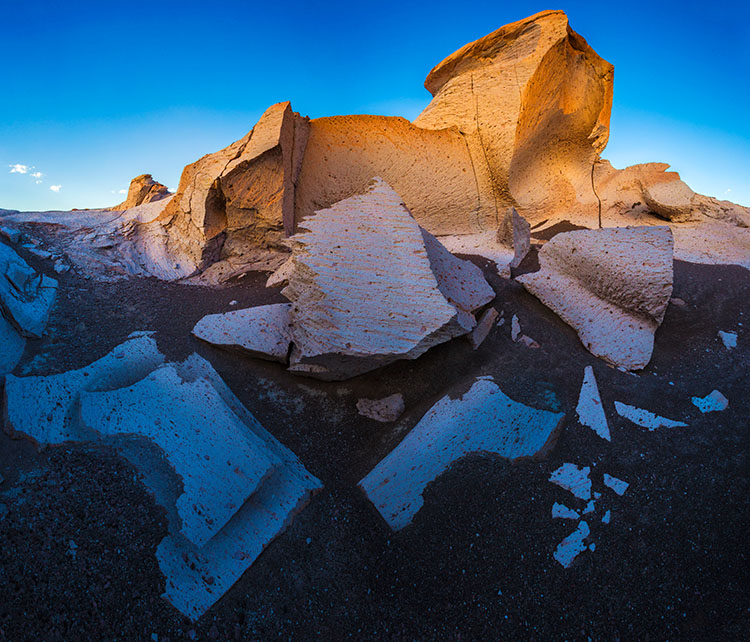
How To Enhance The Illusion Of Space With Atmospheric Perspective

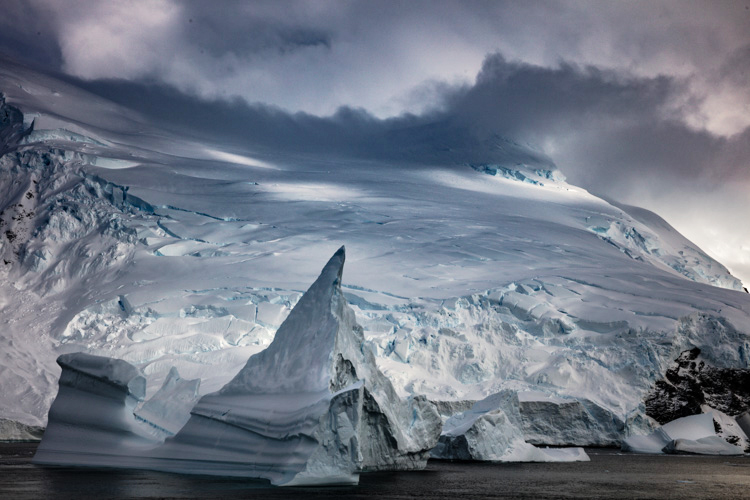
As atmosphere builds up, contrast and detail are diminished, while colors grow cooler and less saturated.

Whites are an exception; they get darker and yellower.

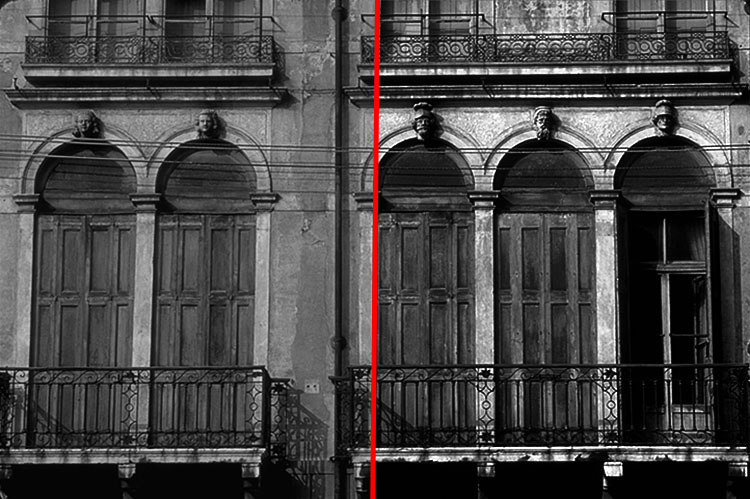
Atmospheric perspective can be applied to neutral or black-and-white images using luminosity only.
In the foreground, increase contrast. In the background lighten blacks and darken whites.

Because compositionally, skies are quickly read as separate spaces, they can generally hold more saturation and still seem far away… but don’t overdo it if you want your photographs to be believable.


Used in Western art since the Renaissance, the principle of atmospheric perspective can be stated simply. Some colors rise forward, while others fall back. Lighter, warmer, saturated colors, with more contrast, appear closer, and darker, cooler, desaturated colors, with less contrast, appear farther away. You can use atmospheric perspective to control the illusion of three-dimensional depth in your two-dimensional images. When you do this, the scenes you present will become more believable, eye-catching, and compelling.

Adjust Color Selectively

The key to using atmospheric to enhance your images is to adjust color selectively.


Insights Members can login to read the full article.
Email:
or Sign up

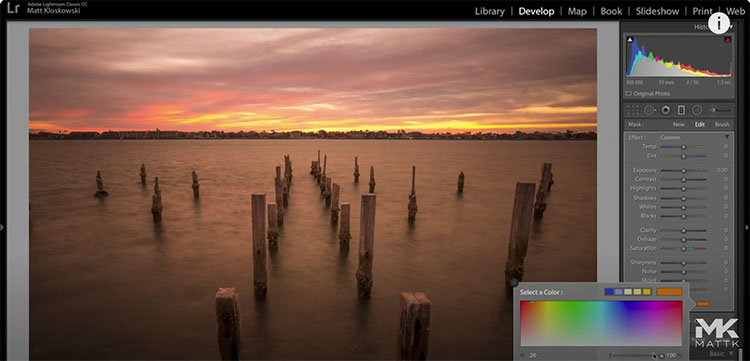
How To Use Lightroom & Camera Raw’s Color Tool

“In this video we’ll look at a little-known/used tool with the selective adjustments in Lightroom and Photoshop Camera Raw. It’s the Color tool and we’ll really dive in to how it’s different than just the normal white balance settings for changing or adding color to your photos.”

Watch more from Matt Kloskowski here.
Learn more with my Color Adjustment resources.
Learn more in my digital photography and digital printing workshops.

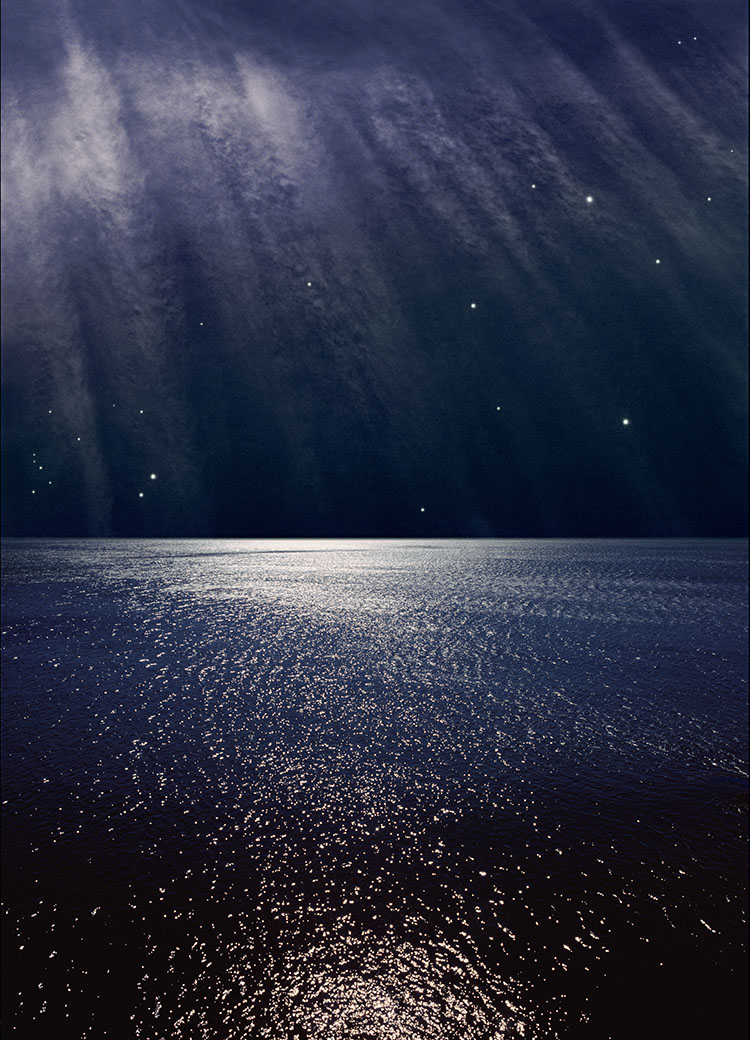
How To Make Day Look Like Night In Your Images

Because both analog film and digital image sensors are not as sensitive in low light as the human eye, night scenes recorded in natural light are typically underexposed to the point where little is visible. However, night scenes can be rendered with daylight.

"Day for night" is a set of cinematic techniques used to simulate the appearance of night while filming during the day. It's often used when it's too difficult or expensive to shoot at night, but it's sometimes selected deliberately because it offers special image qualities. It's not just technique; it's also an aesthetic.

The same techniques cinematographers employ can be used for still images.

Exposure

When shooting day for night, scenes are typically underexposed in-camera or darkened during post-production, reducing saturation and adding a blue tint – though some movies, like Mad Max: Fury Road, deliberately overexpose. There's more than one way to create the impression of night, and each one offers unique qualities.

ND filters are needed only for the brightest scenes or to prolong exposures to create motion blur.

Continue to use ETTR (expose to the right) but use it more cautiously; above all, don't clip highlights. This will offer you more latitude during post-processing. Avoid dramatic underexposure, which can crush shadows, flatten midtone contrast in ways that reduce flexibility during post-processing, and accentuate noise.

Very bright skies can disrupt the effect. If the sky isn't necessary in a composition, eliminate it. If it is, plan your exposure accordingly. Consider making a second, darker exposure for the sky.

Using HDR exposure techniques, even when a normal exposure wouldn't require them, will give you a variety of exposures for shadows and highlights to choose from or allow you to render a lower contrast combination that is more likely to produce convincing effects.

Lighting

Always consider the scene's light and modify your exposure and post-processing accordingly.


Insights Members can login to read the full article.
Email:
or Sign up

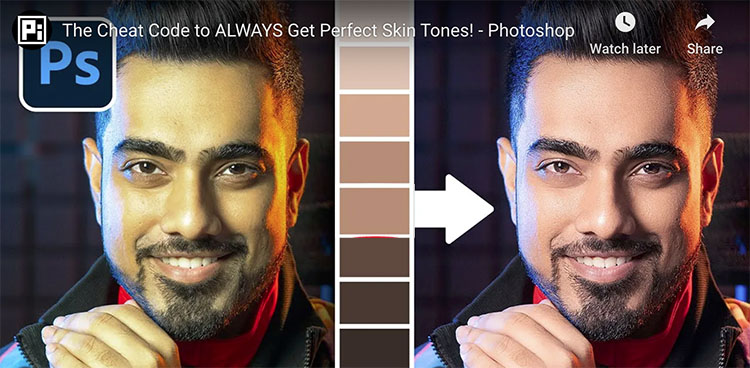
The Cheat Code To Always Get Perfect Skin Tones With Photoshop

“Discover the incredible power of color palettes to always get the perfect skin tones in Photoshop! In this tutorial, learn how to get smooth and rich skin tones using sampling and Curves. We’ll also learn how to even out skin tones and prepare our image for retouching.”

00:00 What We’ll Learn
00:17 Example 1 – The Process
07:05 Example 2 – Easy Images
09:32 Example 3 – When it Doesn’t Work
10:23 Even Out Skin Tones
13:14 Finishing Touches
15:04 Quick Recap

Find more of Unmesh Dinda’s content here.
Learn more in my digital photography and digital printing workshops.

Use Presets To Quickly Reveal The Extraordinary Possibilities Hidden In One Image

Rushing towards perfect, you might miss it. Previsualization (seeing with your mind) is a fine start, but I recommend you use Lightroom to go further and visualize (see with your eyes). After exploring your options fully, you can perfect those results.

You can level up and speed up your game by using Lightroom’s Presets.

(Note, Camera Raw offers Presets that are identical to Lightroom.)

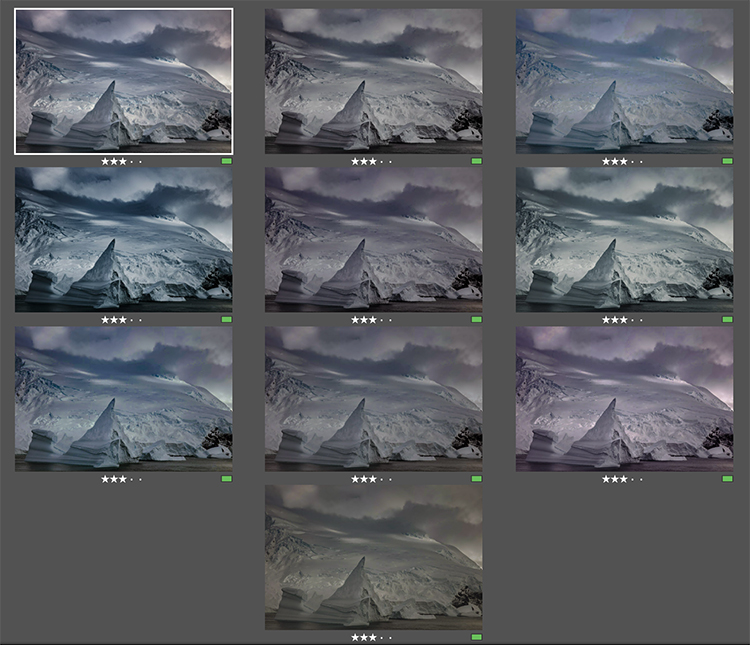
Virtual copies are the easiest way to make side-by-side comparisons.

Presets are the easiest way to preview the many possibilities one image contains.

Presets are also a great way to create a consistent look for two or more images. Once applied, you can tweak settings to optimize individual images while still preserving a unified style.

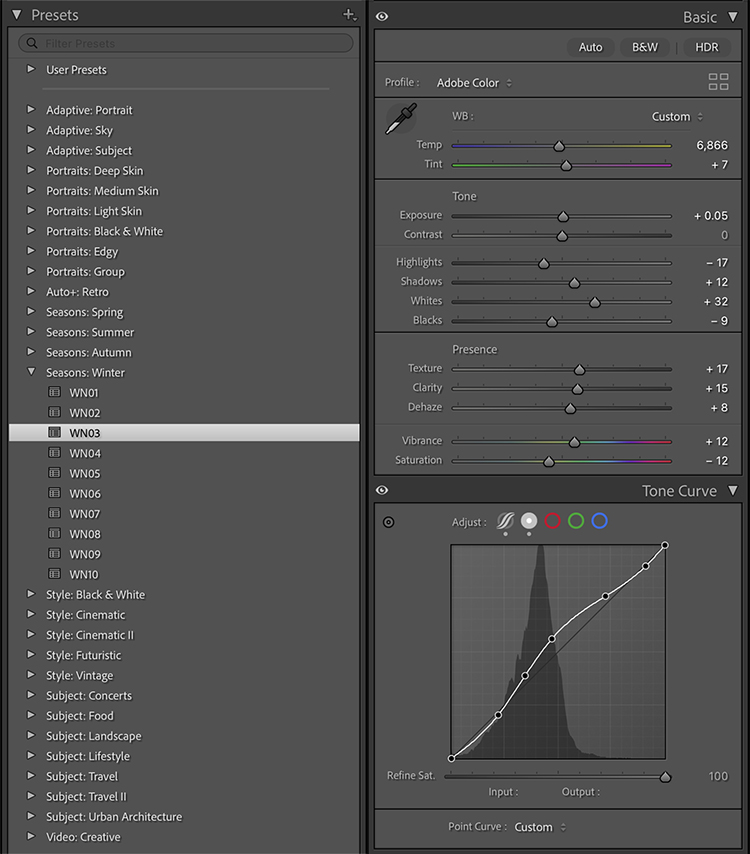
Presets can record any Edit setting(s) (one, many, or all) and apply them to any other image. A single click can produce results as subtle or dramatic as you like.

The many presets Adobe provides are a great starting point. You can make your own presets by customizing the defaults, by applying someone else’s, or by creating your own from scratch.


The Presets panel and the slider settings one preset produces.

How To Use Presets


Insights Members can login to read the full article.
Email:
or Sign up

Turn Any Color To Any Color In Photoshop

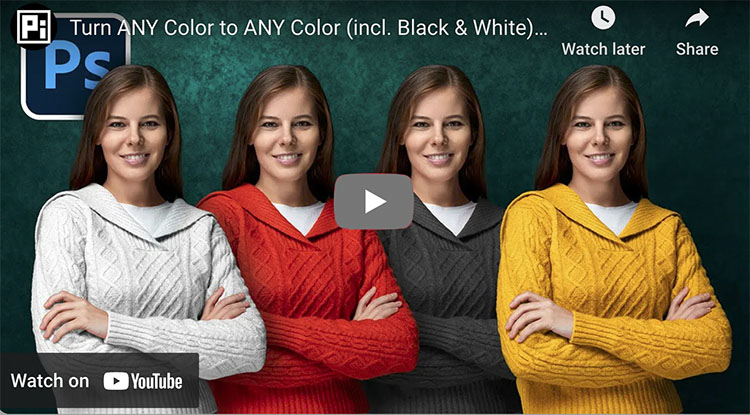
“Discover the Best Techniques to Change Any Color to Any Color in Photoshop! Whether you want to change blue to red, black to white, or white to anything you can think of, we will cover it all in this tutorial. Using the power and the right amount of Curves, Hue/Saturation, and Masking, learn easy ways to change color in every situation.”

00:00 The Problem with One Technique
00:34 Color to Color
03:41 Similar Color to Color
05:07 Color to Black or White
07:48 Major Announcement
08:23 White to Color
10:41 White to Black
12:35 White to Dark Color
13:01 Black to White
14:08 Black to Color

Find more of Unmesh Dinda’s content here.
Learn more in my digital photography and digital printing workshops.

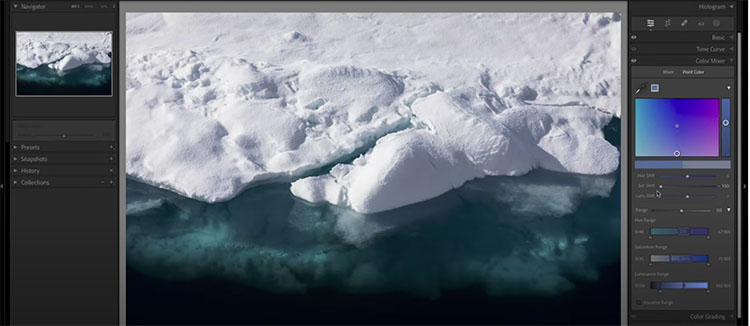
Everything You Need to Know About Point Color in Adobe Camera Raw

“The new Point Color feature in Lightroom and Adobe Camera Raw enables more powerful and precision color editing than even before. In this video you’ll learn how to use Point Color to make adjustments based an all three dimensions (Hue, Saturation, and Luminosity). While Point Color is designed to be easy to use (you can simply sample a color and start making adjustments), this in-depth video also points out key differences between Point Color and Color Mixer and demonstrates how to use the range sliders to achieve the exact color adjustments that you’re after. Point Color is available both when making edits to the entire image and when adjusting only a portion of an image using masking.”

For more check out Julieanne’s blog.
Read more in my Color Adjustment resources.
Learn more in my digital photography and digital printing workshops.


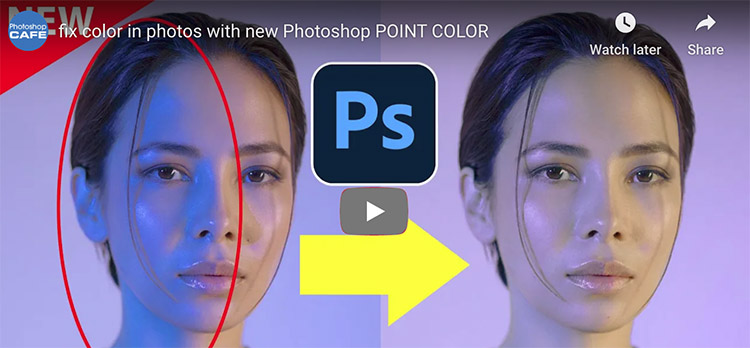
How To Fix Color Casts In Photographs With Photoshop’s New Point Color

Colin Smith shows you how to eliminate ugly color casts and weird shadows with effortless ease in Photoshop, using the new point color tool in Camera RAW.

View more from Colin Smith here.
Learn more in my digital photography and digital printing workshops.

How To Use Simultaneous Contrast To Make Colors Even More Lively

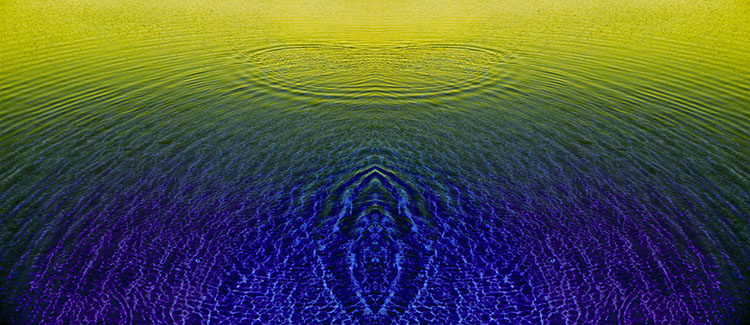
Composed of two complementary color families (yellow and blue); one is light and the other dark, while one is warm and the other is cool. Together, they increase each other's intensity.

Simultaneous Contrast

You can make a color appear more lively by changing it or by changing the colors around it. Even though it remains unchanged, we see it differently. Color context can be almost as important as individual color.

These effects are part physics (measurable qualities of light), part biology (what our brains do to enhance information to better perceive the world), and part psychology (our subjective responses). While the phenomena and our responses to them are complex, we can use a few simple dynamics to produce striking effects.

The colors in the center are the same but appear different because of the colors that surround them.

A lighter surround makes a color appear darker - and vice versa.

A warmer surround makes a color appear cooler - and vice versa.

A saturated surround makes a color appear more neutral - and vice versa.

Find more on Simultaneous Contrast and Color Theory here.

3 Types Of Contrast

Luminosity, hue, and saturation, the three elements of color, offer three types of contrast to choose from.
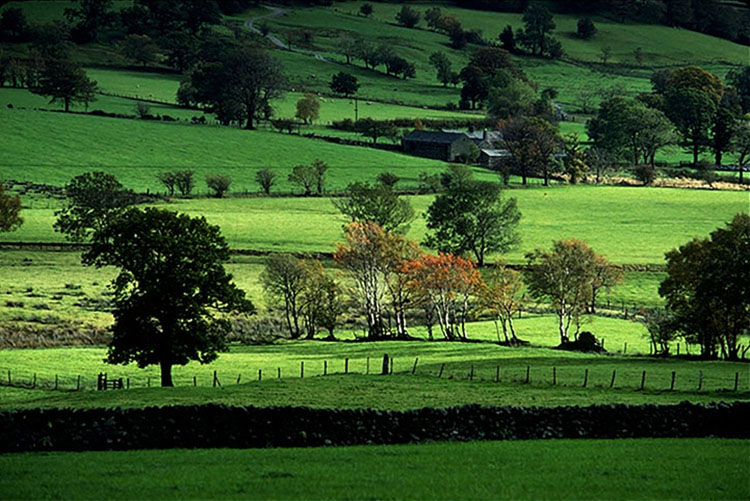
Changes in luminosity make colors feel lighter or heavier.
Use Curves. How To Master Color Adjustment With Curves
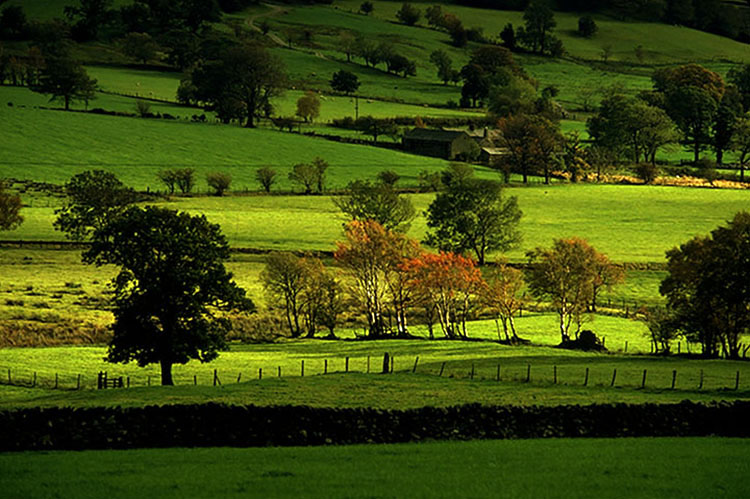
Changes in hue bring warm and cool associations with them.
Use Curves. 4 Ways To Enhance Color Temperature In Your Images
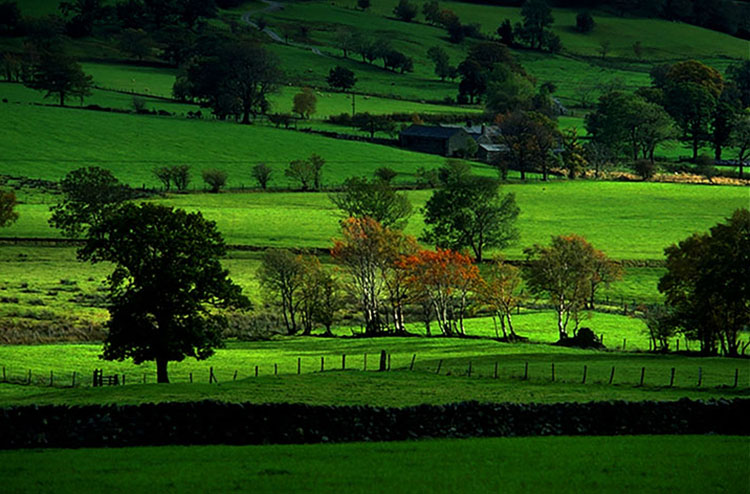
Changes in saturation increase or decrease vibrance.
Use Saturation and/or Vibrance. How To Master Saturation In Your Images

All three, either individually or collectively, can make a color appear nearer or farther away.

Atmospheric perspective enhances the illusion of depth; lighter, warmer, more saturated colors appear closer.
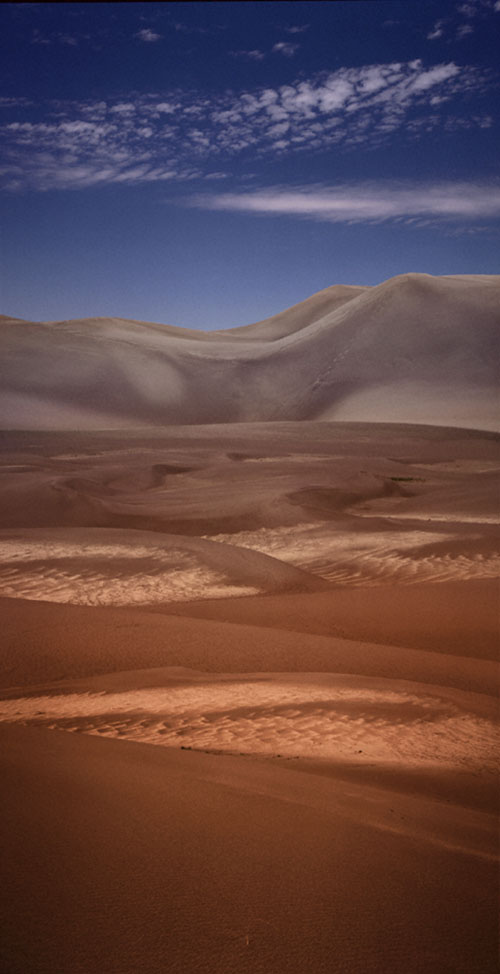
Sometimes, you want to select the element you change carefully to create a specific effect.

Other times, you just want separation, and any kind of contrast will do. For maximum effect, change all three elements as much as you can while still maintaining a realistic appearance.

Nearby, Adjacent, Surrounding
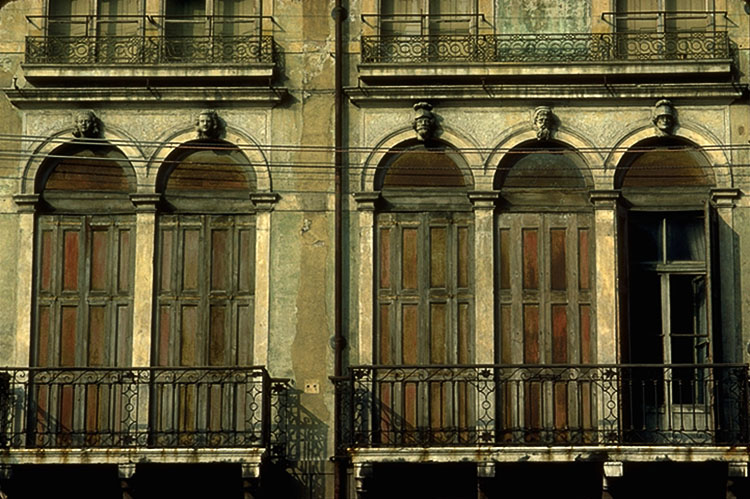

Insights Members can login to read the full article.
Email:
or Sign up

3 Qualities Of Light You Can Use To Make Your Images Glow

Color has three elements – luminosity, hue, and saturation. 

Luminosity describes a color’s lightness.

Hue describes a color’s temperature. (It’s the rainbow ROYGBIV.)

Saturation describes a color’s degree of neutrality.

All colors can be described as a combination of these three values.

Each of these elements offers a unique quality and type of contrast. (Think energy.)

While we see all three elements simultaneously, learning to distinguish these three elements from one another is a useful skill that will help you see more clearly and see more possibilities for enhancing your images.

Consider the transformations each element of color offers.

When highlights are lightened with luminosity, this image feels cooler and more brilliant.

When highlights are warmed with hue, the image feels hotter and more humid.

When highlights are intensified with saturation, the image feels more lush and fertile.

Each of these elements of color implies a different atmosphere, a different time of day, or perhaps even season, and, in this case, a state of plant growth. Color becomes a code for many different qualities, and so can offer you many possibilities for creative enhancement and personal expression.

The following examples will illuminate some of the possibilities and pitfalls for you.


Insights Members can login to read the full article.
Email:
or Sign up