Photoshop’s Match Color May Change The Way You See
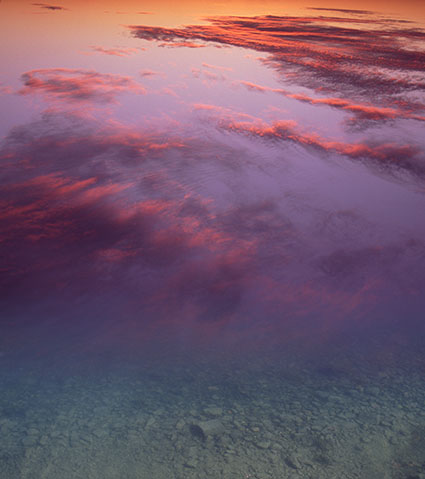
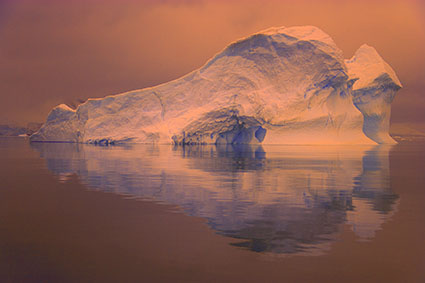
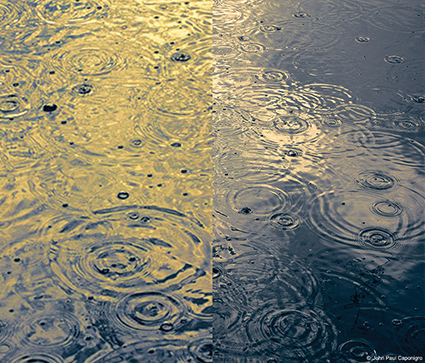
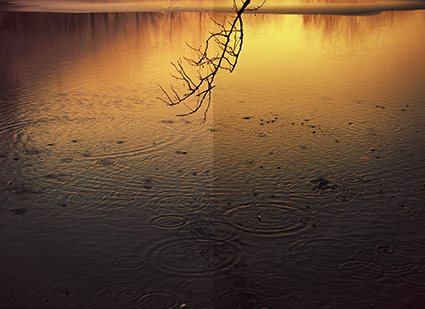
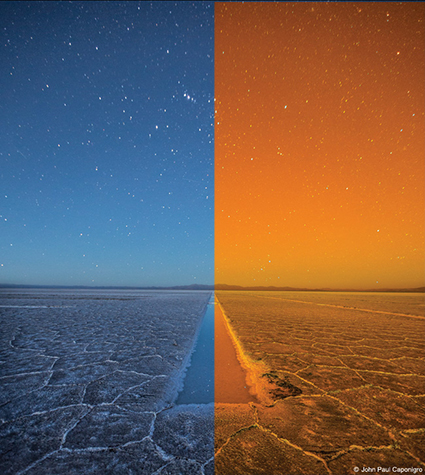
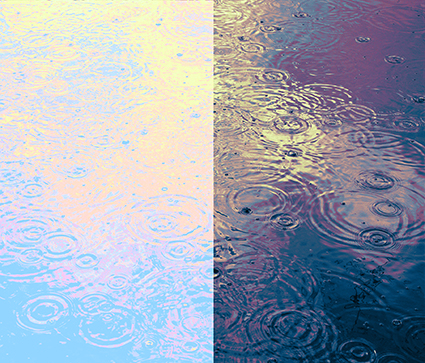
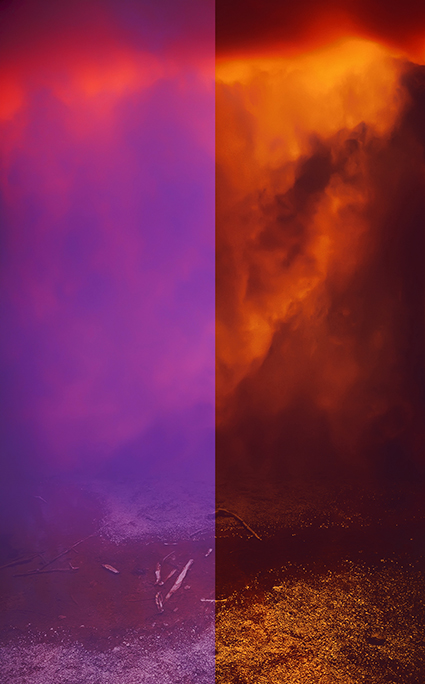
Source
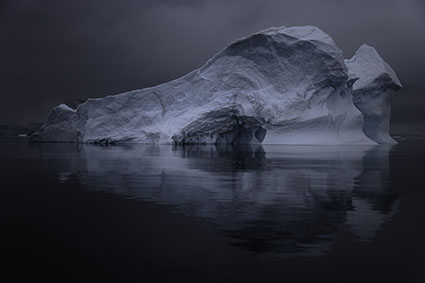
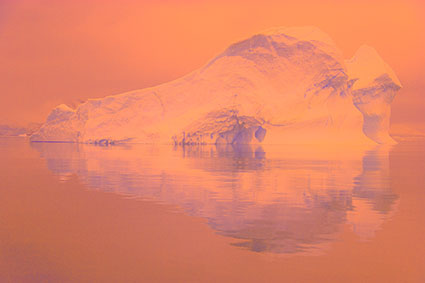
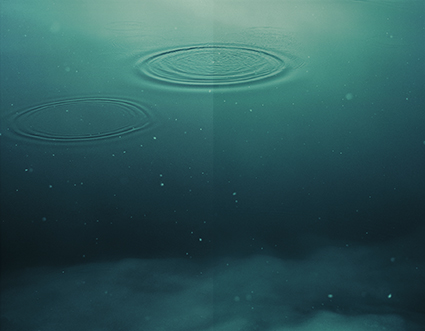
Target
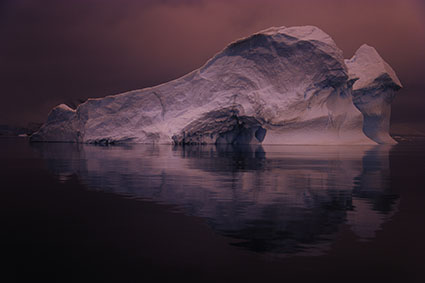
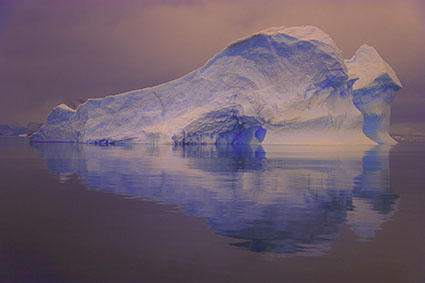
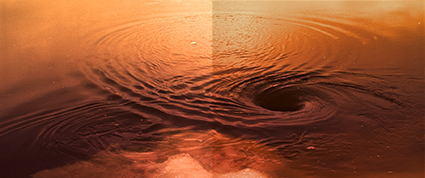
Final Effect
Photoshop’s Match Color
Little explored and capable of opening up whole new frontiers in color adjustment, Photoshop’s Match Color is a tool every user should be aware of – even if it’s only to know what’s possible.
There are three primary reasons to consider using Match Color: one, to match two colors exactly; two, to remove strong color casts; and three, to creatively apply the color in one image to another.
Match Colors Precisely
When a precise color match is critical, for instance when matching the same products in two images, Match Color is hard to beat. And, in terms of easy of use, using it beats placing sample points and moving sliders to make the targets match. You can create statistics from and apply the effect to either an entire image or only a portion of an image using selections.
Remove Strong Color Casts
Match Color does an exceptional job of removing strong color casts. One of the primary reasons it was developed and most common uses for it is to remove the strong color cast in underwater images. It does an amazing job at revealing the complex color relationships below the color cast. Here, you don’t even need a source image. Just check Neutralize. If the effect is too strong you could use the Fade slider, but I recommend you apply the effect to a duplicate layer and use the Opacity slider of the layer or if you want to reduce the effect selectively, use a layer mask. Using this feature on images that don’t contain strong color casts often produces pleasing results too.
Create Complex Color Changes
This is where it really gets interesting. What if you took colors from a candy store and applied them to the sky? What if you took colors from a sunset and applied them to a landscape? What if … I know, I sound like a kid. You’ll feel like a kid when you use Match Color. It seems like anything is possible. When you first view the results, you’ll do a double or triple take. You have to see it to believe it.
The math is complicated, very complicated. The tool’s interface is simple and easy to use. Learning how and when to use it is deliciously challenging. With practice you can develop an intuitive feel for the direction color relationships will move in and start to think predictively when using Match Color, but the final effect it generates is usually so complex you have to see it to believe it.

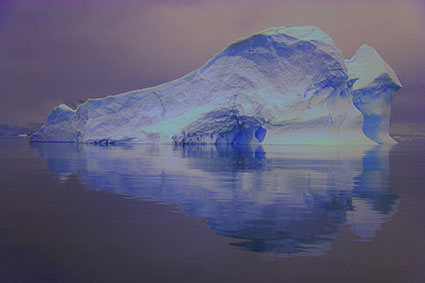
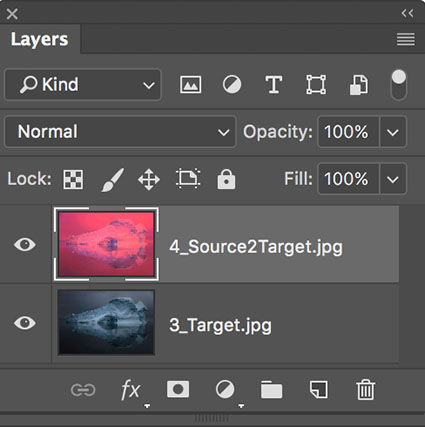
Normal
Neutralize
Taming The Beast
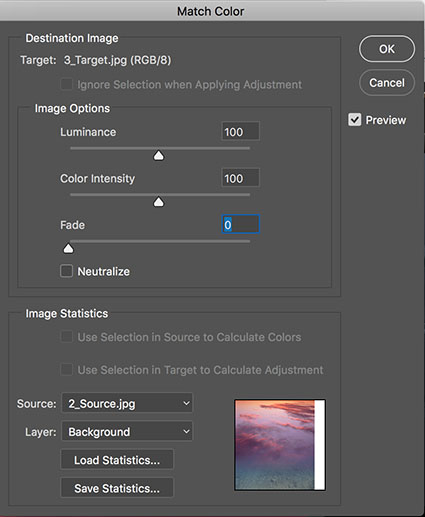
Match Color samples the colors from one image and applies the resulting statistics to another image; all three elements of color Hue, Saturation, and Luminosity are taken into account in both the source and the target images. To do this a minimum of two files must be open at one time, a source and a target. Once saved, you can load these statistics in the future to any image, as long as it is in RGB. Match Color only works in RGB color mode. Not available as either a non-destructive adjustment layer or a Smart Filter, Match Color must be applied permanently to a layer, so consider applying it to a duplicate or composite merged layer.
You have limited controls over the results. The Neutralize check box; try it, you might like it – a lot. The Luminance slider; be careful of the image’s dynamic range when using it. The Color Intensity slider; in addition to saturation it also control how much variety in hue is generated – higher settings produces more of both. The Fade slider; it’s reduction of the effect is slightly different than applying the full effect to a layer and then reducing its Opacity, but the former cannot be localized so I prefer the latter. One check box, Neutralize, and three sliders give you some controls over the results.
You can either use all the colors in an image or only colors within a selection in a source image to create statistics from; after making a selection in the source image go to the target image and in the Match Color dialog box check Use Selection in Source to Calculate Colors.
One portion of source selected
Another portion of source selected
Alternately, you can modify the calculation by selecting a portion of the target image; after making a selection in the target image, apply Match Color and check Use Selection in Target to Calculate Adjustment. If you’d like to apply that effect to the entire image instead of just a portion of it, instead of applying the effect, check Save Statistics, then press Cancel, and when you reapply Match Color check Load Statistics.
Two sources applied consecutively
You can even apply several statistic sets progressively to the same layer to create still different effects.
Effect layered over original
Layer Blend Modes give more control
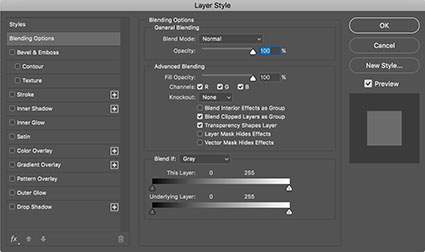
Layer Style gives you still more control
You can use the many power of layers to control how the new colors blend with the old. Reduce the layer’s Opacity to restore some of the original color; add a layer mask to do this selectively. Use the layer’s blend mode to control how the new colors mix with the original colors; in particular try the blend modes Color and Hue, which will use the new hues with the original luminosities. Use the layer’s Blend If sliders to remove the effect from shadows and/or highlights; alternately, use a luminosity mask. Applying Match Color to a new layer gives you a safety net (You can always return to the original color.), allows you to easily compare more variations, and gives you more control.
One of the strategies that really makes this technique shine is to first create an interesting color foundation with Match Color and layer options and then refine the colors further with additional color adjustment tools.
Controlling the effect with more any precision is challenging. You can change the colors of either the source or the target images before creating and /or applying the statistics. Use any tool in Photoshop. The question is how? (Here’s one tip. Inverting colors before sampling them often generates interesting results.) Doing this involves a lot of trial and error. Yet, these color experiments can sometimes be profitable. Once in a while, they lead to real breakthroughs. At a bare minimum, they’ll encourage you to think more flexibly about color.
Match Color is an exotic color adjustment tool that can be a real game changer. Try it and you’ll see and think about color in new ways. What could be more exciting?
Read more color adjustment resources here.
Learn more in my digital photography and digital printing workshops.