XDR – HDR Merges Are A 4 Step Process
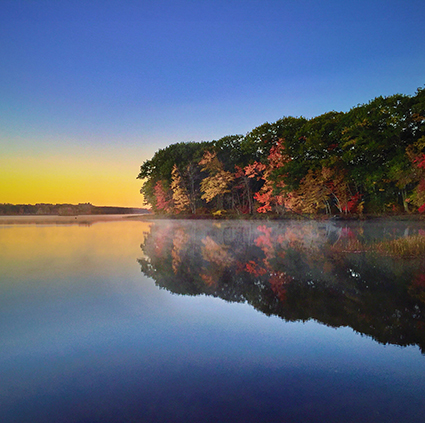
Today’s cameras (including smart phones) can create great looking HDR images on the fly, but to get optimum results it’s best to do this manually. In camera solutions render artifacted JPEGs and give you little or no control over how the results look. For optimum results, make separate Raw exposures and render them manually. While the technology at work is wizardry, this four step process is easy to practice. It’s an essential skill for all photographers.
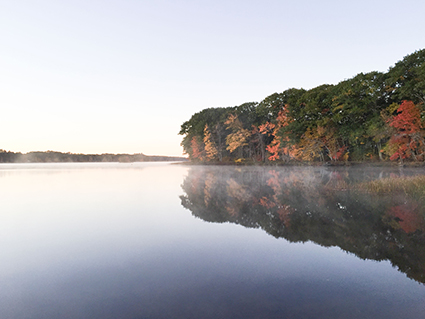
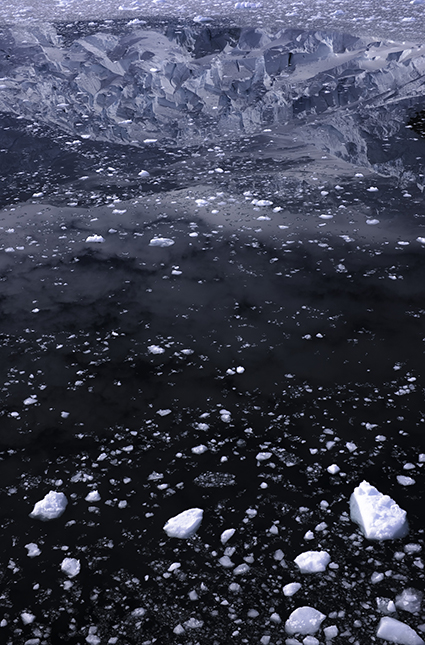
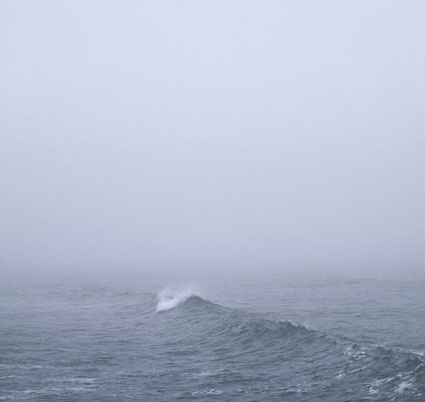
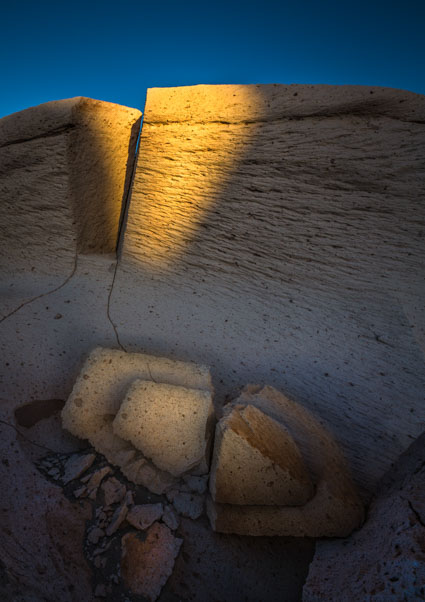
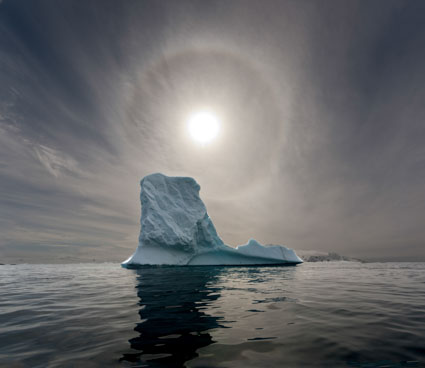
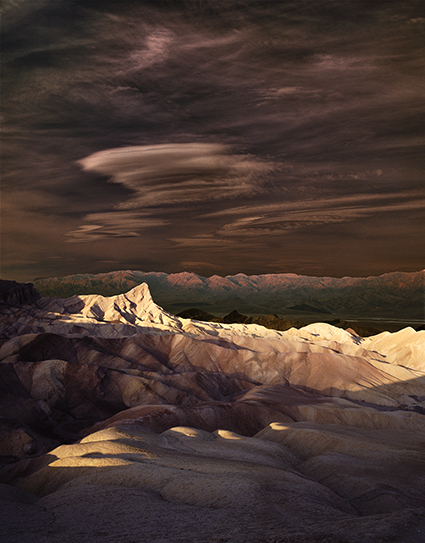
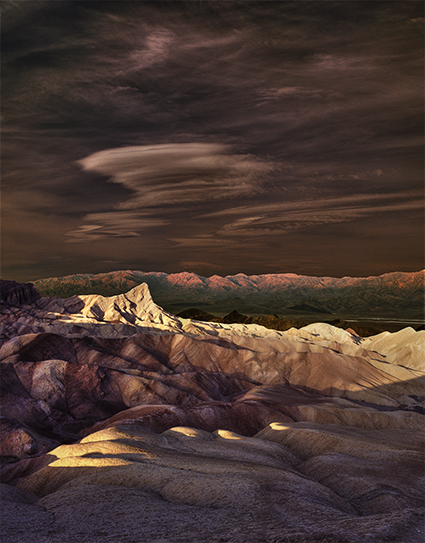
+2 stops
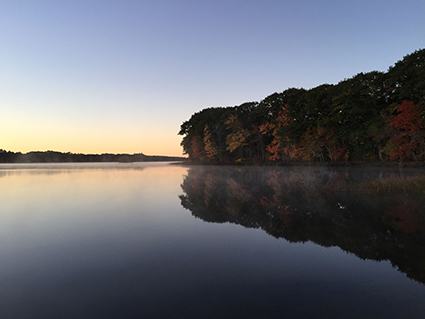
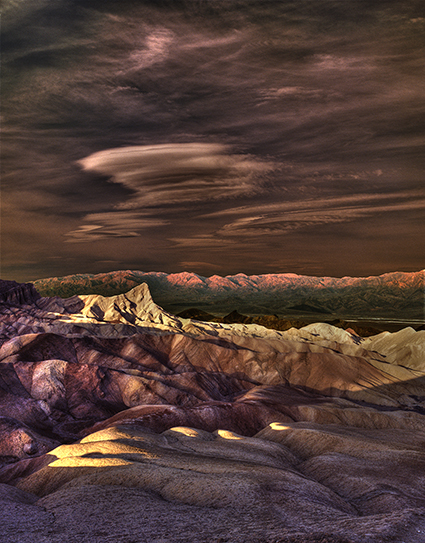
average
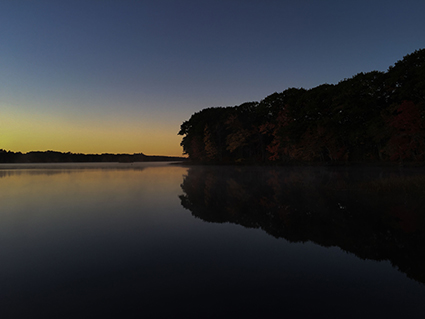
-2 stops
1 Expose
Today’s fast burst auto-bracketing cameras combined with software alignment make handheld HDR possible. However, it’s recommended that whenever practical you use a tripod to eliminate any alignment issues between frames that might arise; it’s necessary if exposures are long.
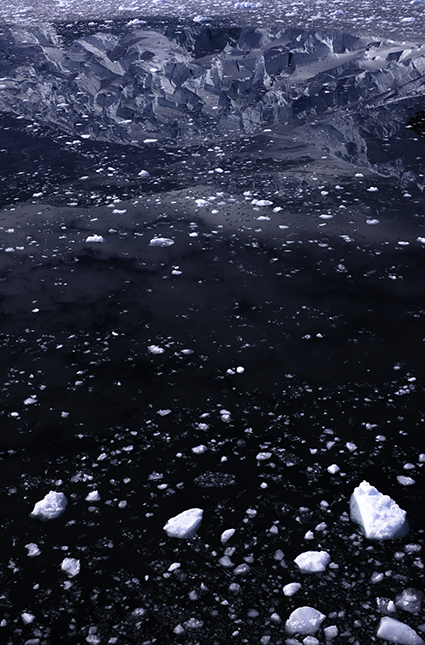
HDR merges require multiple bracketed exposures. The goal is to produce at least one exposure with great highlight detail and another with great shadow detail. You may need additional exposures in between your lightest and darkest exposures to help smooth tonal transitions between shadows and highlights. The most common number of images used is three because this is the default number for auto-bracketing on DSLRs. However, there is no ideal number of exposures for all scenes. Some scenes need as few as two, while others need as many as eight. In general, it’s best to have more than you need, not less. The wider the dynamic range of the scene the more exposures you’ll need. Make sure that separate exposures are between 1 and 2 EV (exposure value)(equivalent to one f-stop) apart. It’s typically recommended that you fix f-stop and change shutter speed to avoid depth of field issues, but other changes in EV will work.
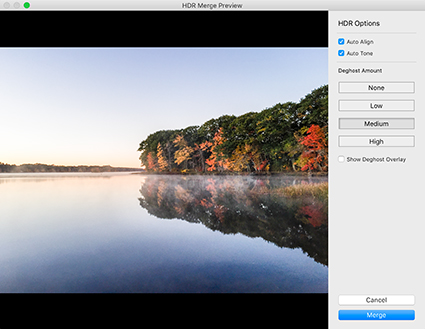
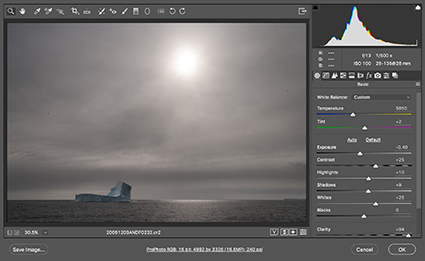
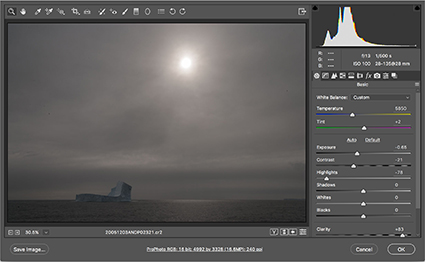
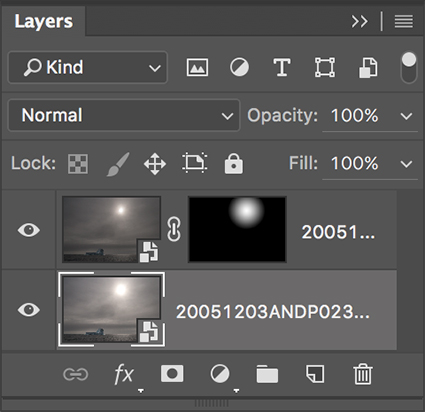
Merge in Lightroom
2 Merge
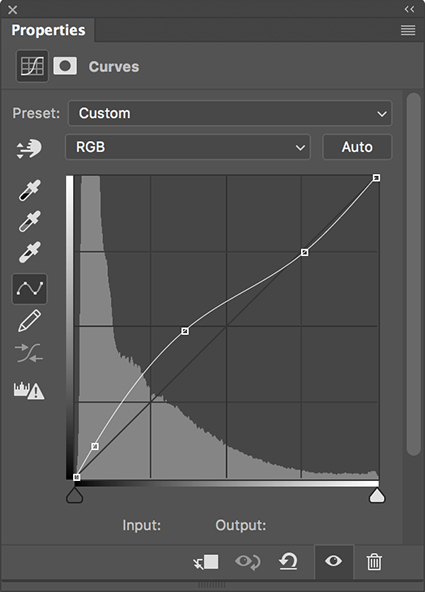
After producing multiple bracketed exposures, the next step is to combine them with software into a single 32-bit file.
Simply select the exposures you wish to include (You don’t have to use them all.) and use the software of your choice. The software you use to merge exposures will compensate for alignment and ghosting, from motion of either camera or subject. (Lightroom and Photoshop do excellent jobs.)
Rather than rushing to render this file at the same time, save it – you may want to render it multiple times.