Here’s a selection of my favorite quotes by photographer Stephen Shore.
“Finding your voice may be a process, not a goal.” – Stephen Shore
“I discovered that this camera was the technical means in photography of communicating what the world looks like in a state of heightened awareness. And it’s that awareness of really looking at the everyday world with clear and focused attention that I’m interested in.” – Stephen Shore
“It’s the bane of my existence that I see photography not as a way of recording personal experience particularly, but as this process of exploring the world and the medium. I have to be reminded, “It’s your son’s birthday party. Bring a camera.” And then, when I’m there, “Take a picture,” because it doesn’t occur to me to use it as this memorializing thing.” – Stephen Shore
“I wanted to make pictures that felt natural, that felt like seeing, that didn’t feel like taking something in the world and making a piece of art out of it.” – Stephen Shore
“I do what feels natural, but I can’t say I haven’t thought about it..” – Stephen Shore
“There’s something arbitrary about taking a picture. So I can stand at the edge of a highway and take one step forward and it can be a natural landscape untouched by man and I can take one step back and include a guardrail and change the meaning of the picture radically… I can take a picture of a person at one moment and make them look contemplative and photograph them two seconds later and make them look frivolous.” – Stephen Shore
“I enjoy the camera. Beyond that it is difficult to explain the process of photographing except by analogy: The trout streams where I flyfish are cold and clear and rich in the minerals that promote the growth of stream life. As I wade a stream I think wordlessly of where to cast the fly. Sometimes a difference of inches is the difference between catching a fish and not. When the fly I’ve cast is on the water my attention is riveted to it. I’ve found through experience that whenever—or so it seems—my attention wanders or I look away then surely a fish will rise to the fly and I will be too late setting the hook. I watch the fly calmly and attentively so that when the fish strikes—I strike. Then the line tightens, the playing of the fish begins, and time stands still.” – Stephen Shore
“I was photographing every meal I ate, every person I met, every waiter or waitress who served me, every bed I slept in, every toilet I used.” – Stephen Shore
“I don’t have to have a single point of emphasis in the picture. It can be complex, because it’s so detailed that the viewer can take time and read it, and look at something here, and look at something there, and they can pay attention to a lot more.” – Stephen Shore
“With a painting, you’re taking basic building blocks and making something that’s more complex than what you started with. It is a synthetic process. A photograph does the opposite: It takes the world, and puts an order on it, simplifies it.” – Stephen Shore
“I know that a larger print expands the information. And so more of the stuff that I’m looking at is there for a viewer to see. Now, what I found attractive about the contact print was the almost surreal density of information. That here’s this thing that you can take in, in a couple of seconds. But, to actually stand on that spot, and look at every branch on this tree, and every shadow on this building, and the pebbles on the road—this could take minutes of attention. It was, like, maybe fifteen minutes of attention had been compressed into this thing you can take in, in a few seconds. That’s what I mean by “surreal density” of information..” – Stephen Shore
“Beaumont Newhall released a revised edition of his History of Photography, where he had a chapter called “Recent Trends”. It was supposed to be the trends of the twentieth century. And he had four recent trends, and they were, as I recall; the straight photograph, the document, the formalist photograph, and the equivalent. And so it’s Paul Strand as the straight photograph, and maybe Cartier-Bresson as the document, or Walker Evans as the document, and Steiglitz as the equivalent, or maybe the formalist is Walker Evans. Whatever. But that’s the point. It’s that, to me, someone like Walker Evans is all of them. And that you could even look at Walker Evans as the equivalent, in Steiglitz, Minor White terms. Except that he’s drawing his metaphor not from nature, but from the complexity of the built environment, which may allow for a different kind of equivalent. So I thought, “Why can’t a photograph be all four things at once?” –be an art object; be a document, what ever that means exactly, but deal with content; be a formalist exploration; and operate on some, metaphor is not the right word but, resonant level..” – Stephen Shore
“There may be a difference between “withholding judgment” and an “arrest of interpretation. There can be interpretation without judgment even though everyone knows that an artist can’t be fully objective and that my framework of understanding governs what I find and therefore what I show you. But accepting that, there’s a difference in emphasis with a judgment. It has to do with a couple things. One, as I said, is temperament: I tend to back off from critical stances that I feel are judgmental. The other is that most judgments dismiss the complexities of reality—at least to my eyes. To use an analogy, I’m talking about the difference between a journalist interpreting factseven defining facts—to describe an event and an editorial writer passing judgment on the same event. A debate presents a binary view: for or against. It doesn’t capture the greater complexity of a continuum. But I’m also deeply interested in showing something of our time so that I’m not just aiming a camera at the world. There is an interpretation; I’m looking at things and thinking about them..” – Stephen Shore
“A quote that I like very much… comes close to explaining my attitude about taking photographs…. ‘Chinese poetry rarely trespasses beyond the bounds of actuality… the great Chinese poets accept the world exactly as they find it in all its terms and with profound simplicity… they seldom talk about one thing in terms of another, but are able enough and sure enough as artists to make the ultimately exact terms become the beautiful terms.'” – Stephen Shore
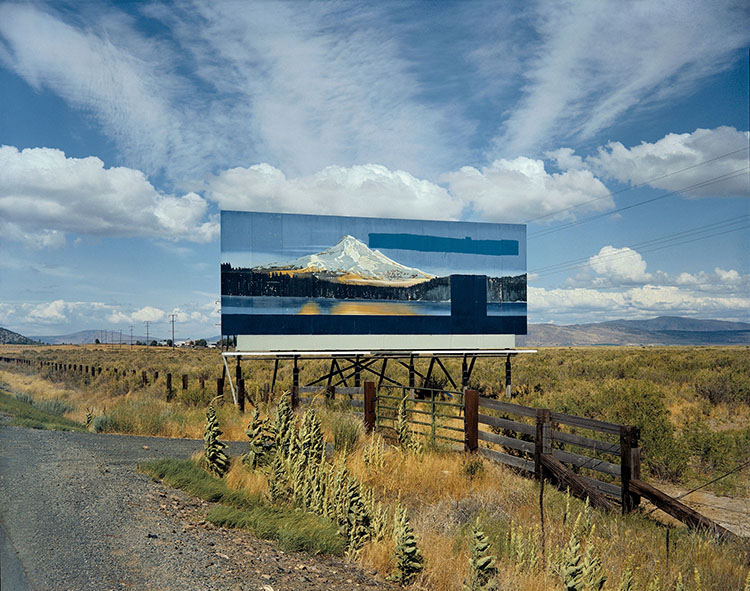
View 12 Great Photographs By Photographer Stephen Shore.
Read 13 Great Quotes By Photographer Stephen Shore.
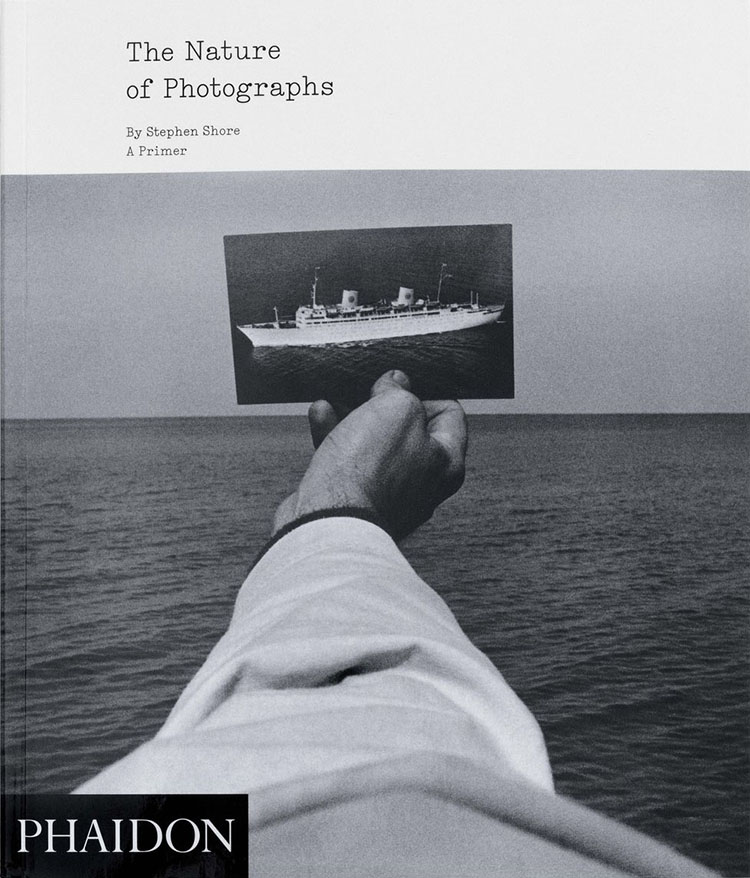
Explore Stephen Shore’s books here.
Visit Stephen Shore’s website.
Read more Photographer’s Quotes here.