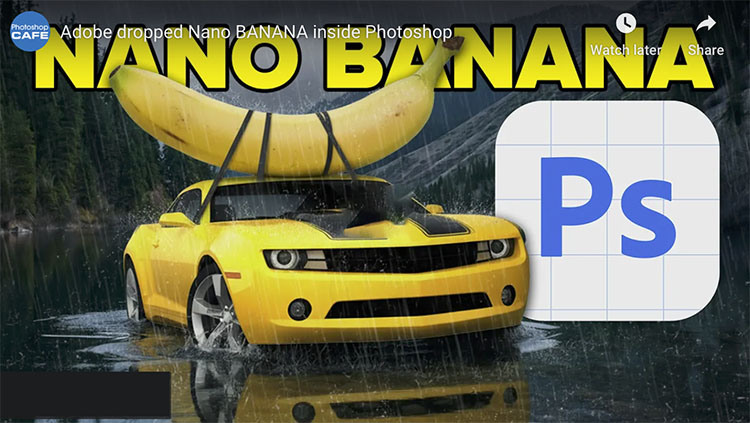
27 Photoshop + Nano Banana Tricks You Never Knew!
“Master the endless possibilities with new partner models in Adobe Photoshop! Learn how to use Nano Banana in Photoshop to preview outfits, change camera angles, create realistic mockups, and a whole lot more! This Photoshop tutorial shares unique techniques to leverage generative AI and Adobe AI to achieve professional results quickly. I’m excited to show you these next-level tricks!”
00:00 – Introduction
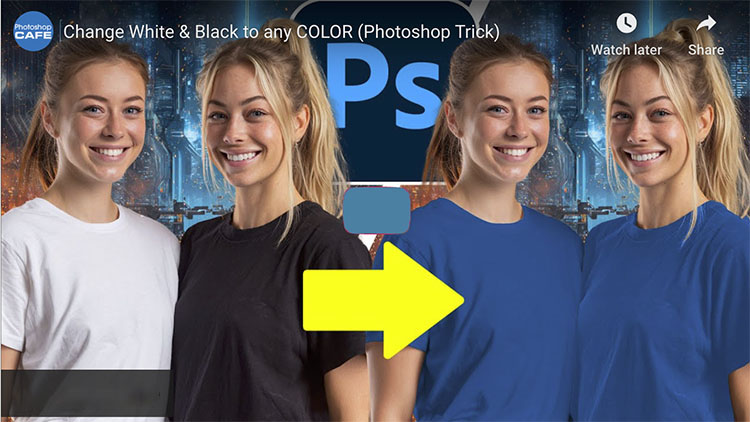
00:29 – Change the Color of an Object
03:13 – Remove Braces
04:10 – How Nano Banana Works
04:46 – Change Facial Expressions
06:16 – Generative Fill Custom Keyboard Shortcut
06:36 – Change Facial Expression of a Dog
07:44 – Change Body Poses
08:15 – Change Text
08:42 – Mockup a Logo
09:21 – Seamless Patterns
10:30 – Create Text Effects
10:57 – Day To Night
11:23 – Summer to Winter
11:38 – Composite items into a Scene
12:29 – Try Clothes On
13:20 – Photo Restoration and Animation
14:41 – Annotate Images
15:27 – On-Image Prompting
16:25 – Change Camera Angles
17:07 – Make Someone Look Like ’80s Model
17:21 – Generate a Professional Portrait
17:29 – Flood The Scene
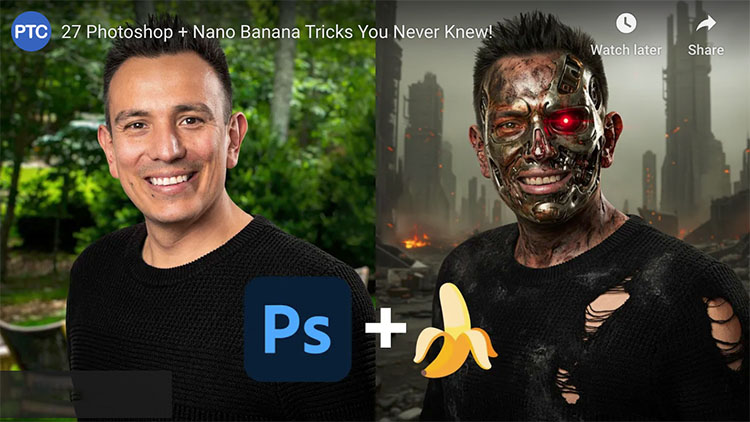
17:42 – Turn Someone into the Terminator
17:55 – Zoom Out an Image (Outpainting)
18:16 – Replace the Background
18:28 – Place Someone into the Hollywood Sign
18:39 – Place Someone in The Show Friends
18:57 – Turn a Photo into a comic book drawing
Find more from Jesus Ramirez’s Photoshop Training Channel.
Learn more in my digital photography and digital printing workshops.