8 Useful Tips For Brushing Masks In Photoshop

Some tools in Photoshop make the marks for you, like the Gradient Tool and Paths.
When it comes to masking, there’s no reason to fear drawing in Photoshop. Often, it amounts to little more than tracing. Plus, the History palette gives you an unlimited number of undo’s and redo’s. Still, there a number of painting strategies that can help you make masks more efficiently and precisely.

Use colors other than true black and white only when you want to reduce opacity.
Keep it black and white.
Before you start painting masks, use the reset icon to make sure you’re painting with a true black and a true white. It’s not uncommon to find out too late that you’ve been painting with some other shade of gray. If you find out too late, you may be able to modify the contrast of the mask by applying an adjustment like Levels or Curves.
Illustrate
Watch for unevenness created by scrubbing with too small a brush.
Check for uniformity.
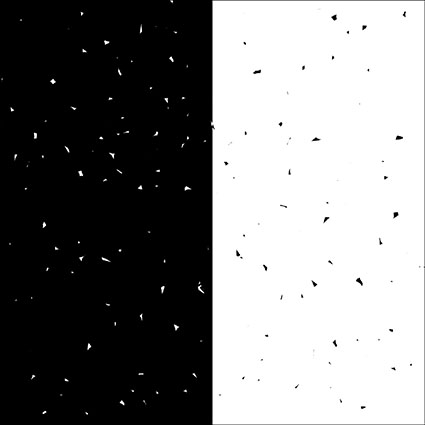
It’s a good idea to check masks (Option click the mask to see it. Do that again to hide it.) for uniformity and to eliminate (Fill, brush, or filter.) unintended gaps between brush strokes (black specks in a white field, white specks in a black field) and unintended unevenness when brushing with opacities lower than 100%. Remember, this speckled appearance can happen not only when brushing but also when the Magic Wand Tool or Color Range has been used as the foundation for a selection.
Fill broad areas.
Avoid painting broad areas. Instead, select and fill them. Filling an area ensures that it will be uniform, where building up multiple overlapping brush strokes sometimes leads to uneven results. You don’t have to precisely select the edges of broad area you’d like to fill; after the lion’s share of the work is done, you can refine areas that require more care with a brush.
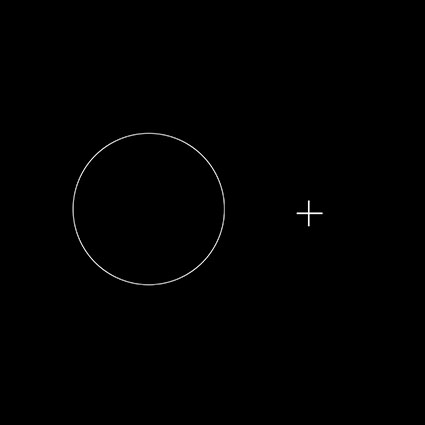
Paint with the edge of the brush except for those rare occasions you need to paint with its center, then use the caps lock crosshair .
Be mindful of the edge of a brush.
The appearance of a brush will help you better see the marks you make. Normal Brush Tip (Preferences > Displays and Cursors) will show you the circumference of a brush allowing you to see the placement of its edges. You can press the Caps Lock key to change this to a crosshair that will pinpoint its center when necessary.
Use soft-edged brushes when you’re painting general areas. The feathered edges will blend into one another. Use hard-edge brushes when painting along specific contours. You’ll see the accuracy of your marks as you make them. When you’ve finished, you can soften them more precisely (Favor using Properties > Feather; you can reset the values at any time. Use the Blur tool for local effects.)
Key commands make repetitive actions quicker and easier.
Use key commands.
Key commands make repetitive tasks easier. You’ll use these a lot. Use the X key to reverse foreground and background colors. Use the bracket keys to make a brush smaller ( [ ) or larger ( ] ). Use the Shift and bracket keys to make a brush softer ( [ ) or harder ( ] ). Use the number keys to change the opacity of a brush; press 1 for 10%, 2 for 20%, 3 for 30%, etc.
Get a list of useful masking key commands here.
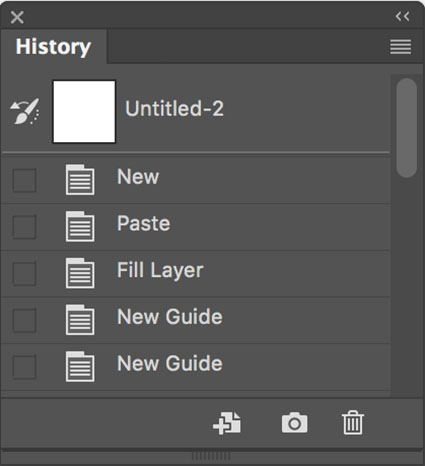
The History palette is great for multiple global undos.
The History Brush tool is great for undoing just one portion of an image.
Use the History Brush for local undos.
The History Brush tool can be very helpful when you want to undo changes in one area only. In the History palette, step back in history states to find a state you’d like to return to in one area; check the icon to the left of that state to set the source for the brush; return to the most current state; and use the History brush to paint back to a desired state in your file’s timeline.
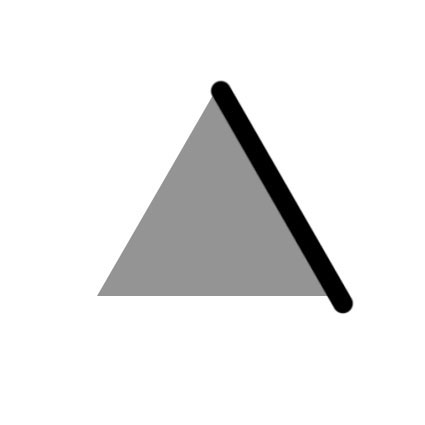
Painting masks with a series of successive straight lines yields surprisingly good results quickly, even for contours that aren’t straight.
Start rough, then refine.
Draftsmen often “block in” a contour, using a series of straight marks that cut around a contour in progressively finer increments rather than trying to draw it perfectly the first time. It’s highly efficient. It also takes the wobble out of handmade marks. You can draw a straight line with any brush by clicking once, letting go, moving to another point, holding the Shift key, and clicking a second time.
Illustrate
 Three strokes can fill a corner precisely; start by overpainting with the first stroke, then erase the excess with two more strokes.
Paint over corners, not into them.
Avoid painting yourself into a corner; instead, paint over a corner. It’s challenging and inefficient to paint into corners with a series of increasingly smaller brushes.
Instead, you can cut a corner with three strokes; with the first stroke paint over the area broadly; using the edge of an eraser (or a brush with the inverse color), make a second stroke to paint away the overspill on one side of the corner and finish the job with a third stroke for the overspill on the second side of the corner.
Adopt these simple practices and you’ll find that you’ll make better masks and make them faster too.
Read more about Selections & Masks.
Learn more in my digital photography and digital printing workshops.
No Comments