10 Tips To Help You Master Layer Masks In Adobe Photoshop

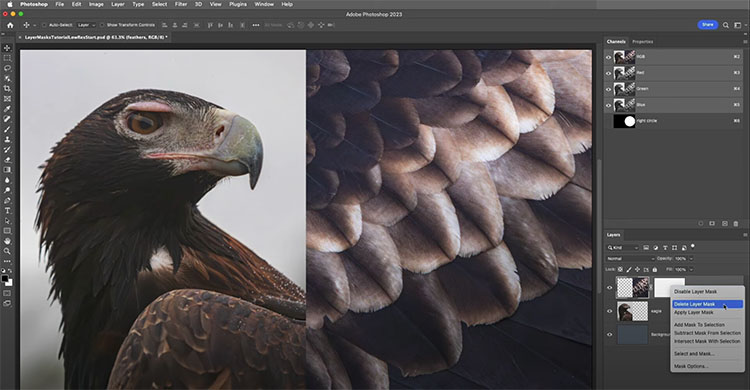
“In this video, Julieanne demonstrates ten essential shortcuts for working with Layer Masks, including how to add, delete, invert, move, reposition, copy, target, disable, change the density, and add a non-destructive feather to soften the edges of a mask.”

Follow up with her fundamentals of working with layers.

View more of Julieanne’s videos.
Learn more in my digital photography and digital printing workshops.

How Photoshop’s Blend If Sliders Help With Masking, Retouching, and Effects

“Discover the Magic of Blend If in Photoshop! Learn how “Blend If” works and explore the amazing effects you can create with it. In this video, we’ll dive deep into the mechanics of what “Blend If” controls and go through real-world applications, from masking to special effects and even retouching.”

Find more of Unmesh Dinda’s content here.
Learn more in my digital photography and digital printing workshops.

What’s The Difference Between Photoshop’s Opacity VS Flow VS Fill?

.
.
Opacity, Flow, Fill – what is the difference? Explore the special situations where Fill acts differently from Opacity in Photoshop. Learn various applications for color grading and special effects, plus find out how to use Blend If and Fill Layers to control them.
.
.

Easily Refine Any Photoshop Mask With A Brush

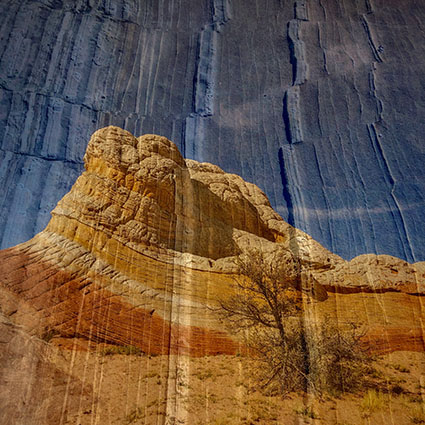
LandInLand_066
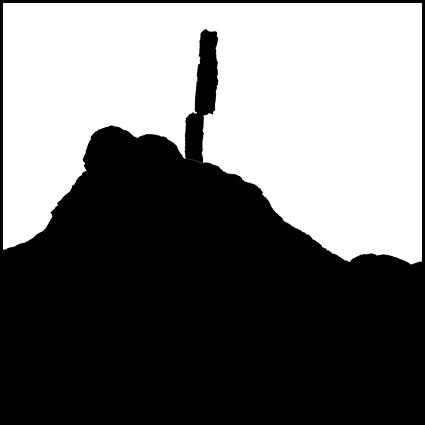
You can refine any mask in Photoshop with a brush. How? Choose any Brush tool and paint on it. The Brush, Healing Brush, Clone Stamp, Eraser, Gradient, Blur, Smudge, Dodge and Burn tools all have their uses. Whether simple or complex, layer masks are just black and white images; you can do anything to a mask that you can do to a black and white image.
It’s important to remember this because you might not realized just how much you can refine a selection or mask. Sometimes tools like Quick Selection do an amazingly fast job of selecting specific image areas, but their results can be improved further with a brush. Many times the sophisticated selections made with tools like Select By Color Range (which will allow you to quickly select Shadows, Highlights, or single colors like Red, etc) end up selecting too many areas and you may want to remove some of those areas from the selected regions in a mask. Painting over those areas with a black brush is one way to do this. (By contrast painting over areas with white will remove any gray values and let the effect of a layer pass through unimpeded.) While there are many brushes you can refine them with, more often than not you’ll find yourself using a simple soft-edged brush to paint black and/or white at varying opacities. It’s a simple but powerful technique, making it extraordinarily useful.
There are many times you’ll want to manually refine a mask with a brush.
Here are a few examples.
Mask_Contour_After

Mask_Contour
The edge of a contour made with the Quick Selection tool can be refined.

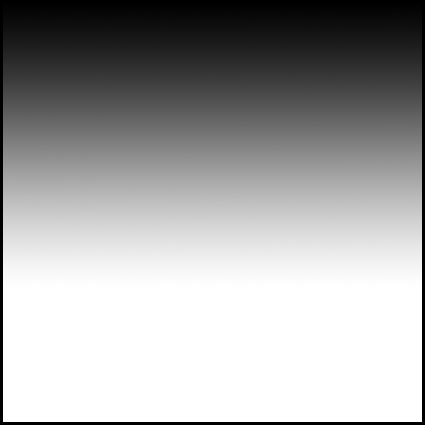
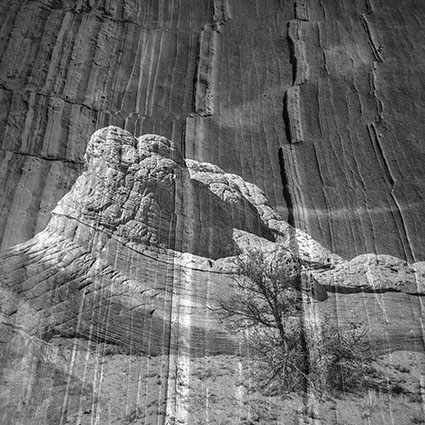
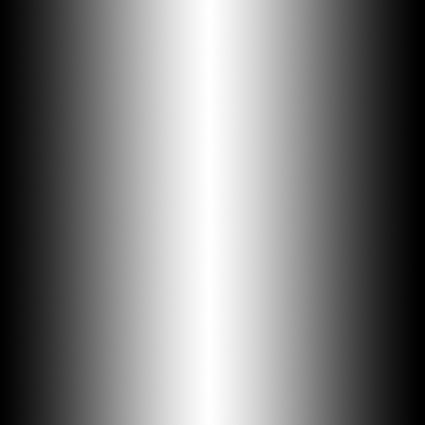
Mask_Gradient_Before
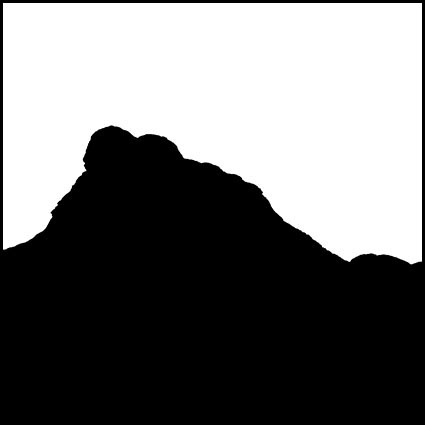
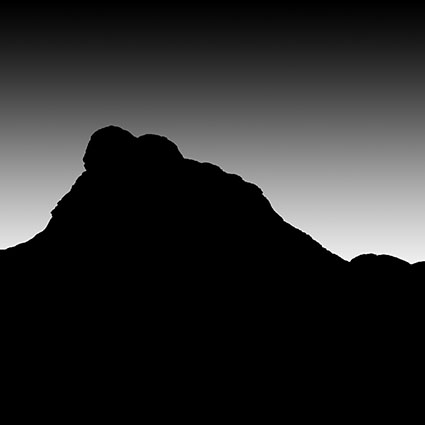
Mask_GradientNoMountain

A gradient can be removed from an area.

Here a gradient only affects the sky but not the mountain.

Mask_Highlights_Before

Mask_HighlightsNoSky

Specific areas of a luminance mask can be removed.

Only the highlights of the lower portion of this image are affected.


Mask_Red_After

Mask_Red_Before

Specific areas of a selection made with Select By Color range can be removed.

One orange area is removed from the selection of other orange areas.

Read more about masking here.
View more in my DVD Drawing With Light.
Learn more in my digital photography and digital printing workshops.

8 Useful Tips For Brushing Masks In Photoshop

Mask_Mask_425

Some tools in Photoshop make the marks for you, like the Gradient Tool and Paths.

When it comes to masking, there’s no reason to fear drawing in Photoshop. Often, it amounts to little more than tracing. Plus, the History palette gives you an unlimited number of undo’s and redo’s. Still, there a number of painting strategies that can help you make masks more efficiently and precisely.
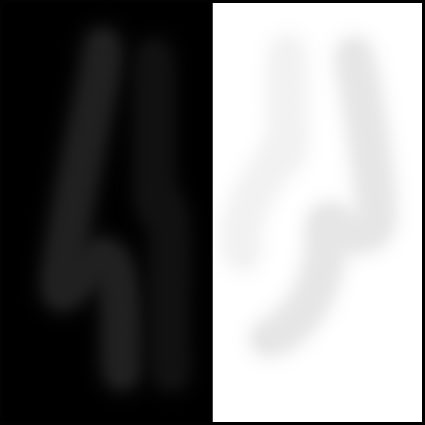
Mask_Uneven_Opacity_425

Use colors other than true black and white only when you want to reduce opacity.

Keep it black and white.
Before you start painting masks, use the reset icon to make sure you’re painting with a true black and a true white. It’s not uncommon to find out too late that you’ve been painting with some other shade of gray. If you find out too late, you may be able to modify the contrast of the mask by applying an adjustment like Levels or Curves.
Illustrate
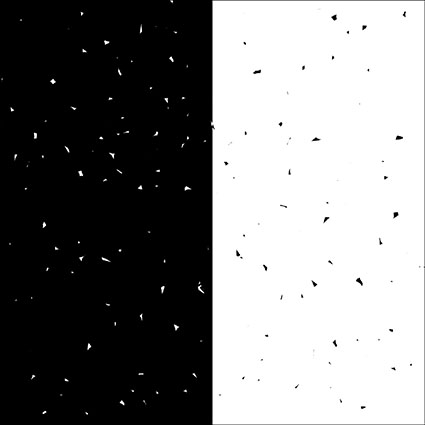
Mask_Uneven_425

Watch for unevenness created by scrubbing with too small a brush.

Check for uniformity.
It’s a good idea to check masks (Option click the mask to see it. Do that again to hide it.) for uniformity and to eliminate (Fill, brush, or filter.) unintended gaps between brush strokes (black specks in a white field, white specks in a black field) and unintended unevenness when brushing with opacities lower than 100%. Remember, this speckled appearance can happen not only when brushing but also when the Magic Wand Tool or Color Range has been used as the foundation for a selection.

Fill broad areas.
Avoid painting broad areas. Instead, select and fill them. Filling an area ensures that it will be uniform, where building up multiple overlapping brush strokes sometimes leads to uneven results. You don’t have to precisely select the edges of broad area you’d like to fill; after the lion’s share of the work is done, you can refine areas that require more care with a brush.
Mask_Brush_Cursors_425

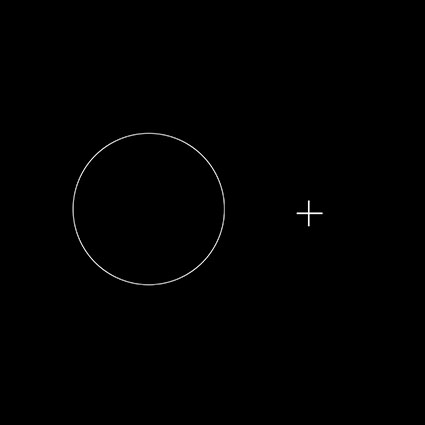
Paint with the edge of the brush except for those rare occasions you need to paint with its center, then use the caps lock crosshair .

Be mindful of the edge of a brush.
The appearance of a brush will help you better see the marks you make. Normal Brush Tip (Preferences > Displays and Cursors) will show you the circumference of a brush allowing you to see the placement of its edges. You can press the Caps Lock key to change this to a crosshair that will pinpoint its center when necessary.

Use soft-edged brushes when you’re painting general areas. The feathered edges will blend into one another. Use hard-edge brushes when painting along specific contours. You’ll see the accuracy of your marks as you make them. When you’ve finished, you can soften them more precisely (Favor using Properties > Feather; you can reset the values at any time. Use the Blur tool for local effects.)
CommandKey_425

Key commands make repetitive actions quicker and easier.

Use key commands.
Key commands make repetitive tasks easier. You’ll use these a lot. Use the X key to reverse foreground and background colors. Use the bracket keys to make a brush smaller ( [ ) or larger ( ] ). Use the Shift and bracket keys to make a brush softer ( [ ) or harder ( ] ). Use the number keys to change the opacity of a brush; press 1 for 10%, 2 for 20%, 3 for 30%, etc.

Get a list of useful masking key commands here.
HistoryBrush_425

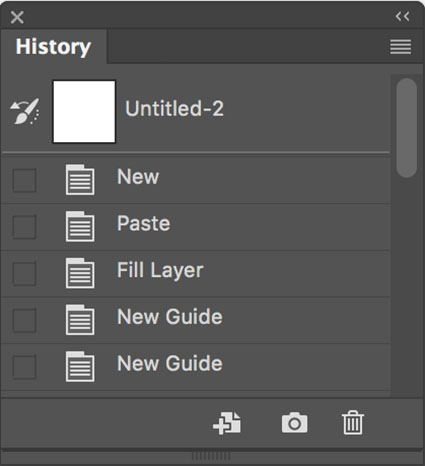
The History palette is great for multiple global undos.

The History Brush tool is great for undoing just one portion of an image.

Use the History Brush for local undos.
The History Brush tool can be very helpful when you want to undo changes in one area only. In the History palette, step back in history states to find a state you’d like to return to in one area; check the icon to the left of that state to set the source for the brush; return to the most current state; and use the History brush to paint back to a desired state in your file’s timeline.
Mask_StraightLine_425

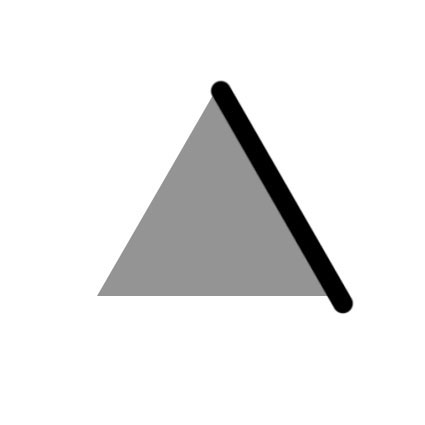
Painting masks with a series of successive straight lines yields surprisingly good results quickly, even for contours that aren’t straight.

Start rough, then refine.
Draftsmen often “block in” a contour, using a series of straight marks that cut around a contour in progressively finer increments rather than trying to draw it perfectly the first time. It’s highly efficient. It also takes the wobble out of handmade marks. You can draw a straight line with any brush by clicking once, letting go, moving to another point, holding the Shift key, and clicking a second time.
Illustrate
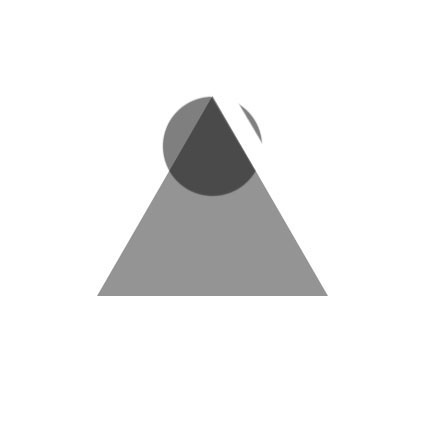
Mask_Corner_425 Three strokes can fill a corner precisely; start by overpainting with the first stroke, then erase the excess with two more strokes.

Paint over corners, not into them.
Avoid painting yourself into a corner; instead, paint over a corner. It’s challenging and inefficient to paint into corners with a series of increasingly smaller brushes.

Instead, you can cut a corner with three strokes; with the first stroke paint over the area broadly; using the edge of an eraser (or a brush with the inverse color), make a second stroke to paint away the overspill on one side of the corner and finish the job with a third stroke for the overspill on the second side of the corner.
Adopt these simple practices and you’ll find that you’ll make better masks and make them faster too.

Read more about Selections & Masks.
Learn more in my digital photography and digital printing workshops.
Photoshop’s Contrast Masks Help You Isolate Highlights Or Shadows

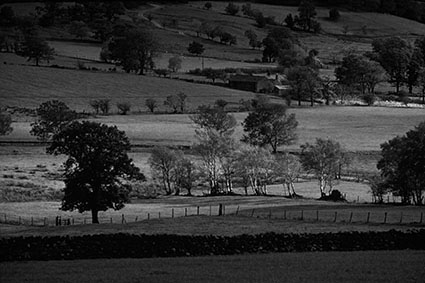
01-lakedistrict

RGB image

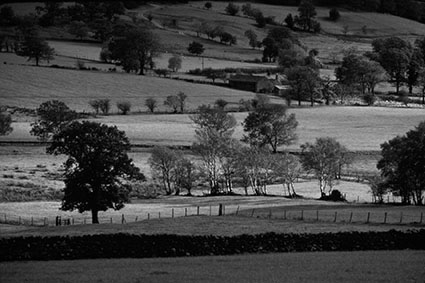
RedChannel

Red Channel

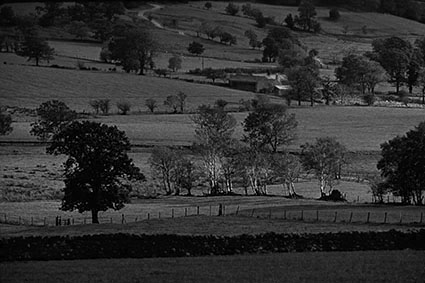
GreenChannel

Green channel

BlueChannel

Blue channel

The relationship between highlights and shadows is a critical aspect of any image. Photographers have been trained to become highly sensitized to these relationships. Today, photographers have more control and greater precision than ever before over these key visual elements, using the digital darkroom. In Photoshop, the type of adjustment chosen will provide very specific control. The specificity of an adjustment can be further refined by using a mask. One type of mask yields extreme precision and is derived directly from the light and dark relationships within an image, a luminance or contrast mask.

A contrast mask will allow you to target a specific range of tones without affecting the others; highlights, shadows, and even midtones. In the analog darkroom it’s quite challenging and time consuming to make contrast masks; in the digital darkroom it’s quite easy to quickly make contrast masks. And, you can refine or modify them infinitely and indefinitely.

Here’s how to do it.

Load a channel as a selection and with that selection still active create a layer mask. The quickest way to do this is to go to the Channels palette and while holding the Command key click on a channel – R, G, B or RGB. This will create a selection based on the luminance (light and dark) values of the channel you choose.

With so many choices before you, which channel should you choose? Choose the channel that is light in the areas you want to adjust and dark in the areas you don’t want affected. When in doubt, load the RGB master channel as this will give you a selection based on luminance. If you choose an individual channel (R, G, or B) related hues will become lighter than others and complementary hues darker than others – i.e. in  the red channel reds will be very light while cyans will be very dark.

The active selection outline will appear complex; a dotted line will appear at all 50% gray values, but the whole image will be affected to varying degrees based on the density of the values used to make the selection. As values grow darker the affect reduces; as values grow lighter the affect increases. Remember this mantra, “Black conceals; white reveals.” You can turn a selection into a mask in one of two ways, make an adjustment layer (Layer: New Adjustment Layer)(the selection automatically becomes an adjustment layer mask) or make a layer mask (Layer: Layer Mask: Reveal Selection).

As a mask is comprised of shades of gray its lightness and contrast can be adjusted. Very often, contrast masks can be improved by having their contrast adjusted. Use Curves for the greatest precision in contrast adjustment. Here are a few strategies for doing this. Increase the contrast of a mask and its lightest areas will allow more of an effect to show through while its darkest areas will allow less of an effect to show through. Darken the mask and it will allow less of a correction through. Lighten the mask and it will allow more of an effect through. In special cases, you may want to raise the black point when applying Curves to a mask; this will allow some adjustment to be applied to the deepest values with increasing intensity in the highlights. Conversely, you could lower the white point to reduce the effect in highlights or you could simply reduce the opacity of the adjustment layer.

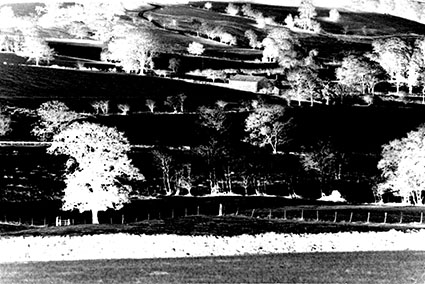
Would you like to target the shadows instead of the highlights? Invert the mask (Image > Adjustments > Invert or Command I) to reverse the relationship between highlights and shadows; black becomes white and white becomes black.

03.5-redinverted

Mask inverted

Contrast masks add the ability to target highlights and shadows to any color adjustment tool that does not already provide this function and to all filters.

Question whether you need a contrast mask when making image adjustments with Curves, which provides the ability to target specific ranges of tone without the use of a mask. If the adjustment you want to make to a specific region of tones in an image is extreme and you want to substantially reduce the affect on adjacent tones, then, and only then consider using a contrast mask in combination with Curves. Guard against introducing posterization when doing this.

Classically, photographers use a contrast mask when darkening very bright highlights or lightening very dark shadows. For these types of corrections, where industrial strength methods are required, consider using the blend modes Multiply (for highlights) or Screen (for shadows) in combination with a contrast mask to reduce the affect on the opposite end of the tonal scale and prevent loss of detail.

Today, photographers have additional opportunities to enhance color images using contrast masks. In addition to affecting the lightness (luminosity) of highlights or shadows, you can affect their hue and/or saturation. Compare these three solutions; an image with lightened highlights; an image with warmed highlights; and an image with saturated highlights. All three versions will appear more luminous or filled with light, but the qualities of light in each one will differ. After you’ve tried this, try making opposite moves in the shadows. Once you’ve done these experiments, you’ll start seeing new potential in every color image.

04-ld

Highlight lightened

05-ld

Highlight warmed

06-ld

Highlight saturated

Never have we had so much control over the quality of light within our images. Imagine the possibilities. Better yet, experience them. A world of possibilities for image enhancement will unfold before you.

Read more about Selections & Masks.
Learn more in my digital photography and digital printing workshops.

Creative Image Sharpening – Double Pass Versus Hybrid

1_Sharpen_No

Before sharpening

2_Double_USM

Unsharp Mask only

3_Hybrid_USMHighPass

Unsharp Mask and High Pass filters combined

Different sharpening techniques make the world look different. A world of difference can be seen between the thin hard line of Unsharp Mask and the broad feathered line of High Pass Sharpening.

Can you choose a combination of both? Yes, you can! You can choose the texture of one, the halo of another, and the line of yet another, applying them either globally or selectively. You can customize the look and feel of detail in any image or image area with astonishing precision and flexibility.


Insights Members can login to read the full article.
Email:
or Sign up

The Advantages Of Sharpening With Photoshop’s Layers

1_sharp_refraction_LXXIII1 copy

2_sharpenedlayerstack copy

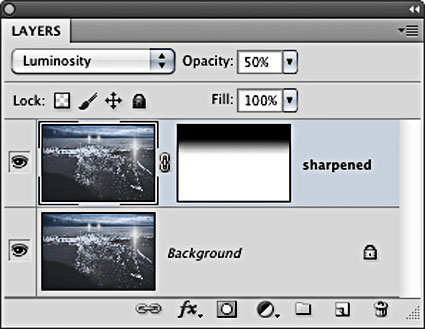
Layers have Blend Modes and can be masked

3_layerstyle copy

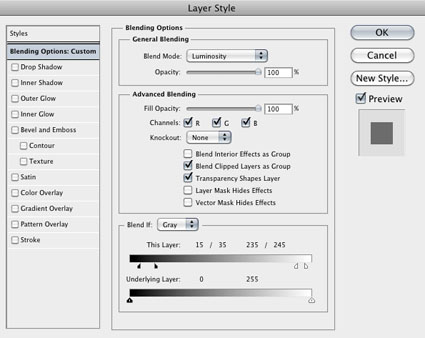
Double click a layer to activate its Blend If sliders  

There are many reasons to use layers when sharpening your digital images.

How do you do this? Simply duplicate the Background layer and sharpen the new layer.

Eliminate Saturation Shifts
Layers can be used to eliminate saturation shifts. Change the Blend Mode of a sharpening layer from Normal to Luminosity. Color noise will also be reduced this way.


Insights Members can login to read the full article.
Email:
or Sign up

Extending Dynamic Range With Two Exposures

merged_425

Two exposures blended

dark_425

Dark exposure

light_425

Light exposure

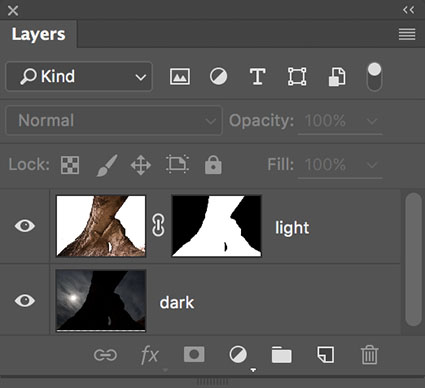
2HDR_layerstack

The layer stack

Sometimes Two Exposures Are Optimum

There are a variety of ways to extend the dynamic range of a camera. The four classic ways are selective adjustment, double processing a single file, layering two exposures, and merging multiple exposures with HDR software routines.

Layering two exposures produces the best results when a scene has areas of dramatically different brightness separated by clear contours, like but not limited to horizons. For these types of scenes, layering two exposures avoids artifacts that are common in HDR merges, such as saturation distortions, midtone compression, localized vignetting, and detail / noise exaggeration artifacts.

Make Two Exposures Each Optimized For Select Areas

To exceed the dynamic range of a camera’s sensor (or film) you need to make at least two exposures. During exposure(s), rather than rather than striking a compromise between very different brightness values, instead optimize one exposure for each area of brightness, the highlights and the shadows. For each area, expose to the right. Monitor clipping differently. The exposure for the highlights will be clipped in the shadows. The exposure for the shadows will be clipped in the highlights. (If this is not the case, then you may be able to use a simpler technique such as selective adjustement or double processing.)

For this technique you only need two exposures, a very dark and a very light one, but to be on the safe side, make additional exposures in between them. It doesn’t matter which end of the tonal scale (dark or light) you start with. Simply work your way up or down from one to the other. Remember, using a tripod, locking down zoom lenses, and turning off auto focus will all help you register the two exposures more easily.


Insights Members can login to read the full article.
Email:
or Sign up