Photoshop’s Contrast Masks Help You Isolate Highlights Or Shadows
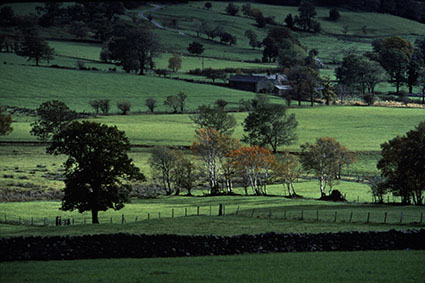
RGB image
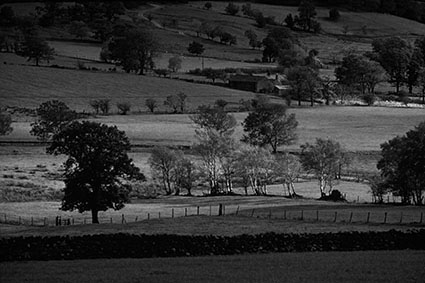
Red Channel
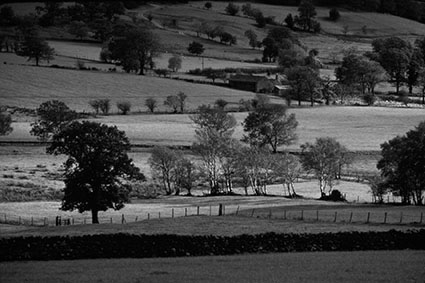
Green channel
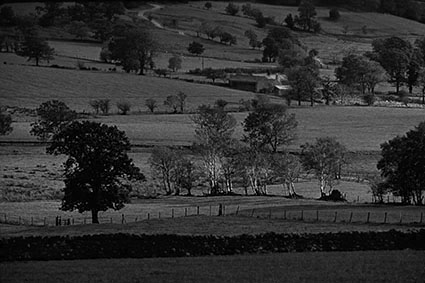
Blue channel
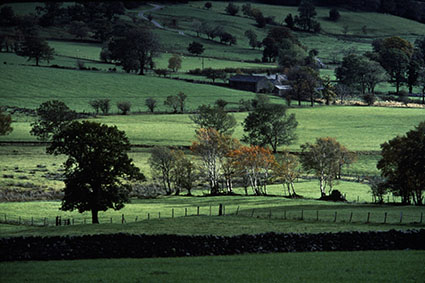
The relationship between highlights and shadows is a critical aspect of any image. Photographers have been trained to become highly sensitized to these relationships. Today, photographers have more control and greater precision than ever before over these key visual elements, using the digital darkroom. In Photoshop, the type of adjustment chosen will provide very specific control. The specificity of an adjustment can be further refined by using a mask. One type of mask yields extreme precision and is derived directly from the light and dark relationships within an image, a luminance or contrast mask.
A contrast mask will allow you to target a specific range of tones without affecting the others; highlights, shadows, and even midtones. In the analog darkroom it’s quite challenging and time consuming to make contrast masks; in the digital darkroom it’s quite easy to quickly make contrast masks. And, you can refine or modify them infinitely and indefinitely.
Here’s how to do it.
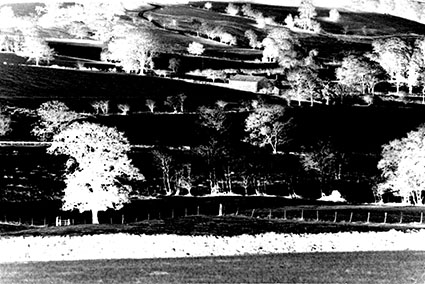
Load a channel as a selection and with that selection still active create a layer mask. The quickest way to do this is to go to the Channels palette and while holding the Command key click on a channel – R, G, B or RGB. This will create a selection based on the luminance (light and dark) values of the channel you choose.
With so many choices before you, which channel should you choose? Choose the channel that is light in the areas you want to adjust and dark in the areas you don’t want affected. When in doubt, load the RGB master channel as this will give you a selection based on luminance. If you choose an individual channel (R, G, or B) related hues will become lighter than others and complementary hues darker than others – i.e. in the red channel reds will be very light while cyans will be very dark.
The active selection outline will appear complex; a dotted line will appear at all 50% gray values, but the whole image will be affected to varying degrees based on the density of the values used to make the selection. As values grow darker the affect reduces; as values grow lighter the affect increases. Remember this mantra, “Black conceals; white reveals.” You can turn a selection into a mask in one of two ways, make an adjustment layer (Layer: New Adjustment Layer)(the selection automatically becomes an adjustment layer mask) or make a layer mask (Layer: Layer Mask: Reveal Selection).
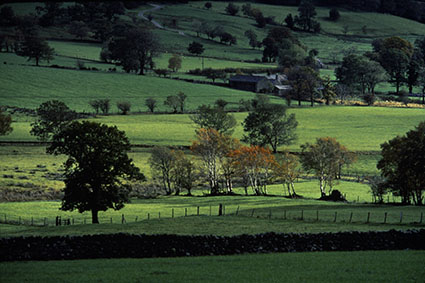
As a mask is comprised of shades of gray its lightness and contrast can be adjusted. Very often, contrast masks can be improved by having their contrast adjusted. Use Curves for the greatest precision in contrast adjustment. Here are a few strategies for doing this. Increase the contrast of a mask and its lightest areas will allow more of an effect to show through while its darkest areas will allow less of an effect to show through. Darken the mask and it will allow less of a correction through. Lighten the mask and it will allow more of an effect through. In special cases, you may want to raise the black point when applying Curves to a mask; this will allow some adjustment to be applied to the deepest values with increasing intensity in the highlights. Conversely, you could lower the white point to reduce the effect in highlights or you could simply reduce the opacity of the adjustment layer.
Would you like to target the shadows instead of the highlights? Invert the mask (Image > Adjustments > Invert or Command I) to reverse the relationship between highlights and shadows; black becomes white and white becomes black.
Mask inverted
Contrast masks add the ability to target highlights and shadows to any color adjustment tool that does not already provide this function and to all filters.
Question whether you need a contrast mask when making image adjustments with Curves, which provides the ability to target specific ranges of tone without the use of a mask. If the adjustment you want to make to a specific region of tones in an image is extreme and you want to substantially reduce the affect on adjacent tones, then, and only then consider using a contrast mask in combination with Curves. Guard against introducing posterization when doing this.
Classically, photographers use a contrast mask when darkening very bright highlights or lightening very dark shadows. For these types of corrections, where industrial strength methods are required, consider using the blend modes Multiply (for highlights) or Screen (for shadows) in combination with a contrast mask to reduce the affect on the opposite end of the tonal scale and prevent loss of detail.
Today, photographers have additional opportunities to enhance color images using contrast masks. In addition to affecting the lightness (luminosity) of highlights or shadows, you can affect their hue and/or saturation. Compare these three solutions; an image with lightened highlights; an image with warmed highlights; and an image with saturated highlights. All three versions will appear more luminous or filled with light, but the qualities of light in each one will differ. After you’ve tried this, try making opposite moves in the shadows. Once you’ve done these experiments, you’ll start seeing new potential in every color image.
Highlight lightened
Highlight warmed
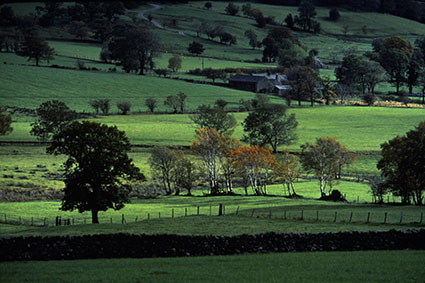
Highlight saturated
Never have we had so much control over the quality of light within our images. Imagine the possibilities. Better yet, experience them. A world of possibilities for image enhancement will unfold before you.
Read more about Selections & Masks.
Learn more in my digital photography and digital printing workshops.
Almas Alin
25.07.2018 at 01:21great resources
John Paul Caponigro
25.07.2018 at 12:45“Approve”