Printing – Ideal Viewing Distance
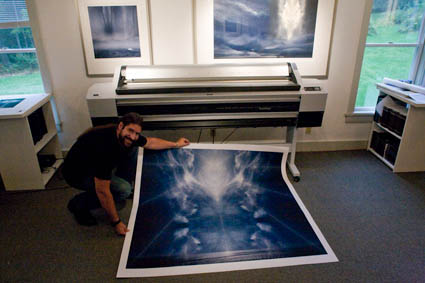
Scale changes ideal viewing distance.
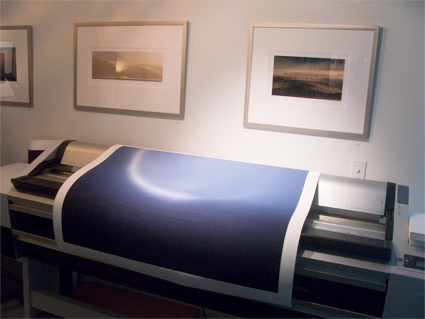
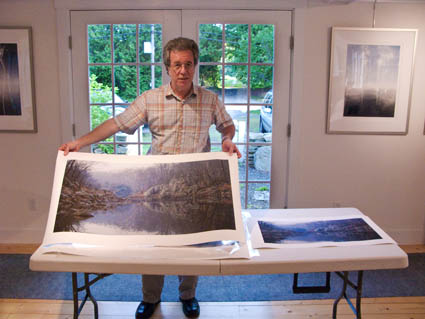
To see a 4×5” print you have to get close to it. You can’t see anything but its shape and color from the end of a long hall. To see a 6×10’ print in its entirety you have to stand well away from it. If you stand very close to it, you won’t be able to see the whole image, much less anything else.
The rule of thumb for determining ideal viewing distance is to stand at three times a print’s diagonal dimension. This tends to place the entire image well within a viewer’s field of vision in such a way that overall general detail can be resolved at once, minimizing panning and scanning.
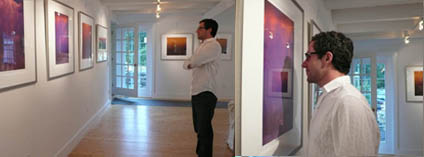
Of course, zooming happens. Both artists and viewers tend to view works of art from many different distances; examining details closely and evaluating a total composition distantly. Viewing distance changes perceived scale. Viewing distance subtly changes the quality of the viewing experience. So viewers tend to compare a variety experiences, dynamically forming a total impression of a work of art.
What do you think the ideal viewing distance for prints is? Comment here!
Check out my Printing downloads here.
Check out my DVD The Art of Proofing here.
Find out about my The Fine Digital Print Workshop Series here.