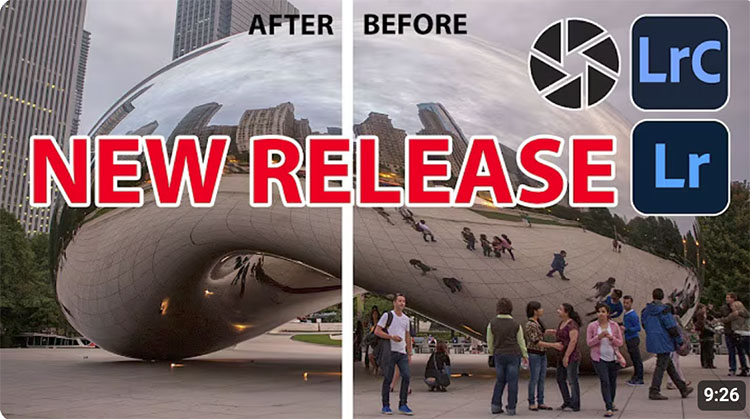
AI Denoise Updated In Adobe Camera Raw – Lightroom Soon
You no longer need to convert to DNG to use AI Denoise!
Watch more from Matt Kloskowski here.
Learn more in my digital photography and digital printing workshops.
You no longer need to convert to DNG to use AI Denoise!
Watch more from Matt Kloskowski here.
Learn more in my digital photography and digital printing workshops.
“In this video, you’ll explore several ways to add vignette effects and simulate traditional film grain in Lightroom Classic.”
Watch more from Julianne Kost here.
Learn more in my digital photography and digital printing workshops.
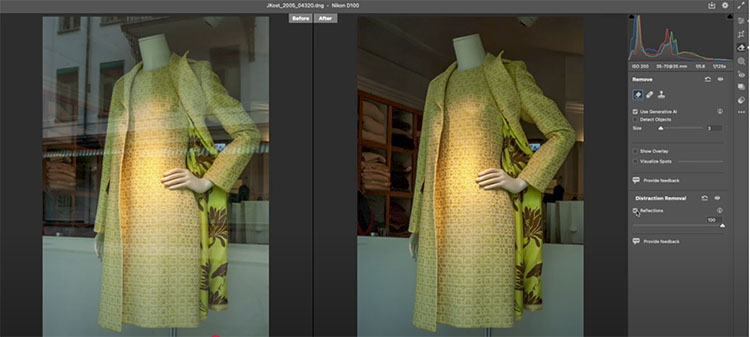
“In this video, Julieanne walks through the capture sharpening settings in the Detail panel in Lightroom Classic.”
Watch more from Julianne Kost here.
Learn more in my digital photography and digital printing workshops.
“In this video Julieanne explains the difference between the three Presence sliders: Texture, Clarity, and Dehaze and how they can be used to add contrast to an image.”
Watch more from Julianne Kost here.
Learn more in my digital photography and digital printing workshops.
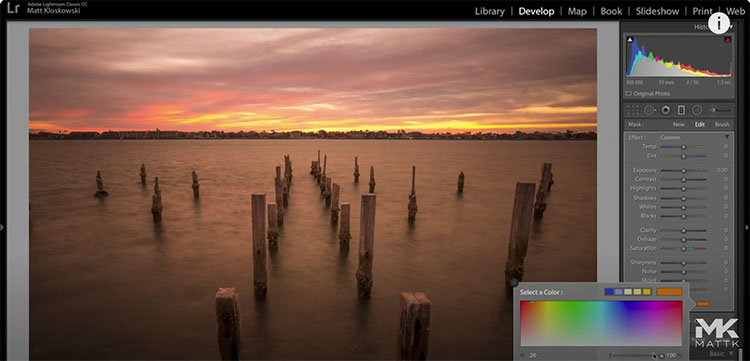
“In this video we’ll look at a little-known/used tool with the selective adjustments in Lightroom and Photoshop Camera Raw. It’s the Color tool and we’ll really dive in to how it’s different than just the normal white balance settings for changing or adding color to your photos.”
Watch more from Matt Kloskowski here.
Learn more with my Color Adjustment resources.
Learn more in my digital photography and digital printing workshops.
Rushing towards perfect, you might miss it. Previsualization (seeing with your mind) is a fine start, but I recommend you use Lightroom to go further and visualize (see with your eyes). After exploring your options fully, you can perfect those results.
You can level up and speed up your game by using Lightroom’s Presets.
(Note, Camera Raw offers Presets that are identical to Lightroom.)
Virtual copies are the easiest way to make side-by-side comparisons.
Presets are the easiest way to preview the many possibilities one image contains.
Presets are also a great way to create a consistent look for two or more images. Once applied, you can tweak settings to optimize individual images while still preserving a unified style.
Presets can record any Edit setting(s) (one, many, or all) and apply them to any other image. A single click can produce results as subtle or dramatic as you like.
The many presets Adobe provides are a great starting point. You can make your own presets by customizing the defaults, by applying someone else’s, or by creating your own from scratch.
The Presets panel and the slider settings one preset produces.
How To Use Presets
Zero noise reduction
Adobe’s Camera Raw / Lightroom Manual Noise reduction
Imagenomic’s Noiseware
Adobe’s Camera Raw / Lightroom AI Noise Reduction
There’s noise in every file. This is why noise reduction is applied to every image you open in Camera Raw / Lightroom, unless you turn this default setting off. What tool you use to remove noise depends on how much noise there is. Moving from a little to a lot, here are the three options and why you would choose one over the other.
1 – A little
If you’ve got only a little noise Adobe’s Manual Noise Reduction is up to the task.
Read more on Lightroom Manual Noise Reduction here.
2 – Some
If you’ve got significant noise in non Raw file formats (like JPEGs) or in layers in a Photoshop file, use Imagenomic’s Noiseware.
Read more on reducing noise with Noiseware here.
3 – A lot
If you’ve got substantial noise in a Raw file, use Adobe’s AI Noise Reduction.
Read more on Adobe’s AI Noise Reduction here.
In a nutshell, for Raw files choose Manual Noise Reduction (a little noise) or AI Noise Reduction (more than a little noise). For other file types use Imagenomic’s Noiseware.
Read more about noise here.
Learn more in my digital photography and digital printing workshops.
It’s a game-changer – and it will modify your workflow.
When processing image files, noise reduction used to be one of the last things I did; now, it’s the first thing I do, if I plan to use Adobe’s AI Noise Reduction.
When don’t I use it? When I’m processing files with only a little noise and Adobe’s Manual Noise Reduction has no problem getting the task done.
Whenever I encounter substantial image noise, Adobe’s AI Noise Reduction is the best solution currently available, bar none.
It’s really easy to use; that’s an understatement.
1
Click Denoise and in the new Enhance window set Amount.
Start at 100 and lower the value until edges look crisp and realistic texture is restored.
Applying Denoise will automatically apply Raw Details.
2
If, and only if, you want to upres an image (4X larger) check Super Resolution.
In many cases it’s unnecessary, but when it’s needed it’s exceptional.
3
Click Enhance.
The results will be saved in a new DNG file.
When you continue processing the new DNG file, Manual Noise Reduction sliders will be set to zero, but still available, though no longer needed in the vast majority of cases.
You’d think something this sophisticated would be more complicated. It’s not. Welcome to the new world of AI.
Read Eric Chan’s detailed explanation here.
Read more about noise here.
Learn more in my digital photography and digital printing workshops.
“Give your photo a storytelling edge, instill mood and emotions, and transform a nice photo into a cinematic one.”
“Discover how to save time editing photos with one-click transformations in this tutorial with Adobe’s Principal Evangelist Julieanne Kost (@jkost) who shares her top tips for creating, using and downloading presets in Adobe Lightroom.”
For more check out Julieanne’s blog.
Read more in my Color Adjustment resources.
Learn more in my digital photography and digital printing workshops.
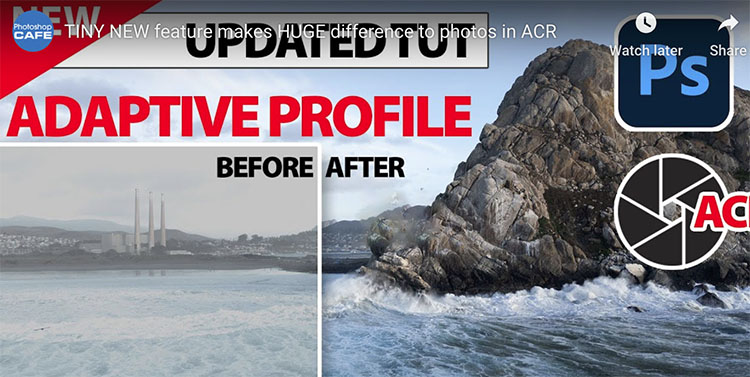
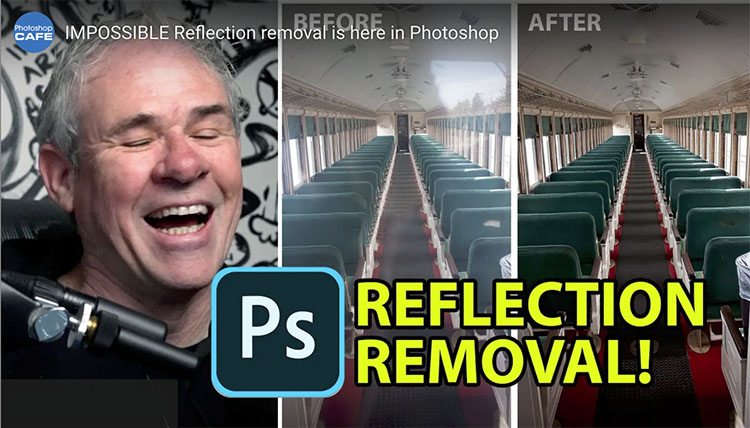
Colin Smith shows you how to eliminate ugly color casts and weird shadows with effortless ease in Photoshop, using the new point color tool in Camera RAW.
View more from Colin Smith here.
Learn more in my digital photography and digital printing workshops.