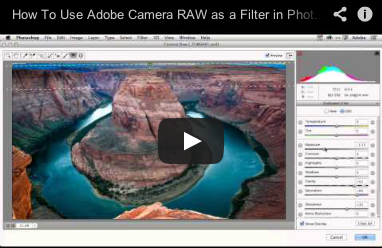
How To Use The Future Of Photoshop Filters Now
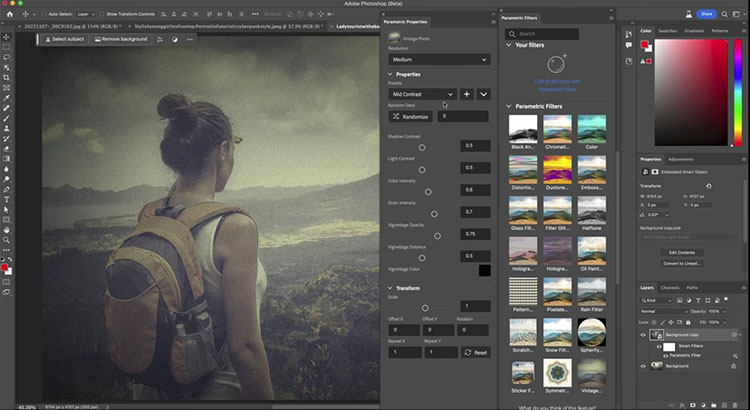
New in Photoshop 2024 Beta, Parametric filters, the ultimate guide. Colin Smith shows you all the different new filters in Photoshop and provides tips on how to make them the most useful.

00:00 Introduction
00:06 How to Get Photoshop beta
00:14 How to Use the Parametric Filters
00:36 Tip for better setup and resolution
02:17 Substance Designer
02:45 Changing and combining filters
03:24 Using Parametric Filters with Layer Masks
05:32 Lightning Round of all Filters
05:36 Black and White Vintage
05:52 Chromatic Aberration
06:12 Color
06:33 Distortion Filter
06:45 Duotone
07:06 Emboss
07:12 Glass Filter
07:44 Filter Glitch
07:56 Halftone
08:12 Hologram
08:29 Hologram 2
08:40 Oil Paint
09:11 Pattern Generator
09:45 Pixelate
09:50 Rain Filter
10:12 Scratch Photo
10:55 Snow Filter
11:13 Spherify
11:46 Sticker
12:00 Symmetry
12:33 Vintage Photo

View more from Colin Smith here.
Learn more in my digital photography and digital printing workshops.

How To Control Blur FX In Photoshop With Amazing Precision

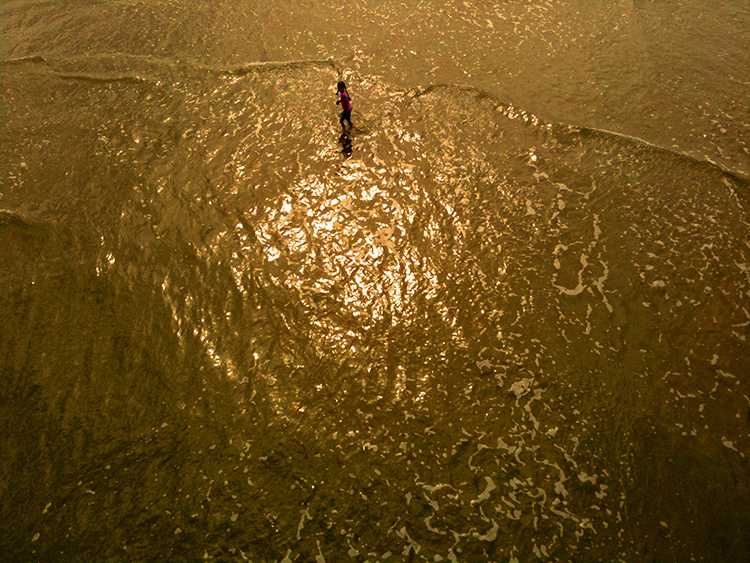
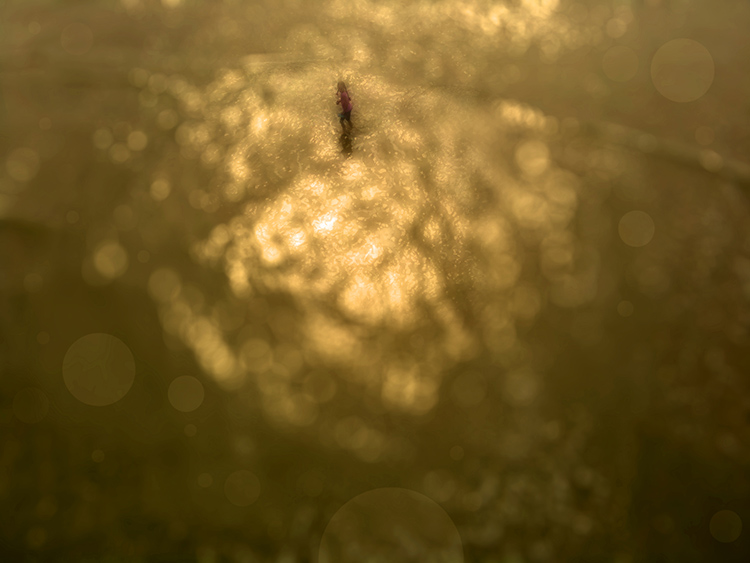
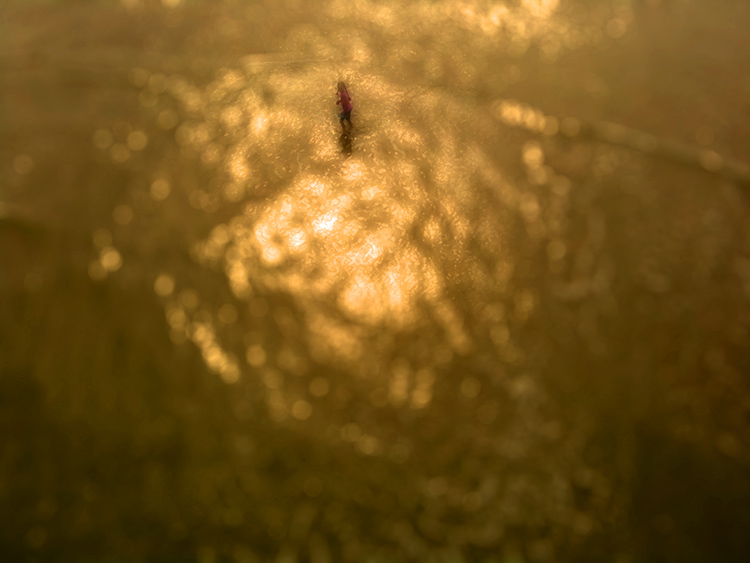
Photographers use blur (or bokeh) for a variety of reasons: to enhance space through depth of field; to add interesting visual artifacts; to simplify them; to change the quality of their expression. In the past, blur was controlled almost entirely through exposure; now it can also be controlled during post-processing, giving photographers an unprecedented array of options and ways to customize the look and feel of their images. Knowing what you can do, how far you can go, and when you can do it may change the way you shoot, one time, sometimes, or all the time.

There are many blur filters in Photoshop; Field Blur, Iris Blur, Tilt-Shift, Gaussian Blur, Lens Blur, Motion Blur, Radial Blur, Shape Blur, Smart Blur, Surface Blur, in order of appearance in the Filter: Blur drop-down menu. (See A Quick Visual Comparison Of Photoshop's Blur Filters here.) The choices are extensive and it pays to familiarize yourself with your options by experimenting with them; you’ll find you have an extraordinary set of options that you can modify and combine creatively. If you only use the filters Gaussian Blur and Lens Blur, you’ll still have game-changing control at your fingertips, once you learn how to extend and modify them.

Photoshop's Lens Blur filter

There are several important non-destructive strategies you can use to gain more control over all filter effects that will enable you to go further in your explorations and generate more sophisticated and compelling results. Try one or all of the moves in this classic progression. Apply a filter to a duplicate layer and then modify its Opacity, Blend Mode, Blend If Sliders, and add a layer mask.


Insights Members can login to read the full article.
Email:
or Sign up

How To Intensify Photoshop’s Go To Filter High Pass With Curves

Indispensable, Photoshop’s High Pass filtration offers contrast and sharpening effects no other tool does.

(Read Curves, Clarity, Dehaze, High Pass, Texture and Sharpening Compared.)

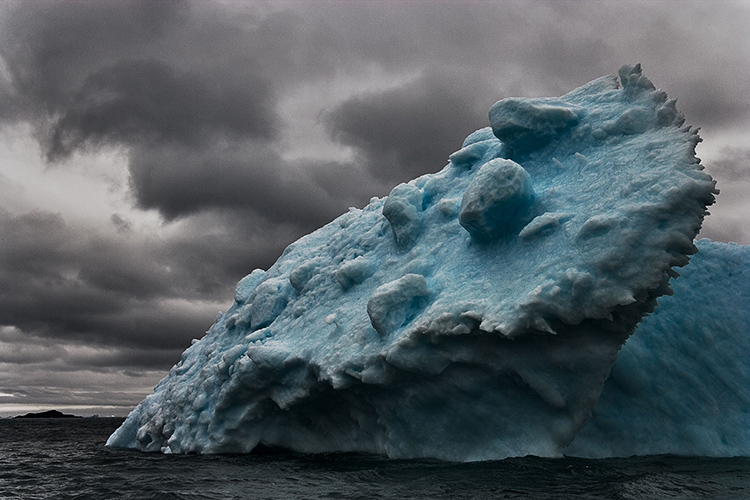
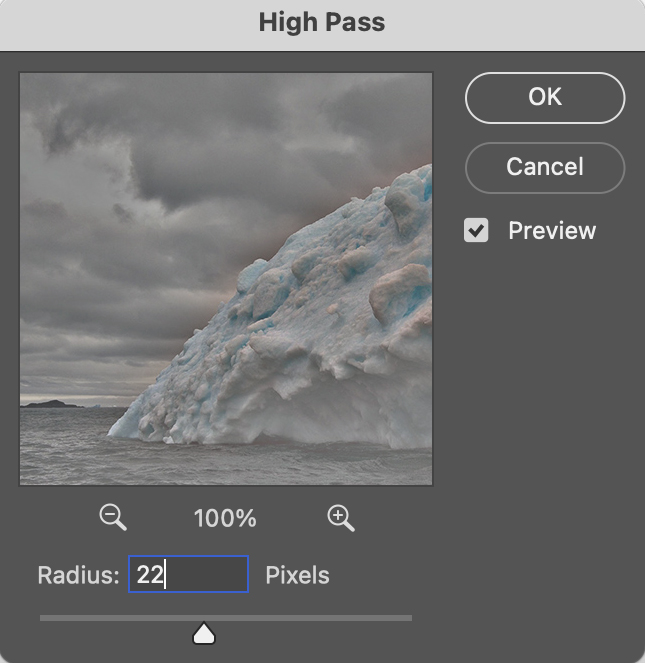
With only one slider, High Pass filtration slip streams between sharpening or detail enhancement (at a low setting) and luminosity contrast adjustment (at a high setting). The two are intimately tied to one another; the difference is the granularity that the contrast is applied. At a low setting, High Pass filtration accentuates contrast along contours with a thin feathered line, while the flat gray areas surrounding contours on the high pass layer tend not to accentuate texture or noise. At a high setting High Pass filtration creates stronger contrast so broadly feathered that it creates a localized vignetting effect, accentuating the illusion of volume in the process.

(Read more here on How To Apply High Pass Filtration.)

The intensity of either or both of these High Pass effects can be accentuated by adding more contrast to the High Pass layer with Curves. Unlike raising the High Pass filter slider while you apply it, which increases the width of the lines on it, increasing the contrast of the layer with Curves does not; it simply makes the lines darker and the haloes brighter.

Take these steps ...


Insights Members can login to read the full article.
Email:
or Sign up

Advanced Creative Image Sharpening Techniques – Double Pass & Hybrid

1_Sharpen_No

No sharpening.

2_Double_USM

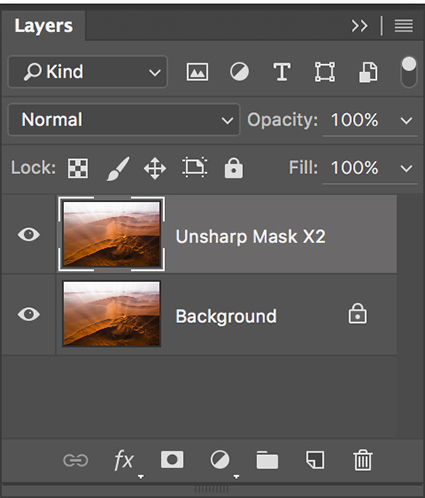
Double pass Unsharp Mask sharpening.

4_Hybrid_HighPass

Hybrid Unsharp Mask and High Pass sharpening.

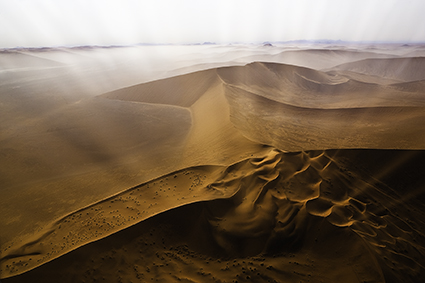
Different sharpening techniques make the world look different. A world of difference can be seen between the thin hard line of Unsharp Mask and the broad feathered line of High Pass Sharpening.
Can you choose a combination of both? Yes you can! You can choose the texture of one, the halo of another, and the line of yet another, applying them either globally or selectively. You can customize the look and feel of detail in any image or image area with astonishing precision and flexibility.
2_Double_USM
2b_Sharpen_DoublePass


Insights Members can login to read the full article.
Email:
or Sign up

I Use – 3 Filters / Polarizer, ND, IR


Because it offers so many more options, digital imaging may change the way you use your tools.
For instance, I use only 3 filters – a circular polarizer, a neutral density filter, and a infrared filter.
No other filter is as useful to me as a polarizer. Polarizers remove glare making colors more saturated and reflections allowing you to reduce or remove images on the surface of reflective surfaces. No software filter can do this. I use Canon’s circular polarizer. Whenever possible, I prefer to match filters to the manufacturer of the lens,
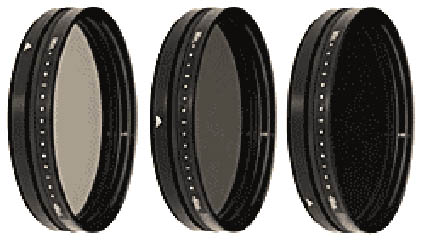
I’ve been experimenting with long exposures. Singh Ray makes a unique neutral density filter – the Vari-ND filter. Rotate it and you can slow reduce light between 2 and 8 stops. This eliminates the need to carry multiple filters and to stack them during exposure. It’s fantastic. (As an aside, I prefer all graduated filtration to be done with software because you can control both the effect and the graduation precisely.)
For infrared imagery I use an infrared filter. It’s not exactly the same as converting a camera to infrared, but it’s closer than simulating IR effects with software and it’s doesn’t permanently change your camera. I prefer to carry as little equipment as possible, move freely, and take long walks. Because I prefer to keep my options open, many times I will shoot in full color and use software to create an IR effect. If you take both a full color and IR filtered exposure of the same subject you have many more options.
I demonstrate these kinds of techniques in all of my field workshops.
See more of the products I use here.
Check out my full Review on the Singh Ray Vari-ND filter here.
Get Insights free here, for upcoming alerts of new Reviews.
Read about essential camera tests techniques here.
Check out my field workshops here.
Get a 20% discount on my Iceland (8/18-22) workshop here – expires 8/10.
Get a 15% discount on my Fall Foliage (10/17-20) workshop here – until 8/17.
The first 5 Insights Members get $1000 off South America (2/2-14/09), thereafter $250.